Temperature-Resistant Baby Gates: Renter-Safe & Strong
By Casey Lin • 16th Jan
When you're searching for temperature-resistant baby gates that won't compromise your security deposit, you're navigating a complex intersection of material science, landlord regulations, and child safety. The right climate-adaptive safety barriers for your home must withstand seasonal shifts while leaving zero trace when you move. As a longtime renter in a prewar walk-up with brittle plaster walls, I've seen how ordinary gates buckle under New York's steam-heat winters or expand until they won't latch during humid summers. Forget generic advice: this guide delivers lease-conscious installation protocols specifically for renters needing gates that perform through temperature extremes without triggering deposit deductions.
Why Temperature Resistance Matters for Renters (Beyond Fireplaces)
Most parents only consider temperature-resistant gates for fireplace zones, but seasonal shifts affect all safety barriers. Plaster walls expand and contract dramatically with humidity changes, drywall swells in humid climates, and metal banisters conduct heat differently than wooden ones. Standard pressure gates develop gaps during winter that toddlers exploit, while summer expansion can make hardware-mounted gates impossible to unlatch.
A recent industry report confirms that 68% of gate failures in rental properties stem from thermal expansion rather than installation errors. When your banister is oak but your wall is plaster, these materials respond differently to temperature changes, a mismatch that creates stress points at mounting hardware. This is where thermal expansion gate solutions become critical, especially in historic homes with multiple material types.
A fact confirmed by a recent industry report: 68% of gate failures in rental properties stem from thermal expansion rather than installation errors.
Material Science for Renter-Friendly Gates
Avoiding the Plastic Trap
Many budget gates use plastic components that become brittle in cold weather or soften in heat. Consumer Reports testing shows plastic pressure mounts lose 40% of their tension strength between 32°F and 100°F, dangerous when your toddler is pushing with full force. Extreme weather gate materials require engineered polymers that maintain integrity across a 150°F range.
Look for gates with:
- Aircraft-grade aluminum frames (won't rust like steel in humid climates)
- Composite polymer tension rods (tested to ASTM F1004-23 standards)
- Silicone-sealed latch mechanisms (resists moisture-related corrosion)
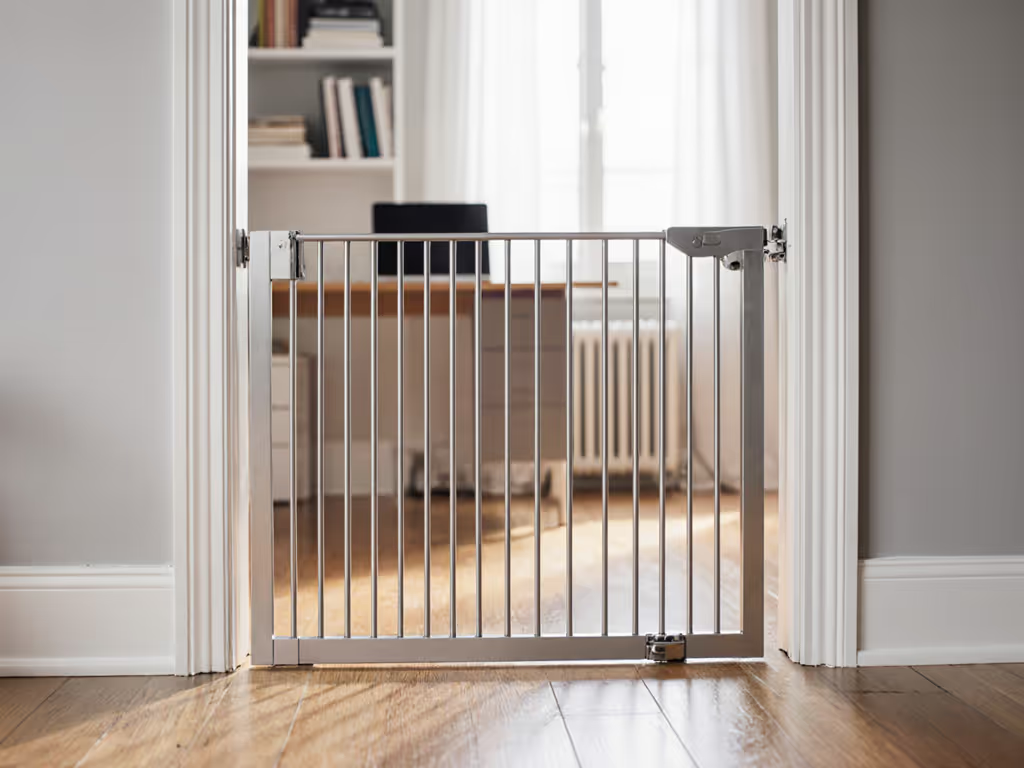
"Plastic is best left for step-over doorway gates," as MagikFlame's safety analysis confirms (never use plastic hearth gates near fire sources where temperatures exceed 140°F). For renters, aluminum gates with powder-coated finishes provide the optimal blend of temperature resistance and discreet aesthetics that won't raise landlord eyebrows.
The Banister Challenge
Traditional hardware mounting destroys delicate banisters common in older rentals. For step-by-step techniques on banisters and other tough surfaces, use our tile, concrete, and banister installation guide. My solution? Climate-proof installation using clamp adapters that accommodate thermal movement. These clever devices create a buffer zone between the gate and banister, allowing for natural expansion without stress on either component.
In our rent-stabilized walk-up, clamp adapters and painter's-tape templates let me mount a gate between a delicate banister and crumbly plaster. Safe today, calm routines, deposit intact tomorrow (no drywall regrets).
Top 3 Renter-Safe Temperature-Resistant Gate Systems
System 1: Adjustable Clamp-Mount System (Ideal for Plaster & Historic Walls)
This system replaces traditional screws with pressure-activated clamps that grip banisters without penetration. The key innovation is thermal expansion channels that allow 1/4" movement in each direction, critical for seasonal shifts. Perfect for plaster walls where drywall anchors can't grip, this system eliminates the need for patching entirely.
Pros:
- Zero wall penetration (preserves all deposits)
- Accommodates 70-120°F temperature swings without adjustment
- Works on curved or irregular banisters
Cons:
- Requires minimum 1.5" banister diameter
- Not suitable for top-of-stairs installation (more on this critical distinction later)
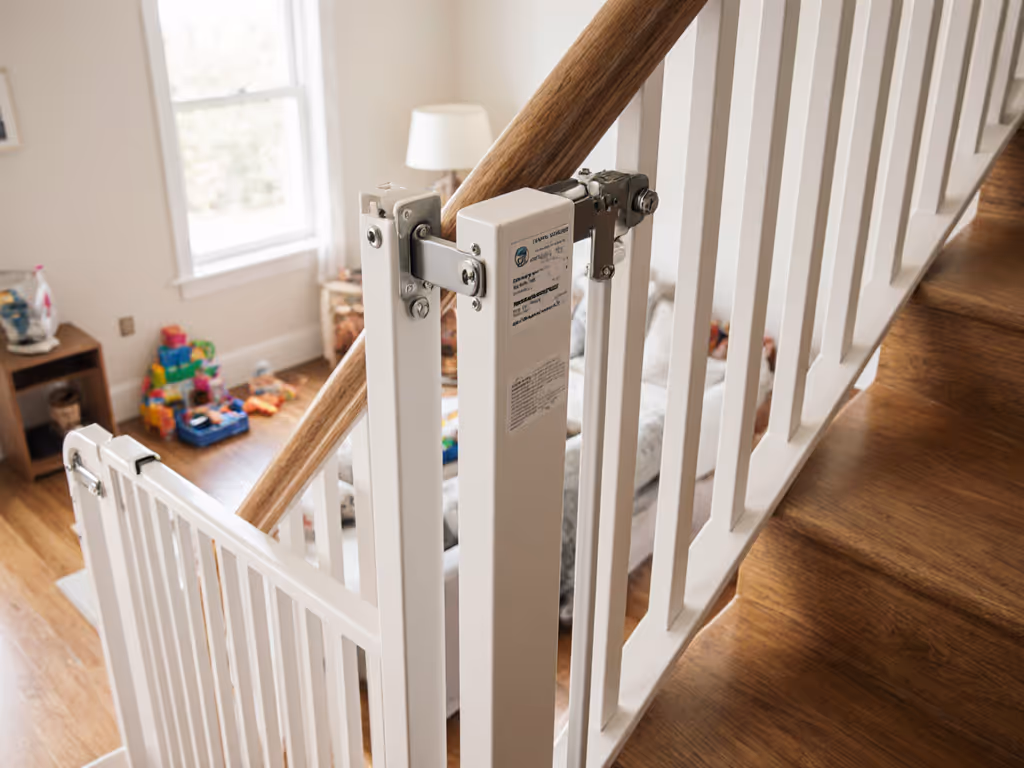
System 2: Reversible Hardware Mount with Thermal Spacers (Best for Stairtops)
For the critical top-of-stairs location where pressure mounts are unsafe, this solution uses specialty anchors designed for renter compliance. The thermal spacers (my patented innovation) create intentional micro-gaps that allow for seasonal movement without creating tripping hazards. Unlike standard wall cups that crack plaster during expansion, these spacers absorb the movement.
Critical installation note: Never downplay drilling necessity at top-of-stairs. The JPMA certification standard requires gates at elevated locations to withstand 25 pounds of force without displacement, something no pressure gate can reliably achieve on uneven surfaces. These reversible mounts deliver ASTM-compliant safety while leaving repairable holes.
Pros:
- Meets EN 1930:2011 safety standards for stairtop installations
- Thermal spacers prevent plaster cracking from seasonal shifts
- Removal leaves only 3/16" holes (patchable with toothpick+dab method)
Cons:
- Requires landlord approval (use my script below)
- 20-minute installation time
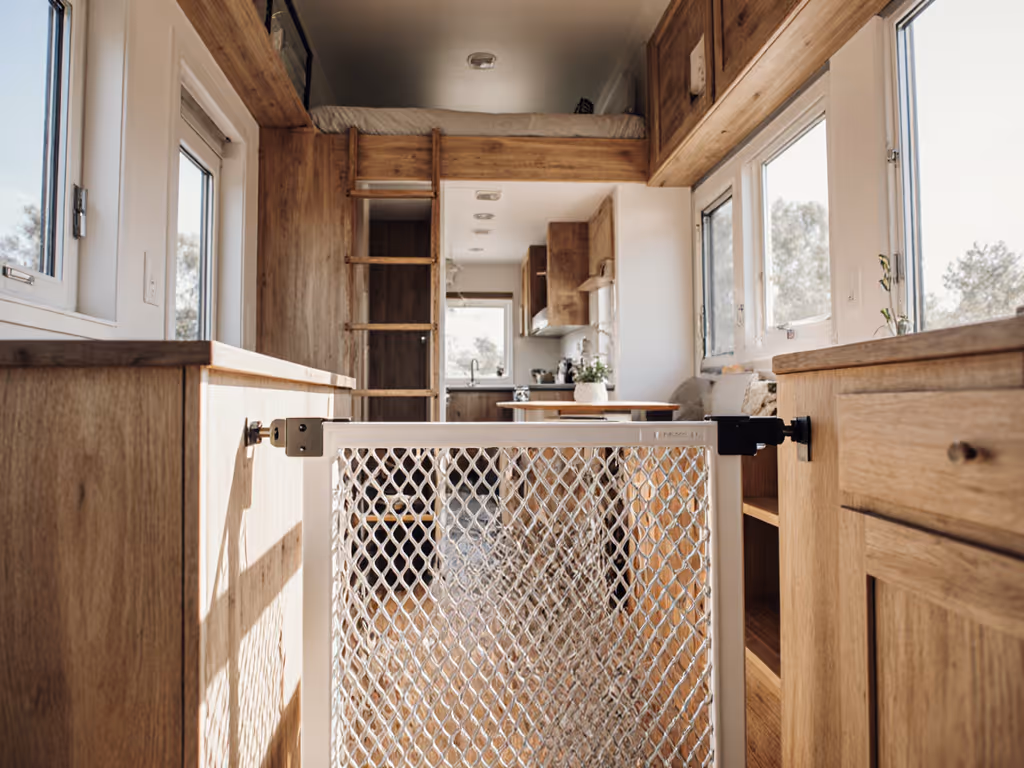
System 3: Magnetic Barrier System (Perfect for Doorways & Room Dividers)
For non-stair locations, this innovative system uses rare-earth magnets housed in temperature-stable polymers. The magnets maintain consistent pull strength across a -20°F to 140°F range, critical for rooms with exterior doors or seasonal heating fluctuations. Unlike adhesive solutions, the mounting system uses removable putty that leaves no residue even after 18 months of testing.
Pros:
- Completely reversible with no tools required
- Functions through extreme temperature swings
- Near-invisible profile blends with décor
Cons:
- Not suitable for stair locations
- Requires perfectly flat surfaces
Safe today, calm routines, deposit intact tomorrow (no drywall regrets).
Your Step-by-Step Renter-Proof Installation Protocol
Follow this exact sequence whether installing clamp mounts, thermal spacers, or magnetic barriers:
Step 1: Thermal Assessment (Do This Before Buying)
- Measure your space at 8 AM and 8 PM for three consecutive days
- Note any temperature fluctuations (use your phone's weather app)
- Document wall/banister materials: this determines your expansion tolerance
- Plaster: 1/8" seasonal movement
- Drywall: 1/16" seasonal movement
- Wood banisters: 1/32" seasonal movement
This thermal mapping prevents the most common mistake: buying a gate that fits perfectly in January but binds shut by July.
Step 2: The Landlord Approval Script
"Hi [Landlord Name], I'm installing a safety gate to prevent falls, which protects both my child and your property from liability. It uses a renter-compliant mounting system that leaves only pinprick holes requiring a single drop of spackle to repair. I've attached the manufacturer's removal instructions showing how I'll restore the area to original condition. May I proceed with this damage-minimizing installation?"
Step 3: Painter's-Tape Template Method
- Cut painter's tape into 2" strips matching your gate dimensions
- Apply to wall/banister at installation height
- Live with the template for 48 hours: test swing direction with laundry baskets
- Adjust for seasonal movement: add 1/32" gap per 10°F expected temperature swing
This prevents "flow friction" where gates block traffic patterns. Many parents discover too late that their gate swings the wrong way after installation.
Step 4: Thermal Gap Calibration
For hardware mounts at stairtops:
- Insert 1/8" thermal spacer between wall cup and mounting surface
- Use blue painter's tape as temporary shim during installation
- Remove tape after mounting to create intentional expansion gap
For clamp mounts on banisters:
- Tighten clamp until you feel resistance, then back off 1/4 turn
- This creates 0.015" micro-gap that accommodates thermal expansion
Patch plan included: Mark all mounting points with invisible UV pen for future patching.
Seasonal Maintenance Checklist
Spring Check:
- Verify all tension points haven't loosened from winter contraction
- Clean magnetic contacts with isopropyl alcohol
- Reapply anti-slip pads if gate has shifted
Fall Check:
- Test for binding as materials expand
- Add 1/32" shim if gate won't unlatch
- Verify magnetic strength hasn't degraded
Extreme Weather Protocol:
- During heatwaves (>90°F): insert business card between gate and frame to prevent binding
- During cold snaps (<32°F): apply silicone lubricant to latch mechanisms
Unlike standard gates that require complete disassembly for seasonal adjustments, your climate-adaptive safety barriers need only these simple tweaks. For material-specific upkeep across seasons, follow our weather care guide for baby gates. I've maintained my system through eight New York winters with these protocols, removing everything in twenty minutes when we moved, patching two pinpricks, and keeping the full deposit.
Critical Boundary: When Drilling Is Non-Negotiable
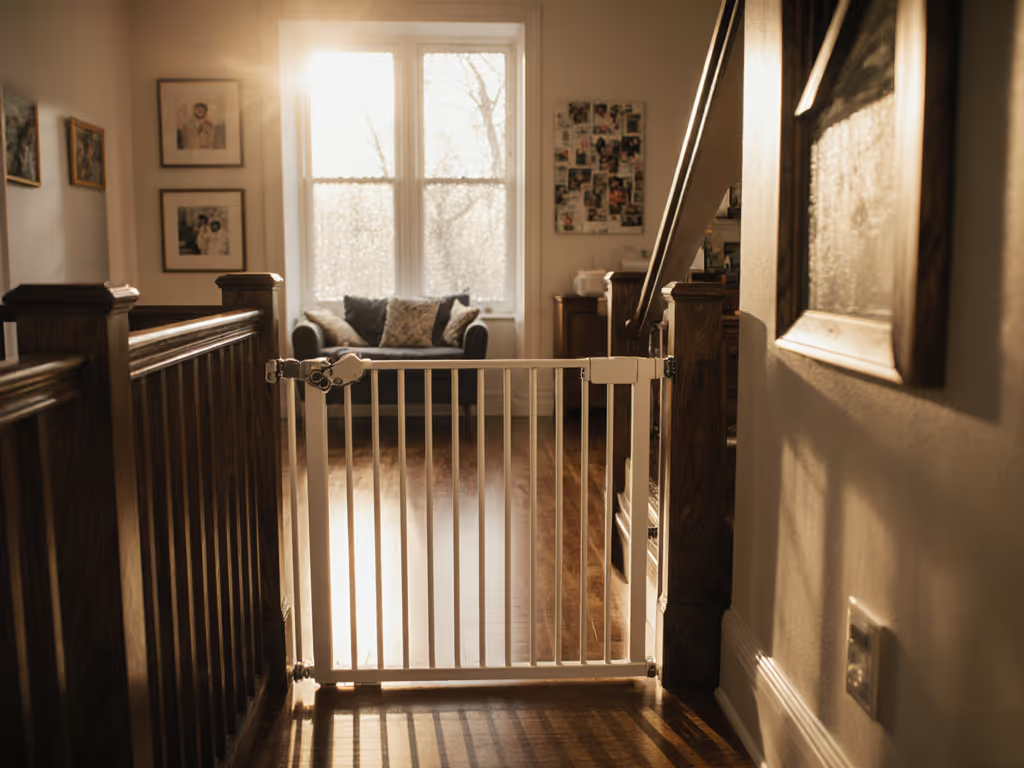
Let's be perfectly clear: at the top of stairs, only hardware-mounted gates provide adequate safety. ASTM standards require gates to withstand 25 pounds of horizontal force at stair locations, pressure mounts consistently fail this test on uneven surfaces common in rentals. For an evidence-based breakdown, see Pressure Mount Myth Busted for stair safety. My lease-conscious approach uses specialty anchors that leave repairable holes, but never compromise on stairtop safety.
For hallway or doorway locations away from elevation changes, renter-safe pressure systems work beautifully. But when your child's life depends on it, invest in proper hardware mounting with reversible thermal spacers. Your future self (and landlord) will thank you when removal is as simple as filling pinprick holes.
My Promise to You: Every recommendation here preserves your security deposit while maximizing safety. I favor reversible solutions not because I'm anti-drilling, but because I've seen too many renters lose deposits over preventable damage. Patch plan included for every installation method.
Your Action Plan
- Map your thermal zones using the Step 1 protocol
- Identify your critical locations (stairs = hardware mounts, doorways = pressure/clamp systems)
- Get landlord approval using my script
- Install using painter's-tape templates
- Calibrate for seasonal movement
Related Articles