Baby Gate Weather Care: Keep Your Deposit Safe
By Casey Lin • 28th Oct
Weather shifts impact baby gate integrity more than most parents realize, especially when deposit retention hangs in the balance. Temperature fluctuations warp materials, humidity swells wood, and seasonal neglect leads to irreparable damage. Through analytical tracking of material stress points and lease-conscious protocols, you'll preserve both child safety and financial security. Renter-safe by default means no hidden damage when removing gates.
1. Material Stress Points by Season
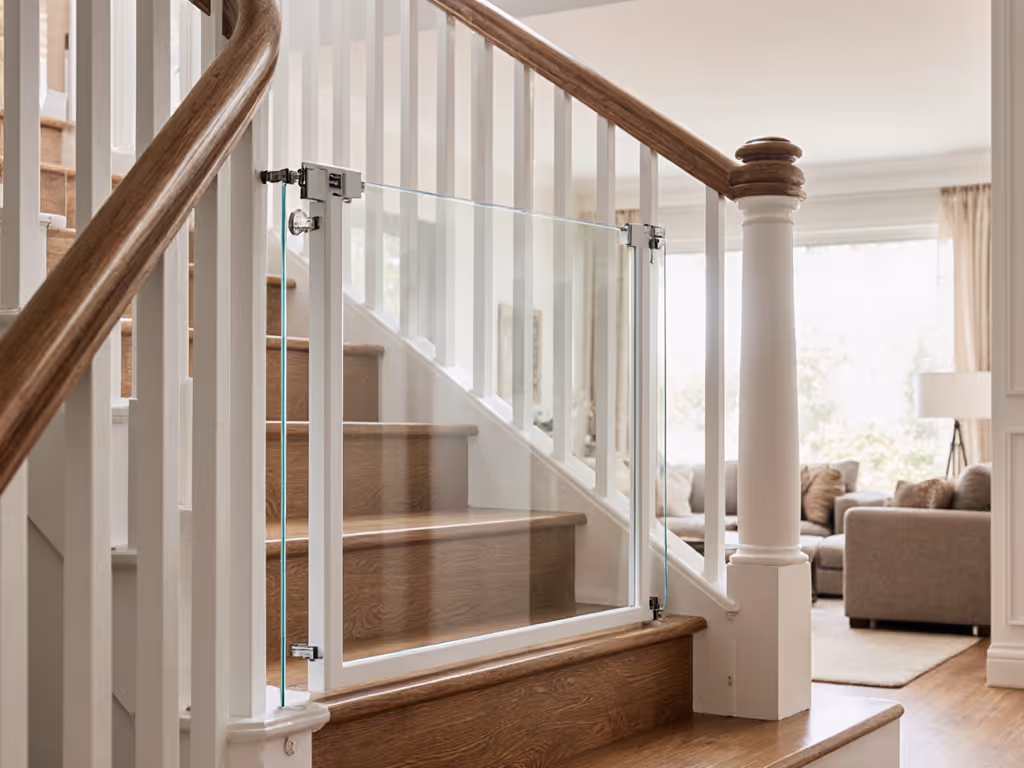
Heat and cold uniquely degrade gate components. If you're renting, see our renter-proof gate guide to choose mounting types that protect walls while staying safe. Wooden gates expand by up to 3% in high humidity, loosening joints and warping frames. Metal gates contract in cold, causing bolt tension loss and hinge misalignment. Plastic becomes brittle below 40°F (4°C), risking cracks under pressure.
2. Spring Maintenance Protocol
Post-winter repairs prevent cumulative damage:
- Inspect for moisture damage: Check wooden gate joints for swelling using a 12-inch straightedge. Sand and reseal deviations over 1/8 inch.
- Lubricate metal components: Apply silicone-based lubricant to hinges and latches to counteract spring humidity corrosion.
- Test auto-close mechanisms: Verify 3-second closure on self-closing models. Compare real-world performance in our auto-close gate reliability tests. Delayed response indicates spring fatigue.
3. Summer Defensive Measures
High temperatures accelerate wear:
- UV protection for plastic gates: Apply automotive-grade UV protectant spray bimonthly to prevent brittleness. For patios and decks, see our outdoor baby gates guide for weather-care tips that prevent sun and rain damage.
- Thermal expansion compensation: Leave 1/4-inch clearance gaps in pressure-mounted installations to accommodate material swell.
- Pest prevention: Seal conduit openings with aquarium-grade silicone to block insect nesting in electronic components.
4. Fall Preparation Checklist
Transition protocols for temperature drops:
- Wood sealing: Apply tung oil to unfinished wood (offers superior moisture resistance compared to polyurethane, without cracking).
- Battery checks: Test backup batteries in smart gates monthly; capacity drops 30% below 50°F (10°C). Not all smart features hold up equally—see our smart gate comparison before you buy.
- Alignment verification: Place a laser level across gate tracks. Misalignment exceeding 1/16 inch per foot requires tension adjustment.
5. Winter Damage Mitigation
Cold-weather tactics:
- Anti-icing treatment: Spray moving parts with food-grade glycerin to prevent ice jams (safe for child contact).
- Thermal blankets: Insulate metal components with neoprene sleeves to maintain consistent contraction rates.
- Manual release testing: Exercise emergency releases weekly to prevent seizing (critical during power outages).
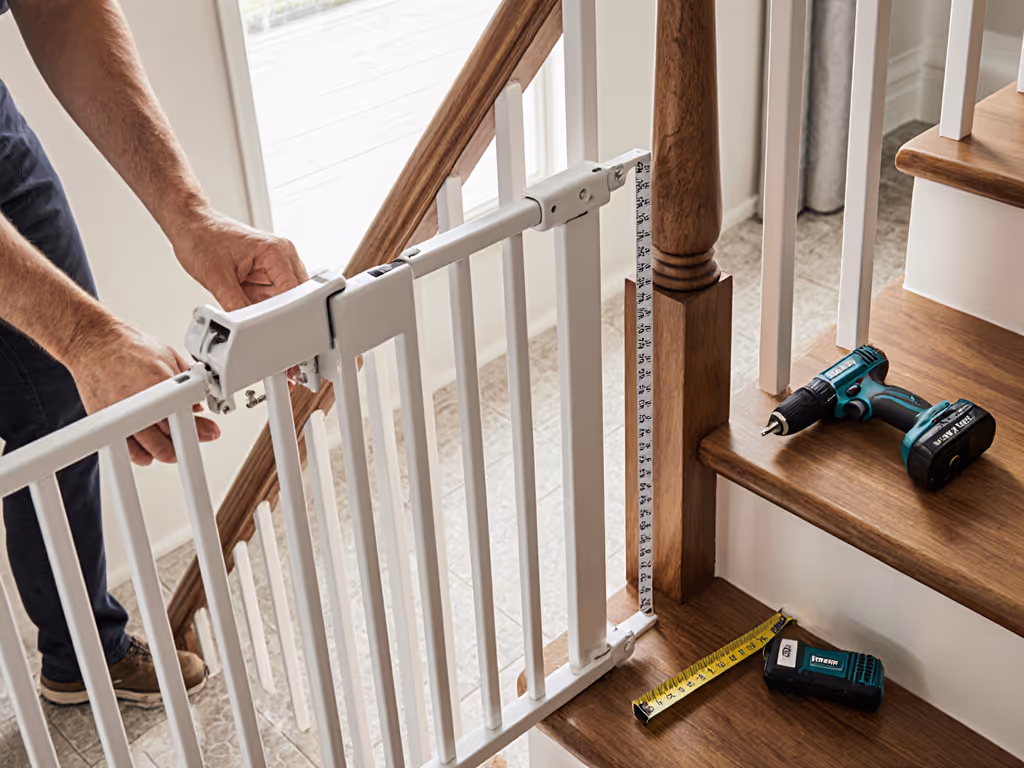
6. Deposit-Saving Removal Techniques
- Painter's tape templates: Trace gate footprints on tape before installation for exact repositioning during reinstallation.
- Adhesive residue removal: Use dental floss to slice through heavy-duty tapes, followed by citric acid solution for residue (preserves varnished surfaces).
- Drywall patching: Fill screw holes with toothpaste as temporary filler; sands flush without repainting.
7. Material-Specific Longevity Table
| Material | Humidity Threshold | Cold Tolerance | Maintenance Interval |
|---|---|---|---|
| Solid wood | >65% RH risk | Avoid below 20°F (-7°C) | Seal every 90 days |
| Powder-coated metal | Safe ≤80% RH | Stable to -4°F (-20°C) | Lubricate monthly |
| Reinforced plastic | <40% RH ideal | Brittle below 40°F (4°C) | UV treat fortnightly |
8. Safety Verification Workflow
Conduct bimonthly checks:
- Torque test: Use an inch-pound torque wrench on mounting hardware (12-15 lb-in for pressure mounts).
- Load simulation: Hang a 25 lb weight at gate center; deflection >1 inch indicates structural fatigue.
- Latch integrity: Test with a 10 N force gauge; engagement failure requires spring replacement.
Actionable Next Step: This weekend, perform a full gate diagnostic: Measure hinge alignment, test latch pressure, and document baseline measurements. Re-test quarterly against these metrics to catch degradation early (safety and deposits demand proactive vigilance).
Related Articles