Landlord-Friendly Silent Baby Gates for Condos
By Mateo Silva • 18th Jan
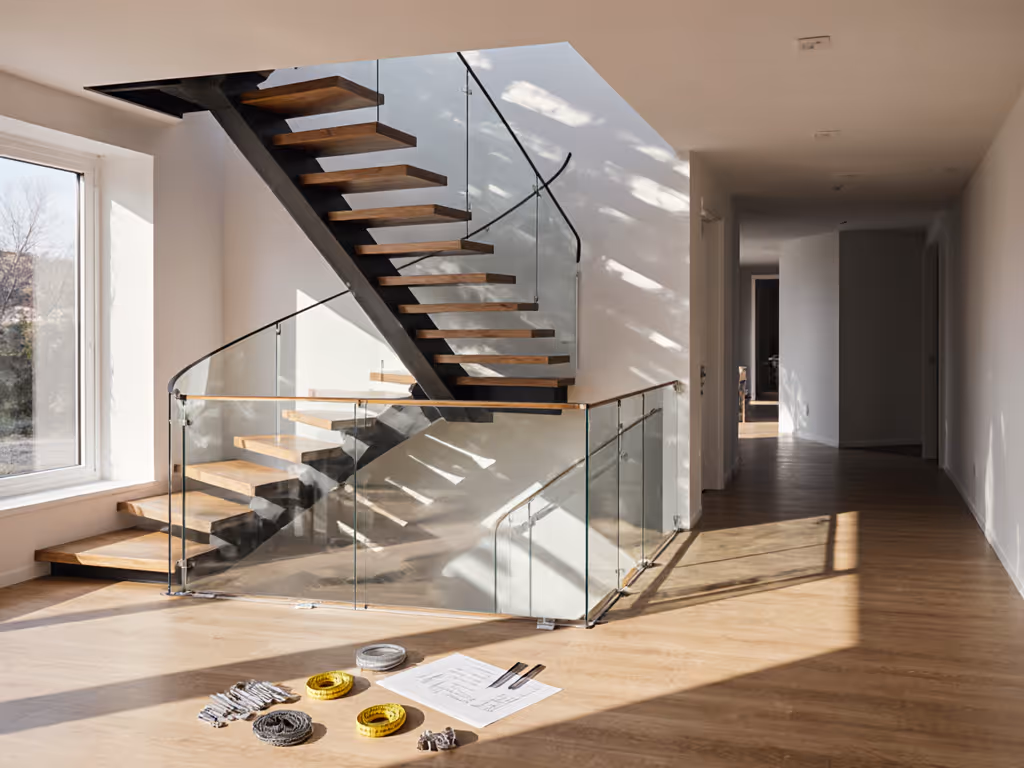
When your condo's baseboard crown molding creates a 1.25" (32mm) reveal gap and your neighbor's apartment shares the stairwell wall, baby gate installation becomes a high-stakes geometry puzzle. Forget generic pressure-mount kits that rattle like loose change in a dryer, true condo childproofing solutions require precision mapping of your space's quirks. I've seen too many renters drill into brittle plaster or choose noisy gates that draw noise complaints before baby even crawls. Success starts with acknowledging that shared walls, whisper-thin baseboards, and landlord restrictions transform standard gate installs into custom engineering challenges. If you're renting, start with our renter-proof gate guide. Let's convert awkward angles into silent, secure barriers that protect your deposit and peace of mind.
Step 1: Measure Flow Before Touching Tools
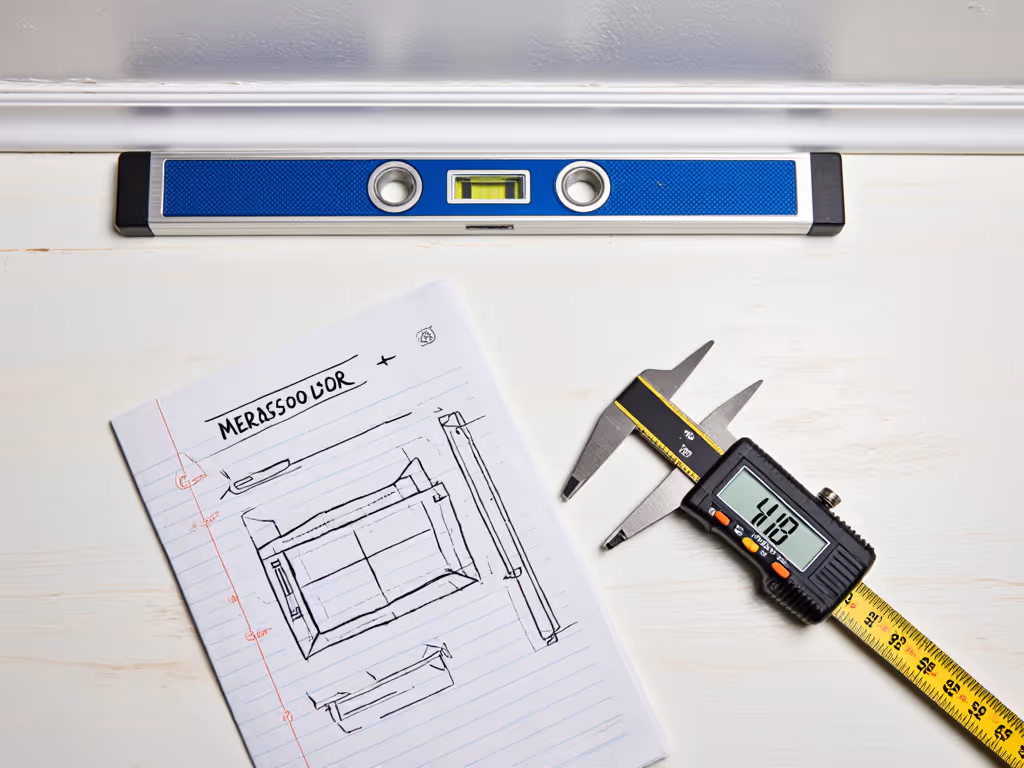
Most renters jump straight to mounting, big mistake. I once fixed a gate installed 2" too high because the parent measured the doorway but ignored the stair nosing's 1.5" (38mm) protrusion. Measure the flow, then commit to the mount. Here's your battle plan:
- Wall-to-Wall Scan: Use a 48" level to check plumb at three points: baseboard top, handrail height, and crown molding. Condos often have 3/16" (5mm) deviations per foot, so you need this data.
- Baseboard Audit: Record height and lip depth (e.g., "0.75" (19mm) baseboard with 0.25" (6mm) quarter-round lip"). This dictates spacer thickness.
- Swing Clearance Test: Swing your arm like a gate door through the intended path. Note obstructions (thermostats, light switches) requiring 2" (50mm) minimum clearance.
- Noise Sensitivity Check: Place a smartphone decibel meter 3 feet from the hinge point. If ambient noise is below 40dB (typical for condos), gate operation must stay under 35dB.
Critical Insight: Shared walls transmit vibration. If your condo's wall is drywall over studs (not concrete), gate movement must create zero resonance in adjacent units.
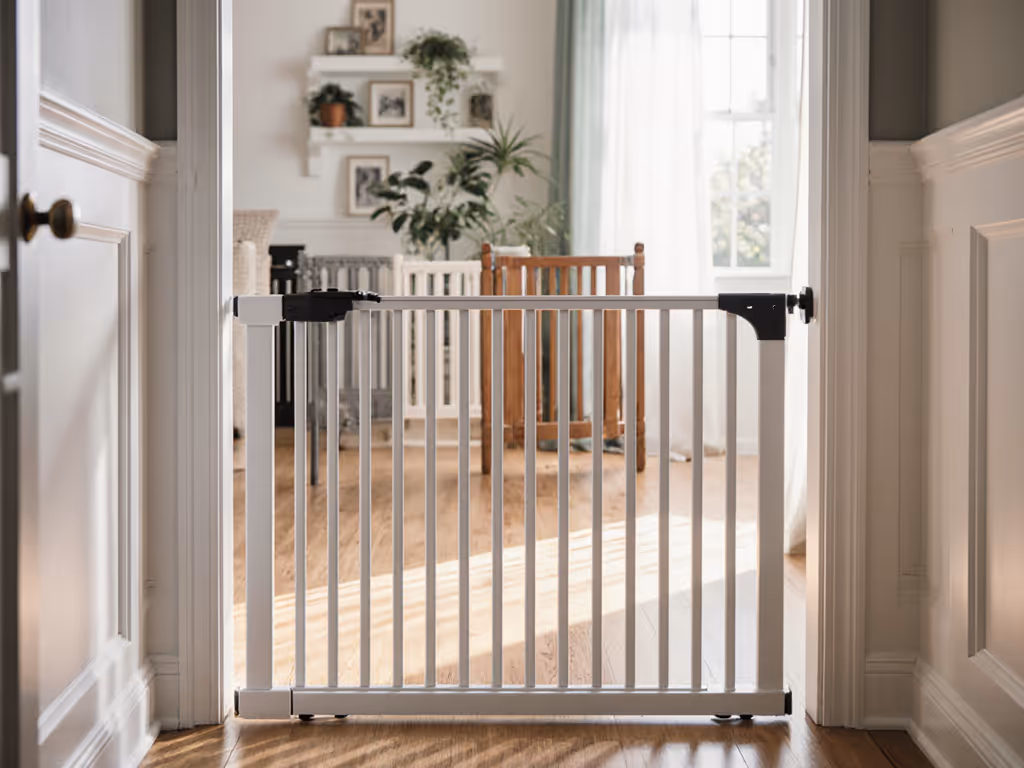
Step 2: Select Mounting Strategy for Shared Walls
Landlord-approved barriers in multi-unit homes demand non-destructive mounting where possible, but never compromise safety at stair tops. Here's how to navigate the tightrope:
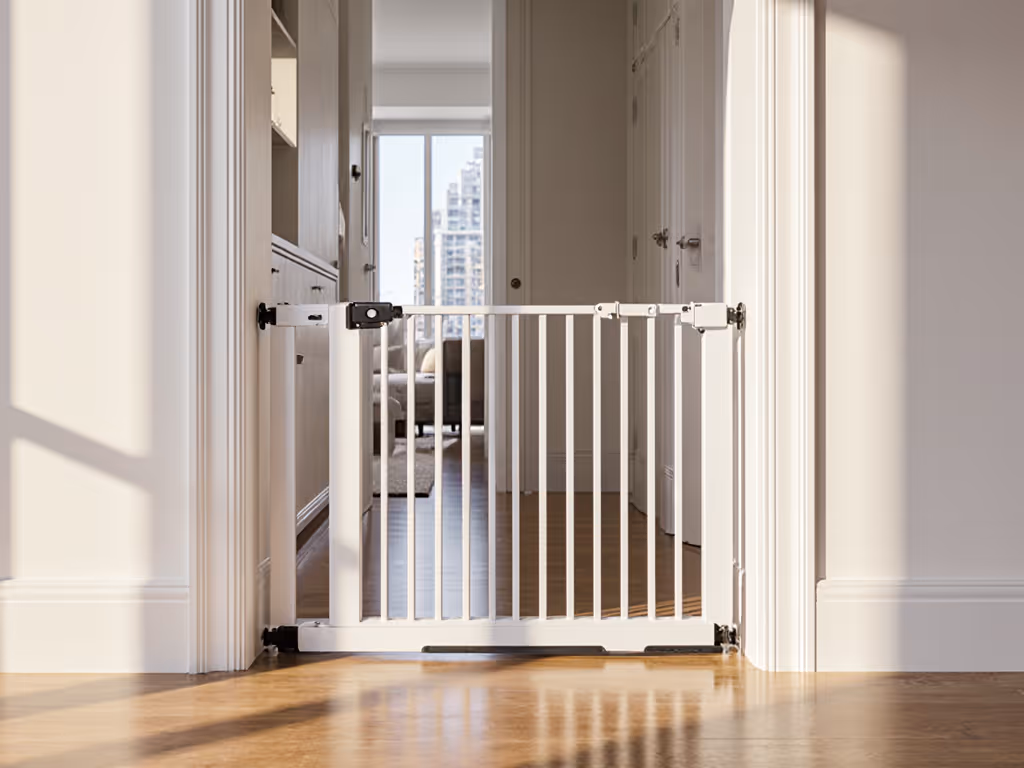
Banister-to-Banister (Best for Renters)
- Problem: Spindles often flare outward, creating wedge gaps.
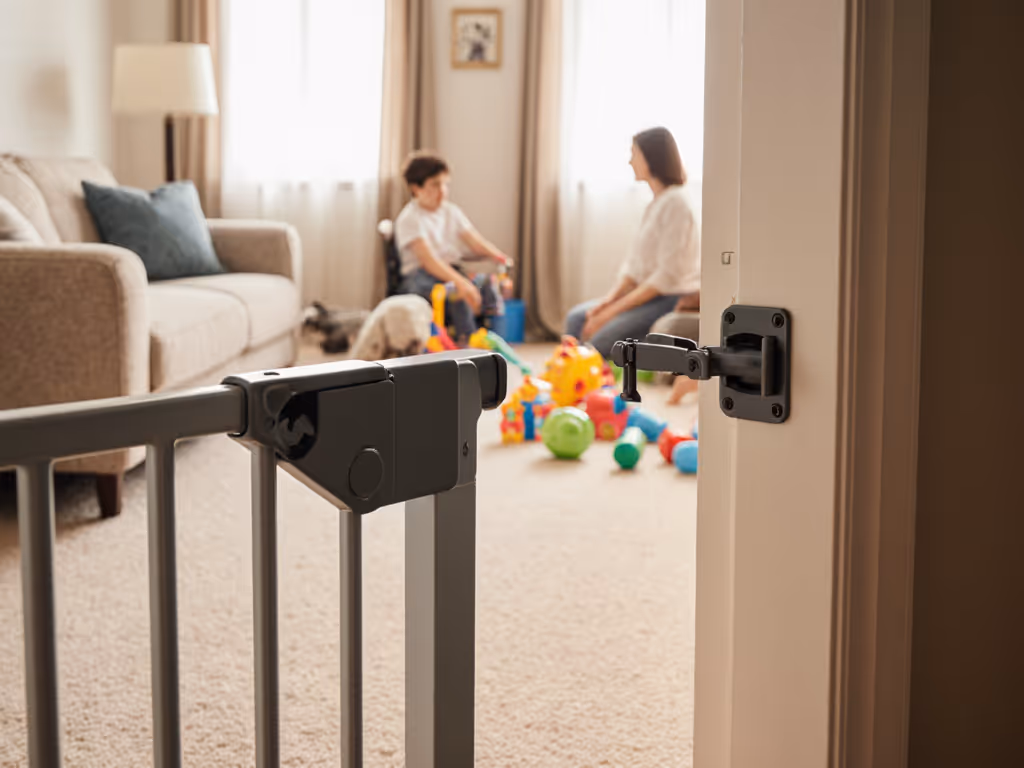
- Fix: Use 3/4" (19mm) spacer blocks between gate hardware and newel. Not shims wedged in gaps, those loosen. Machine-welded steel clamps (e.g., those with integrated 30-degree offsets) hug flared spindles while maintaining 1/8" (3mm) hinge clearance. For detailed techniques on non-standard banisters and hard surfaces, see our step-by-step installation guide.
- Pro Tip: For tapered newels, print a scaled template from your rise/run measurements. Hold it against the spindle, any light gap larger than 1/16" (1.5mm) means you need custom spacers.
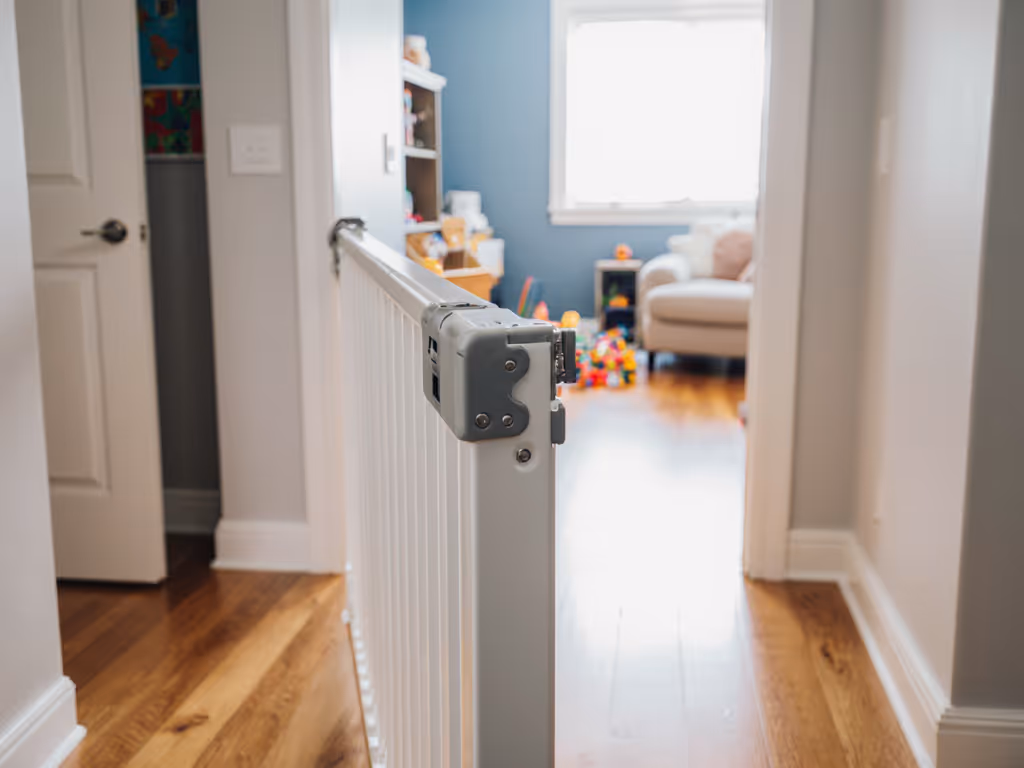
Direct Wall Mount (For Stair Tops)
- Problem: Shared walls mean anchors can't penetrate into neighbor's space.
- Fix:
- Renters: Use hollow-wall anchors rated for double gate weight (e.g., 50lb gate = 100lb anchors). Confirm with a stud finder first, some condos have steel studs.
- Owners: Drill into studs only at hinge points. Use 2.5" (64mm) lag screws with 3/16" (5mm) washers to distribute load.
- Landlord Hack: Apply blue painter's tape around screw holes before drilling. When removing, patch only the taped area, no visible "ghost marks."
Never Skip This: If your gate requires 3.5" (89mm) mounting surface (per Safety 1st's specs) but your baseboard is 2.75" (70mm), build a spacer stack from 1/4" (6mm) Baltic birch ply. Never fill gaps with loose shims, vibration loosens them.
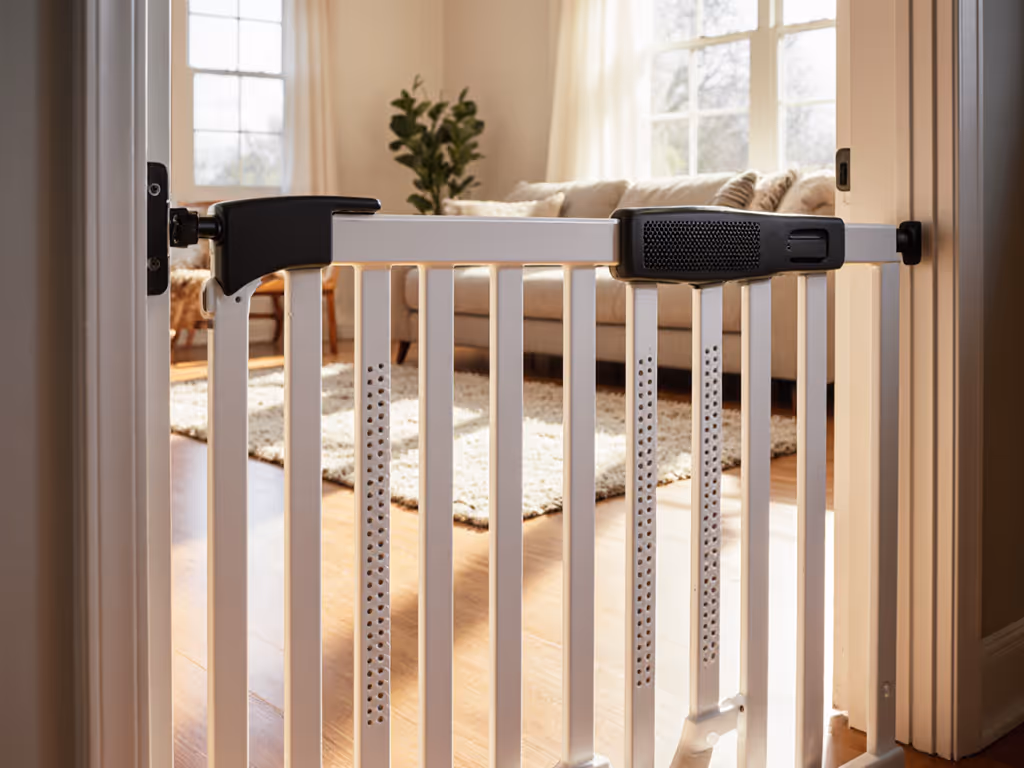
Step 3: Silence the Mechanism for Noise-Sensitive Zones
Noise-sensitive gate operation isn't a luxury when baby's napping above a neighbor's living room. Standard gates hit 50-60dB during operation, loud enough to trigger complaints. Compare latch and hinge noise in our quiet baby gate tests. Here's the soundproofing protocol:
- Lubricate Wisely: Silicone spray (not oil!) on hinge pins reduces squeaks by 80%. Test first, some plastics swell with petroleum.
- Dampen Impact: Stick 1/8" (3mm) closed-cell foam tape (like 3M VHB) where the gate meets the stopper. It absorbs 90% of "thunk" noise.
- Adjust Swing Tension: Most gates have an allen-key tension screw near the hinge. Tighten incrementally while testing closure sound, ideal is a soft thup under 35dB.
- Catch Plate Alignment: If the gate latches with a click, bend the metal catch plate slightly with pliers. Even 1/32" (1mm) adjustment eliminates metallic vibration.
Tool Kit Essentials:
- 3mm hex key (for tension adjustments)
- Decibel meter app
- 1/4"-thick cork sheet (for custom spacers)
- Removable painter's tape (no residue)
Step 4: Validate Multi-Unit Safety Compliance
Multi-unit home safety requires extra diligence because:
- Landlord insurance policies often void coverage for non-compliant installs Learn how gate choices affect coverage in our homeowner safety guide.
- Shared walls may have thinner drywall (1/2" vs standard 5/8")
- Stair topology differs between units (e.g., your gate might block an emergency path)
Run these checks before final mounting:
- Stair Pitch Test: Place a 22" (560mm) ball at the top. If it rolls past the gate mounting point, you need a hardware-mounted gate (pressure mounts fail here).
- Neighbor Check: Knock next door to confirm your gate won't obstruct their access during emergencies. Document consent via text.
- Clearance Verification: Hold a piece of cardboard at the gate's swing path. Any contact with baseboards? Add 1/4" (6mm) spacers to both hinges to shift the arc outward.
Step 5: Removal Protocol for Zero Deposit Drama
Your exit strategy starts during installation. Renters lose $200+ on average for improper gate removal. Execute this 3-step cleanup:
- Screw Extraction: Back out screws slowly while applying inward pressure. If drywall cracks, inject spackle into the hole before full removal.
- Patch Smart: For anchor holes, use a small putty knife to apply patching compound. Overfill slightly, then smooth outward, never swirl.
- Texture Match: Dab a toothbrush loaded with water over the patch to mimic your wall's texture. Test first on an inconspicuous area (inside a closet).
Final Verdict: Precision Over Expediency
Condo childproofing isn't about finding a gate, it's about engineering your gate to the unique stresses of shared living. I've watched clients replace three rattle-prone pressure mounts after discovering their baseboard geometry demanded a 7/16" (11mm) offset hinge plate. Don't gamble with rental deposits or baby's safety. Audit your reveals, plumb, and swing paths like a structural engineer. Document every measurement. Then, and only then, choose your mounting strategy. Silent, secure gates start with understanding that a precise plan beats trial-and-error every time. Shim smart, mount square.
Related Articles