Emergency-Proof Baby Gates: Fire-Safe Installation Guide
By Casey Lin • 28th Nov
When fire departments survey homes after emergencies, they consistently find emergency evacuation baby gates blocking critical escape routes, yet removing safety barriers isn't the solution. The real failure lies in fire safety gate planning that prioritizes daily convenience over crisis readiness. As a renter-parent who's navigated prewar plaster walls and strict landlords, I've seen how easily standard gate installations create dangerous liabilities. But with reversible mounting techniques and strategic placement, you can achieve infant protection and exit readiness, even when your lease is on the line. Safe today, calm routines, deposit intact tomorrow... no drywall regrets.
Why Your Current Gate Might Be a Fire Hazard
Most caregivers install gates solely for child safety, overlooking how they impact emergency egress. Pressure-mounted gates at stair tops (a major no-no) often collapse under heat, while sticky latches or complex mechanisms waste precious seconds during evacuations. For an evidence-based breakdown of why stair-top pressure mounts fail, see our pressure-mount myth guide. The National Fire Protection Association reports that 60% of home fire deaths occur at night, making unobstructed escape routes non-negotiable. Yet 32% of parents admit their gates impede quick exits according to a 2024 Safe Kids Worldwide survey.
Critical Escape Route Assessment Checklist
Before installing any gate, map your home’s evacuation pathways:
- Identify primary/secondary exits for each room (windows count!)
- Measure clearance - CPSC requires 22" minimum width for adult passage
- Note obstacles: Baseboards, rounded banisters, or uneven plaster that could compromise mounting
- Test sightlines - Can you see the gate latch from 10 feet away in darkness?
- Time yourself practicing gate removal with one hand (simulating holding a child)
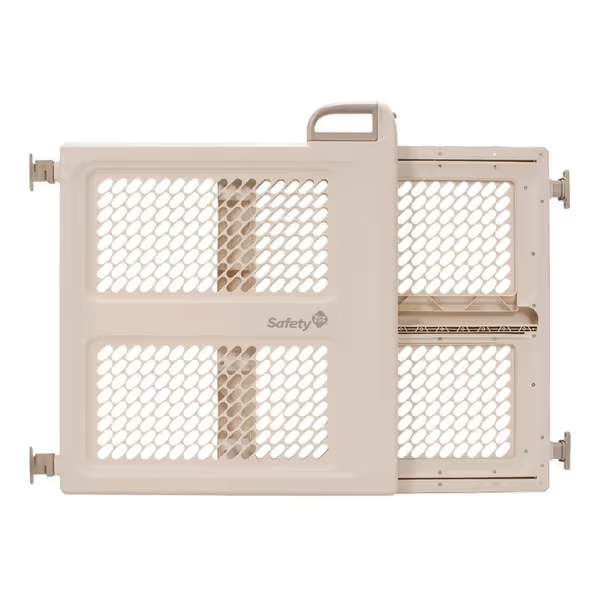
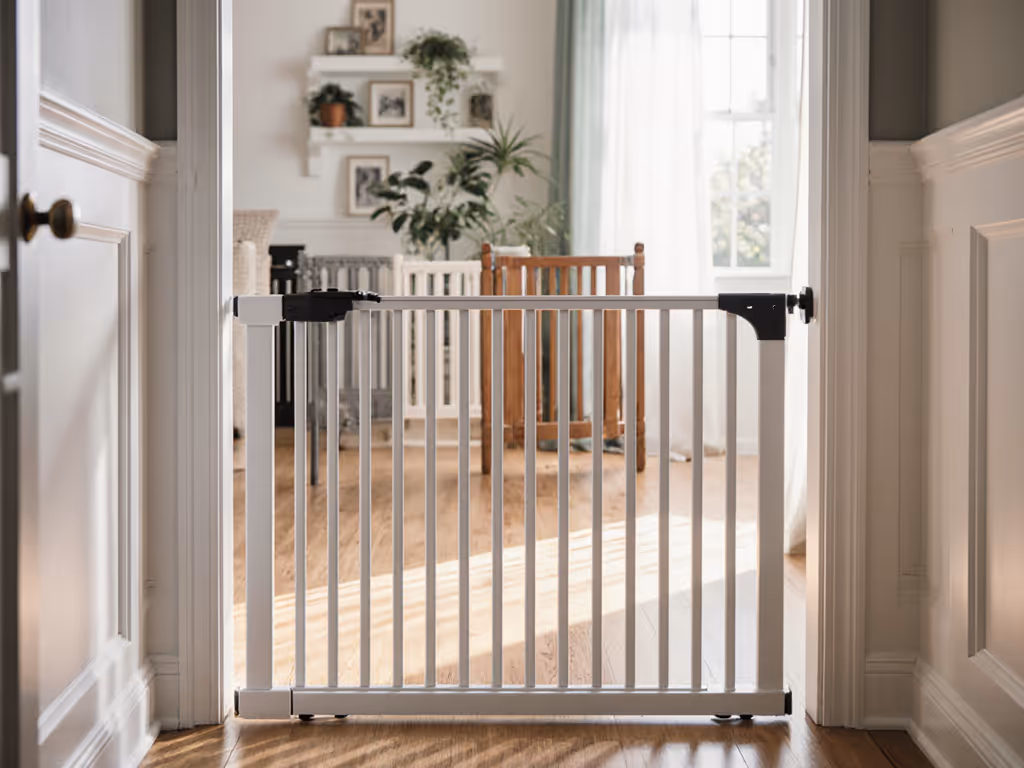
Safety 1st Lift, Lock & Swing Gate
Versatile 2-in-1 gate adapts for doorways or secure stair use.
$54
Adjustable Width28"-42"
Adjustable Width28"-42"
Pros
Dual-mode: Hardware mount for stairs, pressure mount for doorways.
Sturdy construction, great for pets and babies.
Convenient one-hand operation with top-release handle.
Cons
Mixed feedback on latch ease and lockability.
Pressure mount not safe for top of stairs.
Customers find the baby gate sturdy enough to keep pets contained and appreciate its heavy-duty construction. Moreover, the gate works well and is easy to install with no assembly required.
Customers find the baby gate sturdy enough to keep pets contained and appreciate its heavy-duty construction. Moreover, the gate works well and is easy to install with no assembly required.
Step 1: Gate Selection for Dual-Purpose Safety
Pressure-Mounted Gates: Where They Belong (and Absolutely Don't)
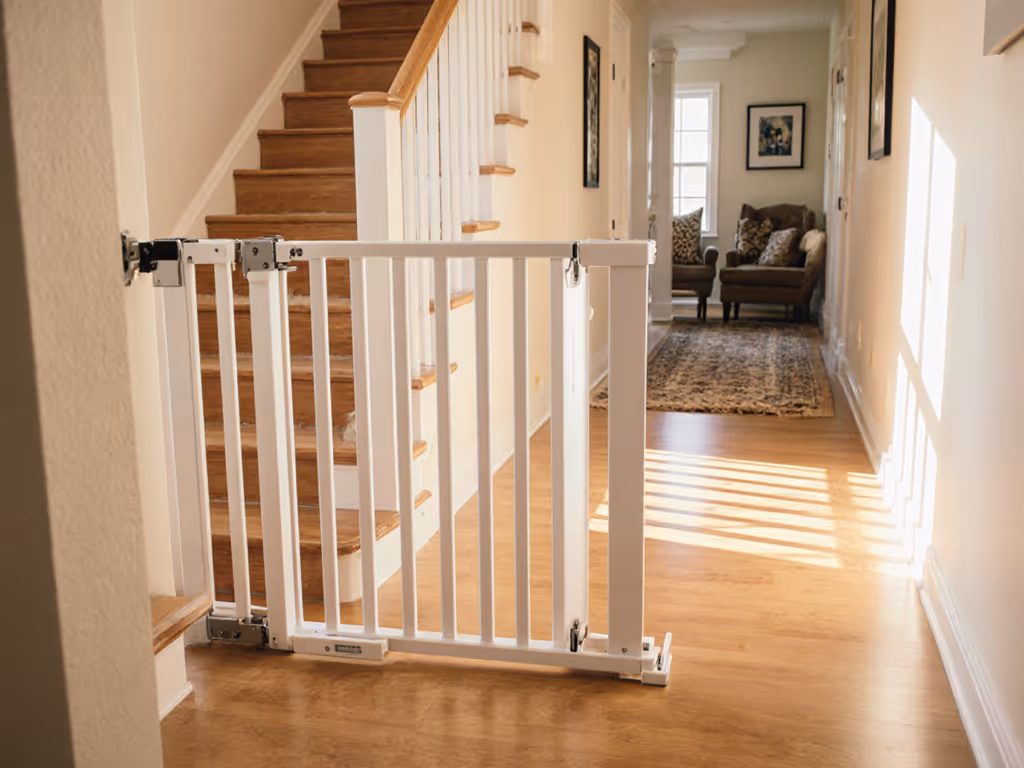
Never use pressure mounts at stair tops. This violates fire codes and CPSC guidelines. Their spring-loaded tension fails catastrophically under heat stress. But for downstairs hallways or room dividers? They shine when chosen wisely:
- Must-have features:
- Visible color-coded tension indicators (green=secure)
- Quick-release gate mechanisms operable with elbow or hip
- Low-profile bottom bars (<1" height) to prevent tripping during evacuations
- Wall cups included (prevents plaster damage on removal)
"That wall cup saved my security deposit when I moved, and it left only pinprick holes I filled with toothpaste and a cotton swab."
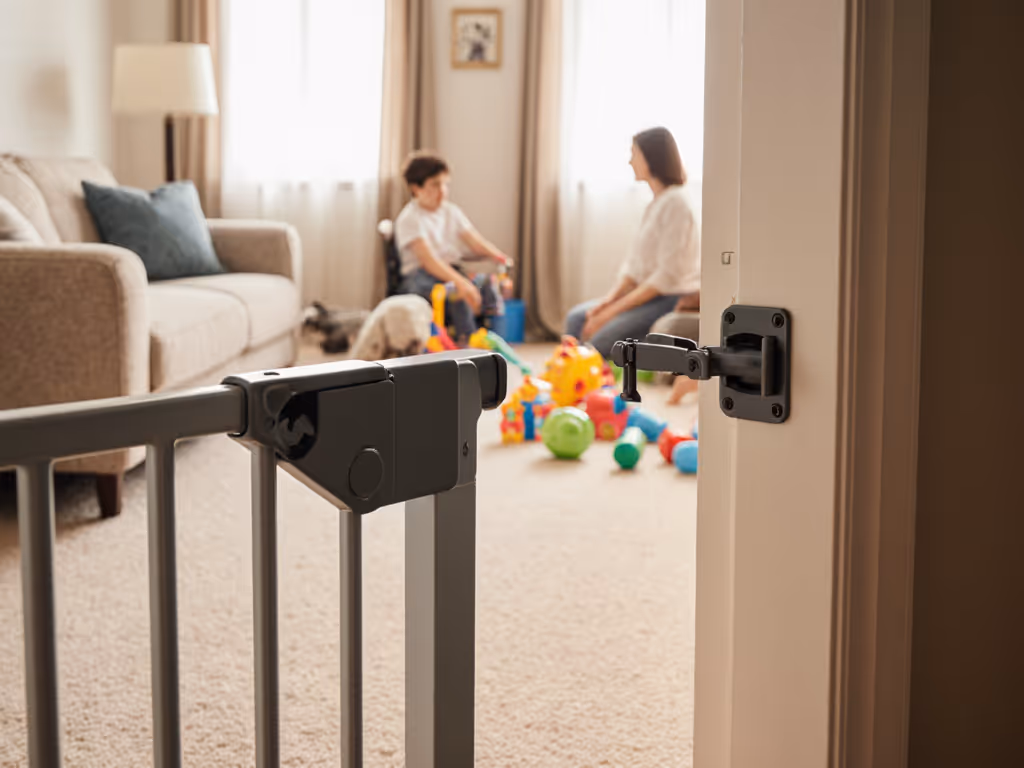
Hardware-mounted gates remain mandatory at stair tops: no exceptions. Prioritize models with:
- One-handed top-release handles (like Safety 1st's Lift, Lock & Swing gate) that work while carrying a child
- Reversible swing directions to align with your escape route
- No protruding bolts that could snag clothing during rush evacuations
Landlord-Friendly Material Notes
| Wall Type | Fire-Safe Mounting Approach | Evacuation Risk Check |
|---|---|---|
| Plaster | Banister clamps + nylon spacers | Ensure clamps don't crush lath during rapid removal |
| Drywall | Toggle bolts only at stair tops | Verify anchor depth won't compromise fire-rated walls |
| Masonry | Removable epoxy anchors | Test removal force won't crack brick veneer |
Step 2: Renter-Proof Installation Protocol
Phase 1: The Painter's-Tape Trial Run
Skip drilling until you've validated evacuation flow:
- Cut painter's tape strips to gate width
- Tape outline on walls along your mapped escape route
- Walk the path at night with a flashlight - does the gate position:
- Block your primary exit?
- Force awkward turns with a "child" in your arms?
- Require backtracking to unlatch?
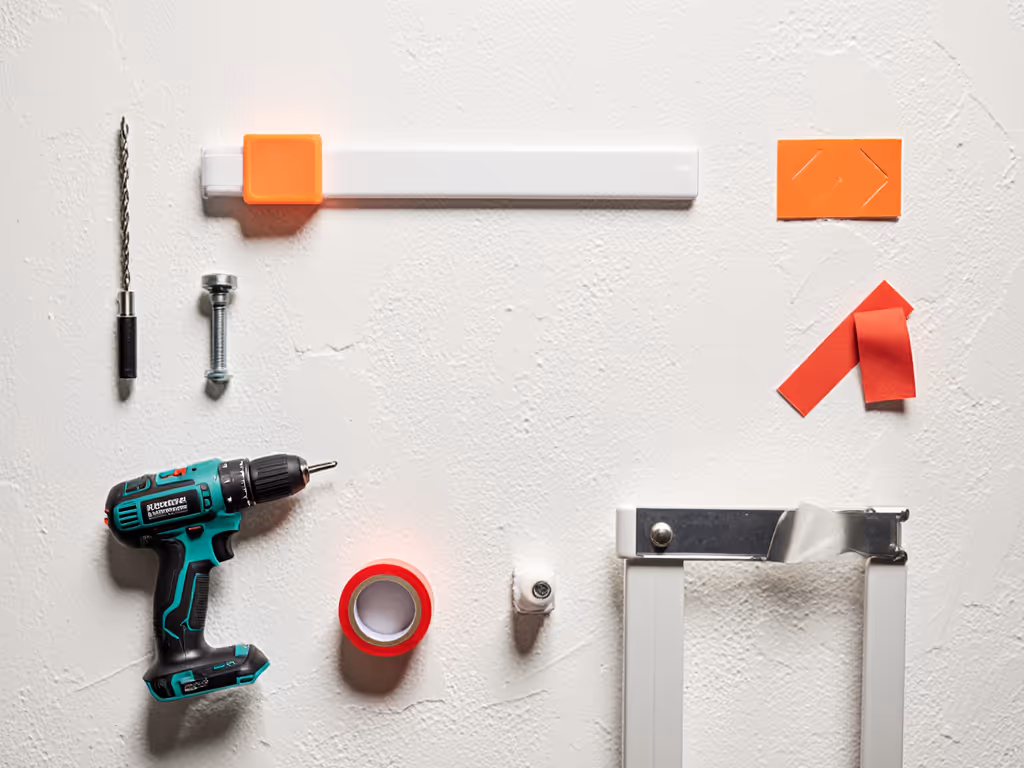
Phase 2: Reversible Mounting Sequence
For door safety gate placements away from stair tops: If you're mounting on tile, concrete, or banisters, follow our step-by-step installation guide to keep it safe and reversible.
- Banister adapters first: Screw clamp rings (not directly into wood) into banister posts, not spindles
- Apply vinyl wall guards: 2mm-thick strips between gate cups and wall
- Use tension, not torque: Snug spindles by hand only, since overtightening cracks plaster
- Label emergency release points: Red tape on quick-release levers visible in low light
Patch plan included: After removal, fill wall cup holes with spackle mixed with room-temperature butter. Wipe clean. The grease prevents cracking during drywall expansion. Landlords never spot it.
Critical Boundary Reminders
- Top-of-stairs rule: Hardware mounts require drilling into studs, even in rentals. Present this as non-negotiable fire code compliance to your landlord (provide CPSC documentation)
- Never use adhesives on varnished banisters, since they fail under heat and leave sticky residue
- Never install gates across the only exit in a room (e.g., nursery with single door)
Step 3: Fire Drill Integration
Installations fail when not stress-tested. Monthly:
- Evacuation drill: Time gate removal with eyes closed For ongoing fixes and stability checks, use our loose gate safety guide.
- Latch check: Spray soapy water on tension knobs; bubbles reveal pressure leaks
- Trip-test: Walk through barefoot at night. Does the threshold bar catch?
- Landlord walkthrough: Document your emergency gate removal process via video for deposit protection
Last year, my neighbor's family escaped a kitchen fire because she'd practiced gate removal with oven mitts on. Her pressure-mounted hallway gate came down in 4 seconds, well under the 30-second NFPA window for safe egress. That's the power of fire safety gate planning that respects both child safety and crisis response.
Your Action Plan
- Audit tonight: Walk escape routes with a flashlight - note any gate obstructions
- Reposition non-stair gates away from primary exits (use painter's tape to test)
- Schedule hardware installation at stair tops before lease renewal (frame as property safety upgrade)
Your child's safety shouldn't trade off against evacuation readiness. By choosing quick-release gate mechanisms and lease-conscious mounting, you build peace of mind that lasts through bedtime routines and emergencies. Because true safety means sleeping soundly tonight, and sprinting freely tomorrow.
Related Articles