Baby Gate Solutions: Unconventional Layouts
By Amira Haddad • 4th Apr
Most baby gate guidance assumes a standard hallway: parallel walls, open doorways, flat floors. But if your home has split-level stairs, curved entryways, wrought-iron banisters, or an open-plan layout that defies simple blocking, you're already living outside that template. For mounting options that preserve flow in minimal-wall layouts, see our open floor plan gate solutions. Safety in unconventional home layouts doesn't require accepting visual disruption or flow friction; it requires a spatial strategy that matches your exact conditions and rhythms.
Understanding Your Unique Layout Challenge
The core tension in unusual home architecture is that safety doesn't scale with a one-size-fits-all gate. A pressure-mounted barrier that works in a 32-inch doorway may tilt in a 42-inch opening or fail entirely at a staircase junction where baseboards are offset or banisters don't align with standard mounting points. The stakes rise when your layout breaks rules: an L-shaped staircase, for example, creates sight-line gaps; a split-level with two short flights demands protective barriers at different heights; and curved interior walls reject standard frame geometry.
Your measurement strategy must start before you select any gate. Width, depth, angle, and obstruction mapping are not afterthoughts (they're the foundation of a solution that will actually fit).
Measuring for Precision
When your home's geometry is non-standard, measurement becomes diagnosis:
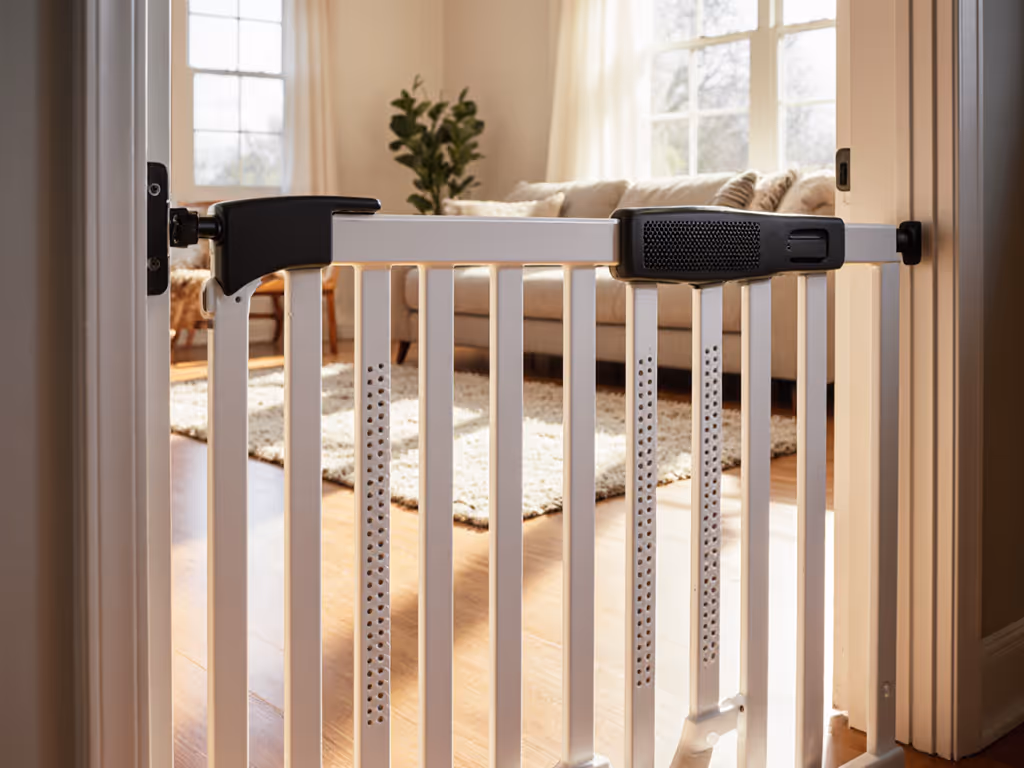
- Inside vs. outside dimensions: Measure the opening itself (inside face to inside face), then the surrounding wall thickness and any protrusions (baseboards, corner boards, quarter-round trim). Pressure gates need 1-2 inches of clearance on each side; hardware mounts need a solid frame surface and no interference from trim.
- Vertical obstacles: Note banister height, posts, railings, or architectural elements that might interfere with gate width or swing arc. For split-level installations, measure vertical drop between landing levels.
- Surface conditions: Mark areas with uneven plaster, textured wallpaper, or decorative trim that pressure feet might not grip. Hardware installations require solid wood or backing within the mounting frame. If you're working on tile, concrete, or round banisters, follow our step-by-step install guide.
- Threshold and gaps: Measure the vertical gap between the floor and the gate's bottom rail. Pressure gates should sit flush. Gaps create tripping hazards and allow crawling access.
- Swing clearance: Measure the full arc needed on both sides. A gate that swings inward into a hallway may block a high-traffic path; one that opens outward may collide with stairs or cabinets.
Document these measurements with photos and a simple sketch. When you contact manufacturers or retailers, this precision reduces compatibility confusion and return cycles.
Hardware vs. Pressure: When Your Layout Demands One Over the Other
The pressure-versus-hardware decision is often framed as renter-friendly convenience versus ultimate security. In unconventional layouts, it's more nuanced: your architecture may actually tip the balance.
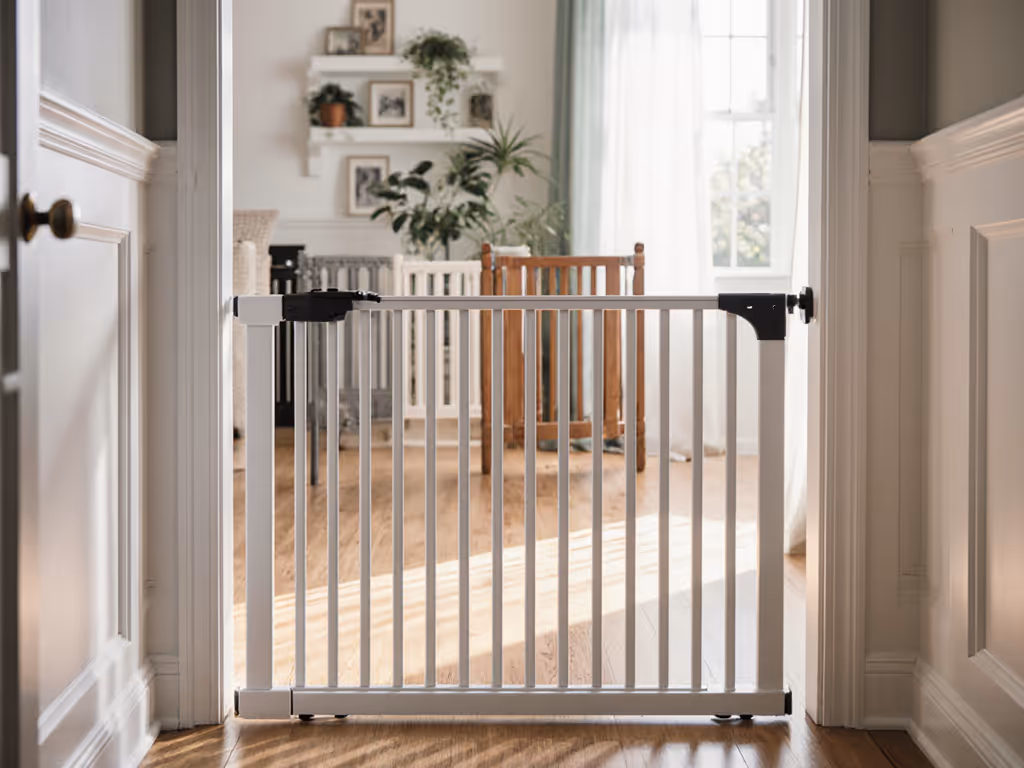
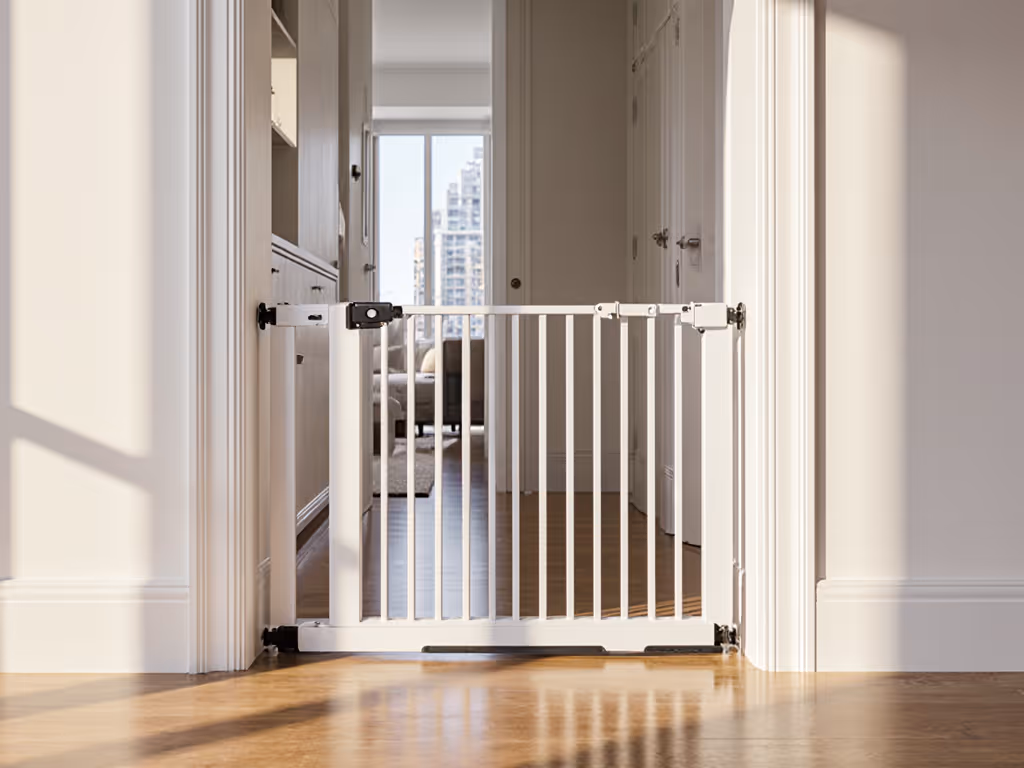
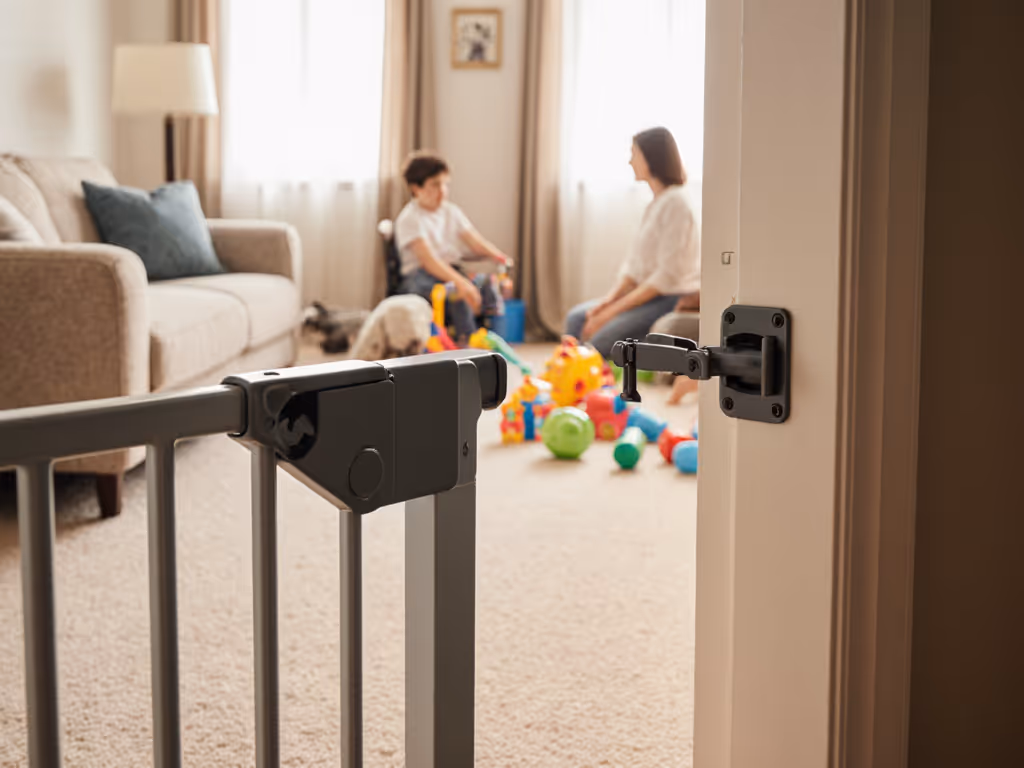
Hardware-mounted gates (bolted or screwed into door frames or wall framing) are inherently more stable and secure (particularly at staircase tops and on split-level stairs where the stakes are non-negotiable). A research-backed fact confirmed by safety standards: hardware mounts anchor to structural framing, creating resistance that pressure gates cannot match. If your unconventional layout includes a top-of-stairs barrier, hardware is not optional; it's a foundational safety choice.
For renters or those fearing wall damage, pressure-mounted gates remain viable, but only below stairs, not guarding transitions between levels. Wall protectors (adhesive pads or mounted stabilizers) reduce damage risk significantly and increase stability on pressure gates by 3-4 times, turning a wobbly temporary solution into something dependable for room dividers and hallway barriers.
Your layout dictates the mix: a split-level home might use hardware at both staircases and pressure gates for pet/baby zone separation within the main floor. Flow first, finish second. Choose mounting types that prioritize safe access patterns, not just installation convenience.
The Swing Direction Calculus
In unconventional layouts, swing direction isn't cosmetic; it's a traffic-flow decision that reshapes your daily routine.
If you have a long hallway with a gate at the midpoint, a gate that opens into the shorter section keeps your main path clear. If the gate is near a staircase, opening away from the landing prevents accidental swings into descending traffic. In an L-shaped floor plan, consider whether you want the gate to open into a lower-traffic room or remain accessible from your primary zone.
One-handed operation is essential: you'll often carry a toddler, laundry, or groceries through. A gate that swings smoothly in your chosen direction, auto-closes (or holds open with a single touch), and features a quiet latch is the difference between a routine that breathes and one that generates friction every passage.
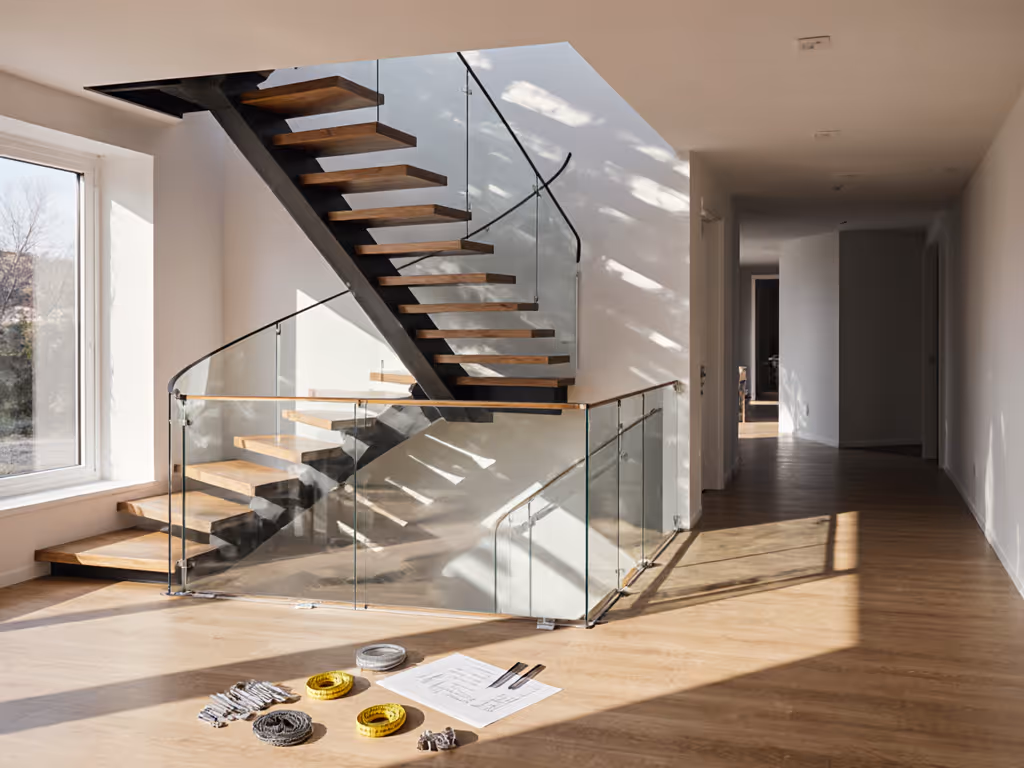
Split-Level and Multi-Story Solutions
Split-level gate installation is where unconventional layouts truly demand specificity. For staggered landings and tri-level layouts, see our split-level safety plan. A typical two-story house has landing-to-landing distance of 12-18 inches; some split-levels reduce that to 6-10 inches. This narrow zone cannot accommodate a standard-height gate; extension brackets or dual-height barriers may be necessary.
For split-level staircases:
- Measure the exact vertical rise from lower landing to upper landing to determine whether a single gate fits or if you need offset barriers.
- Hardware-mount at both levels if the gap is too narrow for a single gate to provide coverage.
- Ensure threshold clearance at both landings to prevent tripping.
- If the staircase curves, test swing arc clearance by physically positioning a gate mockup or template.
Double staircase barriers (e.g., main stairs and a basement stair nearby) require independent solutions: each staircase needs its own dedicated, hardware-mounted gate. Attempting to block both with a single gate or one pressure mount will inevitably leave a gap. Map each stair system separately, then stage installations so the highest-risk stairs (those with longer drops or toddler traffic) are secured first.
Irregular Doorway Safety
Arched doorways, off-angle openings, or doors that open into angled walls are common in older homes or those with architectural character. Standard pressure gates won't seat cleanly; they'll shift or tilt.
For irregular doorways:
- If the opening is slightly tapered (wider at top, narrower at base, or vice versa), measure at three points (top, center, bottom). Select a gate width that fits the narrowest point with 1-2 inches clearance, ensuring firm pressure contact.
- For arched openings, measure the width at the height where the gate will mount (typically 24-30 inches from floor). Do not measure at the arch's widest span, as the gate will mount lower.
- Corner angles: if walls meet at anything other than 90 degrees, a pressure gate may rock. Shim with adhesive pads or corner supports to level the frame.
- Custom home layout planning sometimes requires extension kits, angled mounting brackets, or hybrid installations (hardware on one side, pressure on the other).
Manufacturers often publish compatibility charts; use your exact measurements to verify fitment before purchasing.
Renter-Safe Strategies for Complex Spaces
Renting while managing infant or toddler safety in an unconventional layout requires maximum flexibility and minimum wall damage. Your installation strategy should leave zero trace after removal.
- Banister clamps and angle brackets: For split-level or staircase barriers, clamps bolted around banisters avoid drilling into walls or framing entirely. Test grip strength and ensure they won't slip under pressure.
- Adhesive wall protectors: Mounting pads or protective strips absorb pressure-gate foot marks and reduce permanent indentation. These are especially valuable in older buildings with softer plaster.
- Door frame anchors: If your unconventional layout includes multiple doorways, battery-powered level-check and removable frame brackets can secure gates without permanent hardware.
- Documentation for your landlord: Photograph your home before any gate installation, then after removal. This record protects your deposit and clarifies that gates were temporary safety measures, not alterations.
Let the gate disappear; let the routine shine. Even in a rented space with awkward architecture, a thoughtfully placed and finished gate should feel like part of your home, not an intrusion.
Aesthetic Integration in Non-Standard Layouts
Unconventional home layouts often feature distinctive design elements: exposed beams, mixed materials, or architectural quirks that make your space memorable. A utilitarian, industrial-grade gate in this context screams "baby gear," disrupting the visual rhythm you've established.
Finish and profile selection for your unconventional layout should mirror your home's palette. If your baseboards are matte black or charcoal, a white pressure gate is immediately jarring; a matte black or wood-tone gate recedes. In a Scandinavian or minimalist interior, a slim profile gate with clean lines outperforms a bulky, segmented frame. Curved or split-level staircases benefit from gates with sightlines (open cross-members rather than solid panels) so sight lines remain clear and the space doesn't feel segmented.
Wood finishes that echo your trim, metal finishes that match hardware elsewhere in the room, or neutral matte tones that allow the space to speak: these decisions are not superficial. They determine whether your home feels calm or fractured by safety gear.
Checklists for Implementation
Translating an unconventional layout into a safe, functional barrier installation requires step-by-step clarity:
Pre-Purchase Phase
- Measure the exact opening width, depth, and height; document surface conditions and obstacles.
- Identify which locations require hardware mounting (stairs, split-levels, high-risk zones) and which can use pressure gates.
- Verify swing direction preference and one-handed latch usability for your highest-traffic gate.
- Confirm renter status and any landlord restrictions on drilling or permanent modifications.
- Compile exact measurements and photos for compatibility verification with manufacturers.
Installation Phase
- For hardware mounts, verify stud location and use appropriate fasteners for your wall type (drywall anchors for older plaster; wood screws into solid framing).
- Install pressure gates with shims or adhesive pads to ensure level, plumb positioning.
- Test full swing arc, latch engagement, and auto-close or hold-open function before declaring the install complete.
- Confirm threshold clearance and the absence of tripping hazards.
Ongoing Adjustment
- Check pressure-gate tension monthly; settle may occur after initial installation.
- Test latch quiet-close mechanism and re-adjust if wear or loosening is noted.
- Inspect hardware mounts quarterly for rust, loosening, or movement.
- Photograph the final install for reference if gates are temporary or repositioned later.
Planning Across Your Full Home
Most unconventional layouts require multiple gates: top of stairs (hardware), bottom of stairs (pressure or hardware), room separators (pressure), and pet/baby zones. A budget-conscious approach prioritizes investment where risk is highest (stairs) and saves on room dividers or secondary barriers.
For custom home layout planning that spans years (from infancy through early toddlerhood and beyond), consider which gates you'll keep long-term and which are temporary. Stairs need robust, permanent solutions; nursery doors might be seasonal or variable as your child's independence grows. This forward view prevents over-investing in temporary barriers and ensures you're re-configuring, not replacing, as needs shift.
Next Steps: Translating Measurement to Purchase
With your unconventional layout mapped (measurements documented, obstacle notes recorded, and mounting strategy defined), you're ready to engage with manufacturers or retailers who can confirm fit and provide detailed installation guidance. Bring your exact dimensions, photos, and sketches; skip any "approximate" ordering that will result in returns.
As you move forward, remember that unconventional doesn't mean unsafe or visually compromised. It means precise. Let your home's unique geometry be the starting point, not an obstacle. The gate that disappears into your space (because it's positioned right, finished cleanly, and operates quietly) is the one that truly succeeds.
Related Articles