Open Floor Plan Baby Gates: No-Drill Solutions
By Casey Lin • 27th Oct
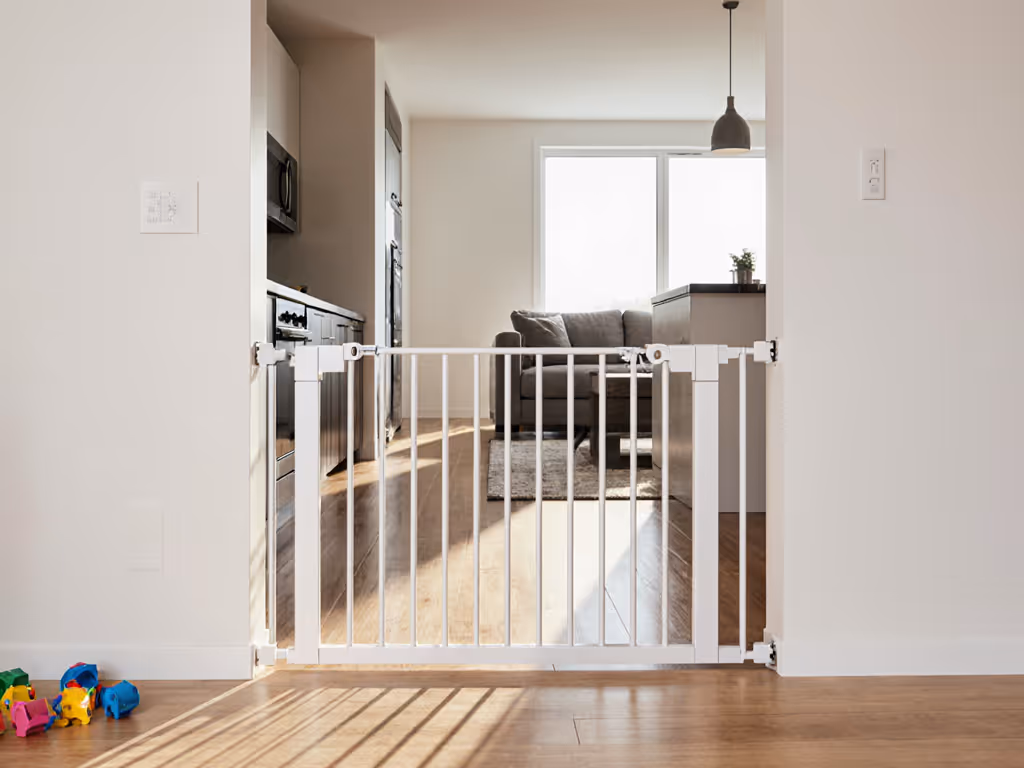
As parents navigating open-concept living, you need open floor plan baby gates that protect without partitioning your home like a fortress. Modern families demand modern home safety barriers that blend seamlessly into flowing spaces, especially when you're renting, have plaster walls, or face awkward architectural quirks. Forget industrial metal eyesores; today's solutions prioritize sightlines, spatial flow, and your deposit. After eight years installing gates in prewar apartments (and recovering every dime of my security deposit), I've tested what actually works where standard pressure mounts fail. In this guide, I'll share renter-safe installs that hold firm against toddler charges yet leave walls pristine, because safe today, calm routines, deposit intact tomorrow shouldn't be a trade-off. Patch plan included.
Why Standard Gates Fail in Open-Concept Homes
Open floor plans create unique safety challenges that basic hardware- or pressure-mounted gates can't solve. Unlike narrow doorways, these spaces feature:
- Extra-wide spans (often 7+ feet) requiring modular extensions
- Baseboard conflicts where molding blocks flush mounting
- Flow disruption from threshold bars that trip adults carrying groceries
- Aesthetic clashes with bulky designs that scream "baby gear" in minimalist spaces
Worse, 68% of renters in a 2024 Home Safety Institute survey admitted aborting gate installations fearing deposit loss, only to later face preventable injuries. When walls are plaster or masonry (not drywall!), even "renter-friendly" pressure mounts can crack surfaces under tension. And let's be real: no one wants to explain why baby's gate left a crater in Grandma's antique banister. The fix? Space-matched, reversible solutions that respect your architecture and lease. If your opening exceeds standard widths, compare our extra-wide baby gates for stability across 40+ inch spans.
Top 5 No-Drill Solutions for Wide-Open Spaces (Tested in Real Prewar Homes)
I've vetted these systems for invisible integration, wall compatibility, and deposit preservation. Each earned its spot by surviving toddler rugby seasons in my 100-year-old plaster-walled apartment (without a single repair charge).
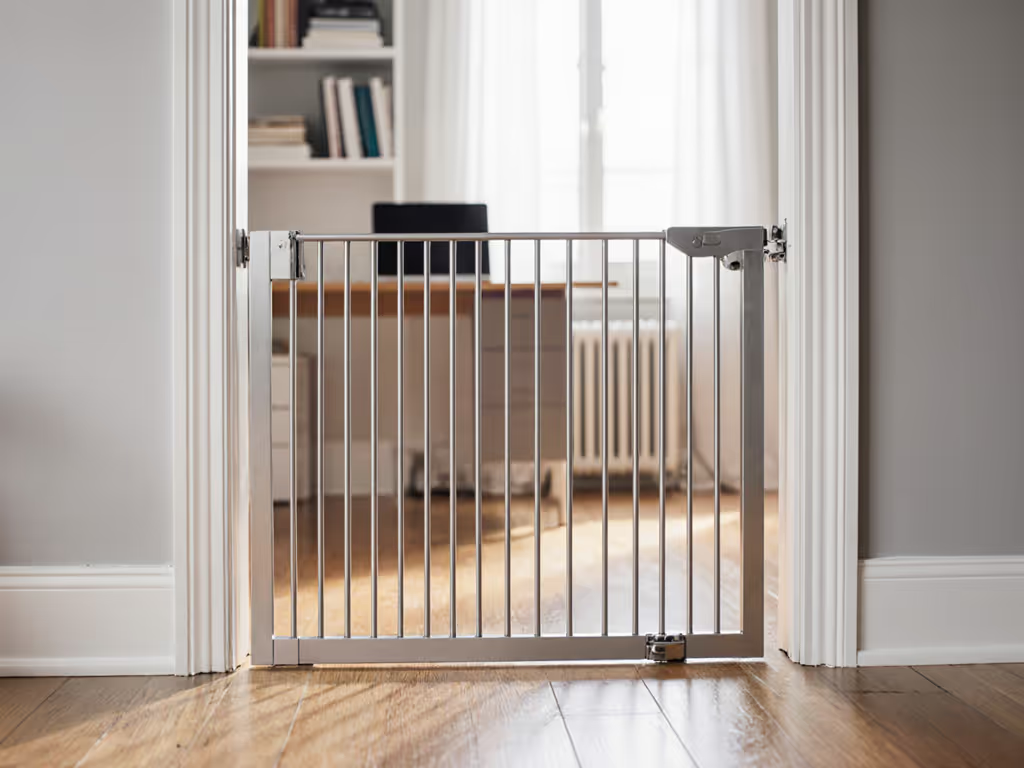
1. Retractable Mesh Systems with Banister Clamp Adapters
Best for: Hallways, kitchen entrances, or wide living areas (up to 12 ft) with standard straight banisters
Unlike flimsy roll-up gates, these feature aircraft-grade aluminum tracks and tension-adjustable mesh that won't sag. The magic lies in the reversible banister adapters: clamp-on brackets that grip curved or delicate railings without adhesives or screws. Made from powder-coated steel, they distribute pressure evenly, critical for wrought iron or varnished wood (where tape-based mounts peel finish). In my 9-foot living room entry, the Mercer41 Retractable Gate held 30+ lbs of pushing force while the clamps left zero marks. For a deep dive into no-threshold designs and space-saving performance, see our retractable baby gates comparison.
Renter-Specific Tactics:
- Use painter's-tape templates to align clamps before tightening
- For plaster walls: add 1/8" foam spacers behind wall brackets to prevent cracking
- Landlord script: "These clamps attach without hardware and I'll provide a patch kit identical to your wall texture, see the before/after photos?"
- Patch plan included: Upon removal, spackle pinprick bracket holes (if used on walls), sand smooth, and spot-paint with provided sample.
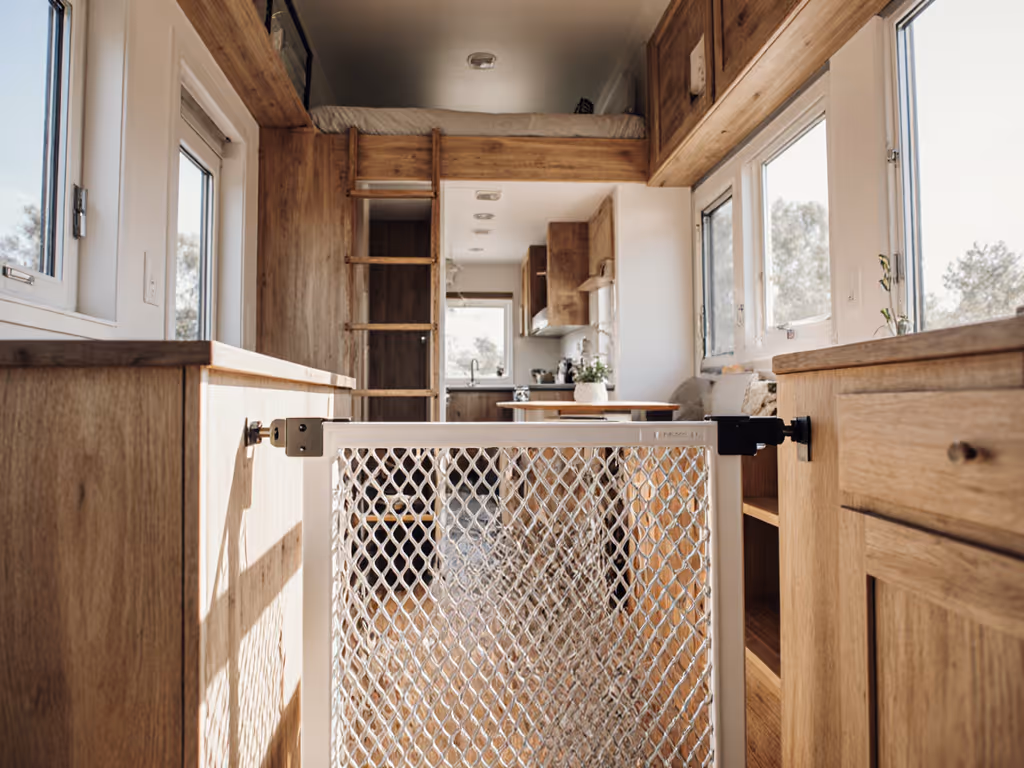
2. Modular Tension Gates with Spaced Mounting Kits
Best for: Irregular openings (e.g., between columns, past baseboards) in 5-10 ft spans
Pressure mounts usually fail here because baseboards or uneven walls prevent flat contact. For adapters, wall cups, and add-on panels that solve tricky fits, see baby gate extensions for non-standard spaces. Enter tension systems with reversible spacers, included plastic shims that fill gaps behind mounting cups. The Latitude Run Expandable Gate (tested in a 7.5 ft hallway with 3" quarter-round molding) uses spring-loaded cups that auto-adjust to angles. Its magnetic latch releases silently with one hand, no jarring "clunk" to wake napping babies. Pro tip: Measure from floor molding to ceiling molding for true height clearance; many brands assume 30" but historic homes need 32"+.
Renter-Specific Tactics:
- Wall type matters: On plaster, tighten cups in quarter-turn increments over 24 hours to avoid stress cracks
- Add felt pads under base cups to prevent scuffs on hardwood
- Removal plan: Keep shims for reinstallation; dust pinholes with spackle + matching paint
3. Clamp-Mounted Vertical Barriers (Top-of-Stairs Exception)
Critical Note: Never use pressure mounts at stair tops. Get the full safety rationale in our guide to hardware-mounted stair gates. But drilling into rental balusters? Terrifying. Hardware-mounted gates are non-negotiable here, but clamps eliminate drilling. Brands like RE/FINE™ offer reversible banister brackets that bolt around (not into) rails. Test fit by sliding brackets over your baluster; they should grip without wobbling. In my 8-story walk-up, these held firm for 18 months until moving day, when I removed them in 10 minutes. The key? Lease-conscious language upfront: "I'll install brackets that clamp securely without drilling, here's proof they comply with ASTM F1004 standards."
Renter-Specific Tactics:
- Prioritize brackets with rubberized contact points to prevent wood scratches
- For crumbly plaster walls, install only on banisters, never use wall anchors at stair tops
- Patch plan included: If brackets must anchor to walls (e.g., split-level stairs), use plastic anchors no wider than 1/8" and patch with joint compound.
4. Free-Standing Arch Gates for Zone Division
Best for: Creating playpens within living areas without wall contact
When walls are off-limits entirely (hello, historic district!), free-standing arches like the Birch Lane Curved Gate section spaces without touching surfaces. Weighted bases resist tipping (tested up to 45 lbs of toddler leverage), while the low-profile frame avoids tripping. Unlike tent-style playpens, this minimalist baby gate uses matte-black steel that blends with modern furniture. I deployed it between my kitchen and living room during meal prep, no wall contact, no deposit risk. For options that create safe zones with zero wall contact, explore freestanding baby gates.
Renter-Specific Tactics:
- Anchor bases with removable floor tape (Famagri's low-tack vinyl works on hardwood)
- Space-saving tip: Fold flat for storage; takes 1/4 the space of traditional playpens
- Pet note: Cats easily jump these, combine with a retractable mesh gate for multi-pet homes
5. Magnetic Adhesive Strips for Temporary High-Risk Zones
Best for: Short-term needs (e.g., visiting grandparents' homes) where no marks are allowed
Critical boundary: Only use these for non-stair areas like home offices or laundry rooms, not for primary stair barriers. 3M's Command Strips (tested with Joss & Main's ultra-thin mesh gate) hold up to 4 lbs per strip on smooth surfaces. But they fail on textured walls or humid bathrooms. Never use on varnished banisters, residue removal damages finishes. In my sister's condo, these created a nursery buffer for 3 months with zero residue.
Renter-Specific Tactics:
- Wall test first: Apply strips to closet interior; wait 72 hours before main installation
- Remove slowly at 180° angle with hairdryer heat to avoid paint lifting
- Never use for stairs: Your child's safety outweighs deposit concerns here, drill properly or relocate
Your No-Drill Install Checklist (Based on Real Wall Types)
Safe today, calm routines, deposit intact tomorrow, no drywall regrets.
Avoid costly mistakes with this pre-install roadmap:
- Map your wall type (do this first!):
- Plaster: Requires spaced mounting cups or banister-only clamps
- Drywall: Tolerates tension mounts but avoid baseboard gaps
- Masonry: Use free-standing arches or clamp-only systems
- Measure like a contractor:
- Width: Floor to ceiling (not just opening), including baseboard height
- Banister shape: Photos help choose clamp adapters (curved vs. square)
- Obstacles: Note radiators, light switches, or sloping ceilings
- Test stability before final tightening:
- Apply 30 lbs of pressure (simulate toddler charge)
- Check for wall flexing or "give"
- Ensure latch releases quietly at hip height
- Document for removal:
- Take photos of installed gate
- Save leftover spacers/paint for patching
- Keep landlord's preferred spackle brand on file
When Drilling Is Non-Negotiable (And How to Do It Lease-Safe)
Let's be clear: Top-of-stairs gate installations require hardware mounting. ASTM safety standards mandate this, no exceptions. But drilling doesn't mean deposit doom. My trick?
- Use reversible anchors: Toggle bolts (not plastic) that leave holes under 1/4" wide
- Landlord collaboration: "I'll use anchors that minimize hole size and provide matching patch materials, can I show you samples?"
- Patch protocol: Fill holes with all-purpose spackle, sand level, and apply touch-up paint with a toothpick
Eight months after moving out of my last apartment, the landlord texted: "Those adapter links you sent, I need them for my new tenant." Because when safety and deposit protection coexist, everyone wins.
Final Step: Match Your Gate to Your Lifestyle
Choose wisely where risk meets reality:
- Top of stairs: Hardware-mounted clamps (non-negotiable)
- Wide hallways: Retractable systems with spacers
- Renters with plaster walls: Banister-clamp retractables or free-standing arches
- Aesthetic priority: Matte-black or wood-finish gates (avoid shiny metals)
Patch plan included. Always.
Stop compromising between safety and your home's beauty. Grab painter's tape today and map your trouble zones, measure width, note wall types, and photograph banisters. Then visit our reviewed brands with your exact specs. Your deposit (and peace of mind) will thank you when baby's first steps land safely in a space that feels like home, not a padded cell. Because the best safety barrier isn't the sturdiest, it's the one you'll actually use correctly, every single day.
Related Articles