Baby Gates for Climbers: Hardware vs Pressure
By Arjun Mehta • 19th Mar
The Core Question: When Toddlers Test Your Gates
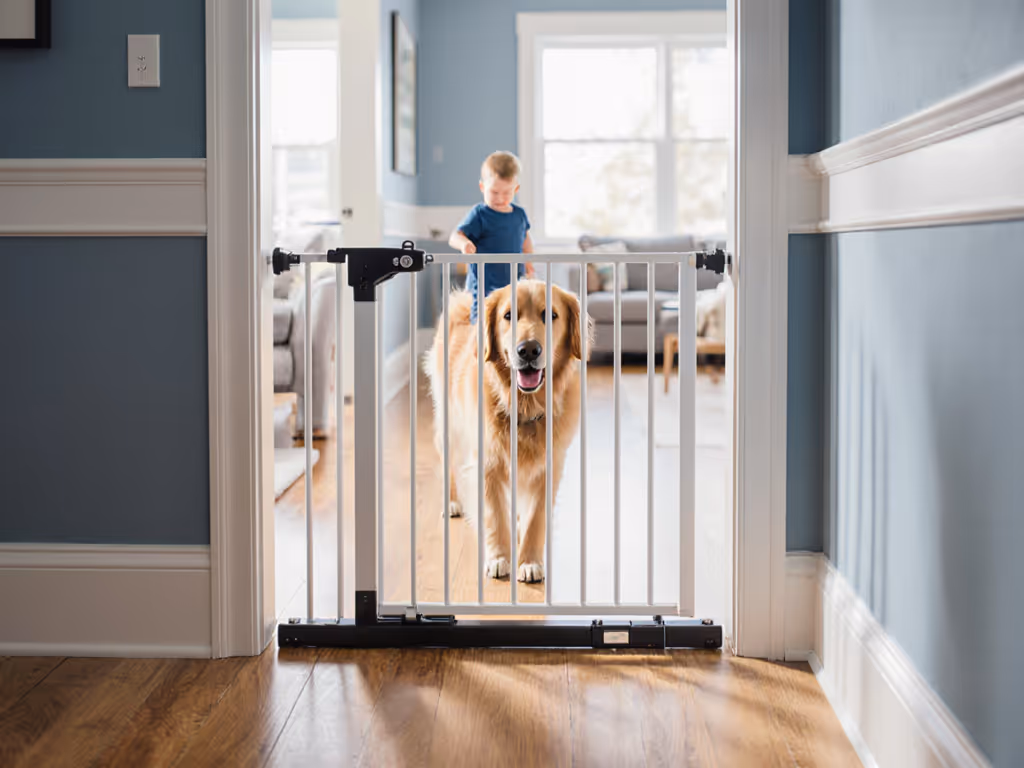
When your climber stands on their toes and reaches for the latch, or when you watch a determined 18-month-old lean their entire body weight against a gate panel, the difference between a hardware-mounted baby gate and a pressure-mounted gate becomes acutely real. This is not academic, it's the moment when the choice you made three months ago either holds firm or bends under live stress.
Parents of mobile toddlers (typically 12-36 months) face an overwhelming decision: toddler climbing prevention gates require different engineering than room separators or temporary doorway blocks. The published standards are dense, the marketing claims are optimistic, and your home's geometry is uniquely awkward. This guide translates the threshold data and real-world failure modes so you can match gate type to your exact space and climbing risk. For a side-by-side breakdown of use cases, see our pressure vs hardware mounted comparison.
FAQ 1: What's the Actual Difference Between Hardware-Mounted and Pressure Gates When It Comes to Climbing?
The core distinction is deflection under load. Pressure-mounted gates achieve their hold by expanding tension rods against opposing walls via friction and adhesive pads. When a 30-pound toddler pushes, climbs, or hangs on the panel, that tension-braced structure yields, often measurably [1].
Hardware-mounted gates fasten directly to wall studs or railings using screws or bolts, anchoring the entire frame to the structure of the home. Under the same 30-pound load, these gates move millimeters, not inches [1].
Why does flex matter? A gate that flexes 1-2 inches under climbing pressure doesn't just look unstable; it teaches a toddler that persistence works. The gate moves, the child learns the boundary is negotiable, and your anxiety rises nightly. Structural confidence drives daily peace of mind; numbers win arguments, and measured flow prevents everyday mistakes and near-misses.
Key Threshold Metrics
- Pressure-mounted resistance: typically rated to resist 150-200 pounds of distributed force when installed per spec [6]
- Hardware-mounted resistance: rated to resist 250+ pounds and withstand repeated climbing, chewing, and impact from determined toddlers
- Acceptable deflection at 30 lb load: <0.5 inch for stairs; <1 inch for room separators
- Latch manipulation resistance: hardware gates with deadbolt-style latches resist two-handed toddler twisting; pressure gates with simple push-button latches often fail under determined play
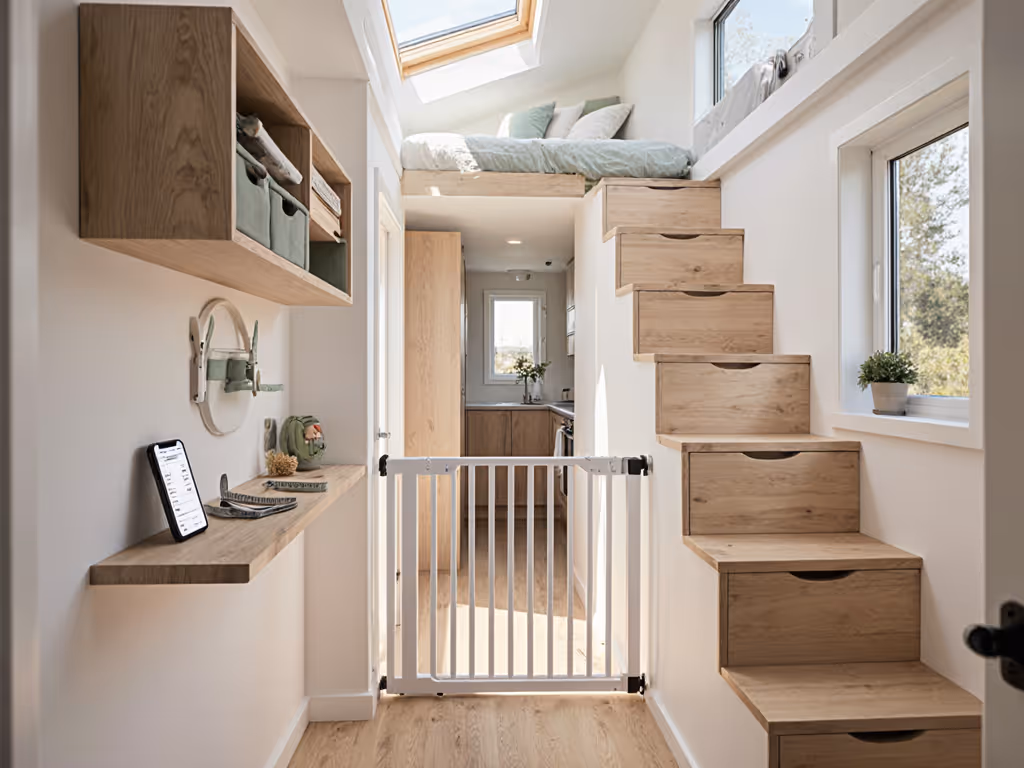
FAQ 2: Is Pressure-Mounted Safe at the Top of Stairs?
No. Not in practice, and it's worth stating plainly. Get the full evidence in our pressure mount myth-busting guide.
Standards bodies and safety testers consistently recommend hardware-mounted gates for top-of-stairs and landings where a fall means serious injury [1][2]. Pressure gates are suitable for lower-risk situations: blocking off rooms or play areas on level floors [1].
Here's the real scenario: I audited a top-of-stairs install where the parents chose pressure mounting to avoid drilling. The gate was rated for 150 pounds; the family had a 65-pound dog and two toddlers. After three weeks, the tension had loosened visibly, a common drift in pressure systems over time. The moment a 25-pound climber pulled up on the gate panel while the dog leaned against it, the frame shifted an inch toward the stairs. The child didn't fall, but that moment crystallized why fixed anchoring matters when consequences are permanent.
We swapped to a hardware-mounted model, centered the hinges to swing away from the drop, added a threshold ramp for stride clearance, and the nightly scramble vanished [2]. The gate no longer felt like negotiable furniture; it felt like architecture.
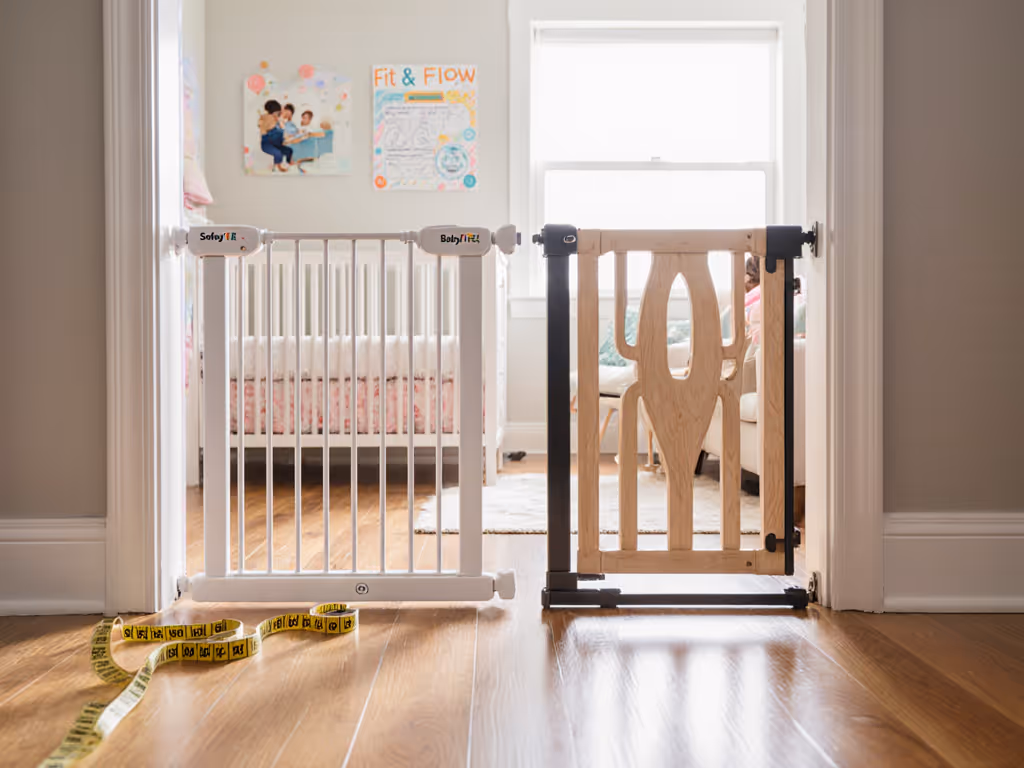
FAQ 3: What About Awkward Spacing, Banisters, and Rental Restrictions?
This is the real-world knot. Most homes don't have standard 30-inch openings with flat drywall on both sides. For non-standard surfaces and railings, follow our tile, concrete, and banister installation guide.
Common Geometry Challenges
- Curved or angled staircase tops: Standard top-of-stairs gates assume two vertical wall planes; spiral or split-level stairs force choice between poor fit and no gate
- Wrought-iron or spindle railings: Hardware gates may not mount securely to ornamental banisters; you'll need banister clamps or a certified railing mount
- Quarter-round baseboard or molding: Pressure rods jam against trim; hardware hinges demand clearance
- Wide openings (48-60 inches): Pressure gates extend into portability loss; hardware gates must span with reinforced panels or extension kits
- Rental terms: Drilling is forbidden; you're limited to damage-free pressure or temporary banister clamps
Strategy: Measure, Simulate, Then Decide
- Map the space with inside vs. outside dimensions, baseboard height, and hinge swing radius
- Identify the anchor points: studs, solid wall, banister rail, or only adhesive-only drywall
- Test pressure fit with cardboard or a borrowed gate; watch for baseboard jam and sag after 1 week
- Calculate force paths: will a climbing child's weight hang from hinges or press sideways on springs?
- Verify rental/lease policy before drilling; photograph walls and frame damage risk
FAQ 4: How Do Climb-Resistant Barrier Designs Actually Work?
Climbing resistance rests on three principles: panel stiffness, latch strength, and lack of handholds.
Design Elements That Stop Climbers
| Feature | How It Blocks Climbing | Pressure-Mount Limitation |
|---|---|---|
| Vertical mesh or solid panels | No horizontal crossbars to step or grip | Flex under weight reduces rigidity |
| Recessed latch (deadbolt style) | Requires two-handed twist; no thumb-flick | Pressure latches are simple push-buttons |
| Hinged door that auto-closes | Heavy-weighted or spring-loaded closure; child must hold open with one hand while climbing | Added weight increases panel strain on pressure system |
| Raised hinge points | Pivot axis above child's eye level; no leverage for push-down | Concentrated load at top stresses adhesive pads |
| Reinforced top rail | Steel or hardwood header resists down-hanging | Extra weight concentrates load at pressure contact points |
Pressure-mounted gates struggle with this equation: adding stiffness and resistance requires heavier materials, which overload adhesive pads and tension rods over time. Hardware mounting sidesteps this trade-off; the gate's weight distributes via studs and fasteners, not friction.
FAQ 5: What Does Toddler Gate Security Testing Actually Measure?
Real safety testing simulates climbing, pushing, and latch manipulation, not just static load.
ASTM and Consumer Reports Standards
- Push-over test: 30-pound horizontal force applied to center of gate panel; acceptable deflection <0.5 inch at stairs
- Climbing simulation: a weighted dummy child hangs from top rail; pass = no hinge pull-out or panel separation
- Latch resistance: repeated two-handed twist and pull; pass = latch remains locked after 100 cycles
- Impact and drop: gate withstands edge impacts and drop weight; pass = no crack, separation, or jamming
- Adhesive durability: pressure pads tested over weeks and months to confirm tension hold does not degrade
Consumer Reports has tested dozens of gates, ranging from $25 basic wood pressure-mounted models to nearly $200 hardware-installed systems [3]. The clearest finding: hardware gates consistently outperform pressure gates in climbing-resistant scenarios.
Yet many budget-conscious parents still choose pressure gates for non-stair use, accepting the trade-off of portability and no drilling for reduced force rating. That's a rational choice, if applied to the right space. Top of stairs? No. Multi-level home where stairs are a prime accident zone? No. Room separator on a flat floor with older toddlers who rarely test boundaries? Defensible.
FAQ 6: How Do I Know Which Gates Resist Latch Manipulation?
Latch style is a silent safety differentiator that most parents overlook.
Latch Types Ranked by Toddler-Resistance
- Deadbolt-style (two-hand twist): Hardware gates; requires simultaneous grip and turn, most toddlers can't execute until 3+ years
- Lever-handle (child lock compatible): Hardware gates; lever can be locked in closed position; release requires adult deliberate action
- Push-button with spring return: Common on pressure gates; single-hand press; toddlers master by 18 months
- Magnetic catch (passive): No active locking; toddler can bang through
If your child is age 20+ months and tall enough to reach the latch, assume they will test it. Pressure gates with push-button latches fail this test. Hardware gates with deadbolts or lever locks hold the boundary even after the child figures out the mechanism, they just can't execute it.
FAQ 7: Do I Really Need to Drill? What Are Renter-Safe Alternatives?
No, you don't have to drill, but you trade drilling risk for tension-maintenance risk and lower force rating.
No-Drill Strategies
- Pressure-mounted at non-stair locations: Room dividers, kitchen boundaries, playpen perimeter
- Banister clamps: Hardware gates that attach via rail clamps rather than wall screws; no wall damage; effective if your banister is solid and your gate fits the rail diameter
- Temporary door-mount brackets: Some hardware gates use rubberized frame bars that press against doorframes without drilling; test fit is critical, poor contact equals wobble
- Adhesive wall pads (for pressure systems): Heavy-duty adhesive strips instead of screws; reversible if residue is carefully removed; rated for lower weight cycles than screws
When Drilling Is Worth the Risk
- Top of stairs with a fall hazard >4 feet
- Multi-level homes where stair access is frequent
- Toddler age 18+ months with demonstrated climbing behavior
- Permanent home or landlord approval on file
Document your install (photos, measurements, fastener location) so a future tenant or buyer knows what's anchored where. This turns drilling from a liability into a selling point: "Previous owner installed pro-grade safety gate with documented stud location."
FAQ 8: How Much Does Installation Difficulty and Time Matter?
Installation speed and ease directly predict whether parents maintain the gate correctly.
Time-to-Open Trade-Offs
A pressure gate that simply detaches in 10 seconds allows a parent to open it, step through with a load of laundry, and reattach. A hardware gate with a swinging door and latch can be opened one-handed while holding a child, no removal required.
Parents exhausted at 6 p.m. and unable to open a gate quickly are more likely to prop it open, forget to close it, or leave it insecure. Fit and flow predict safety better than force ratings alone. A gate that integrates into your daily routine is one you'll use correctly every time; a friction-generating gate becomes a household frustration.
Similarly, pressure gates require hand-tightening as tension drifts; hardware gates need rare inspection. The cognitive load of "Is this tight enough today?" adds to parental anxiety.
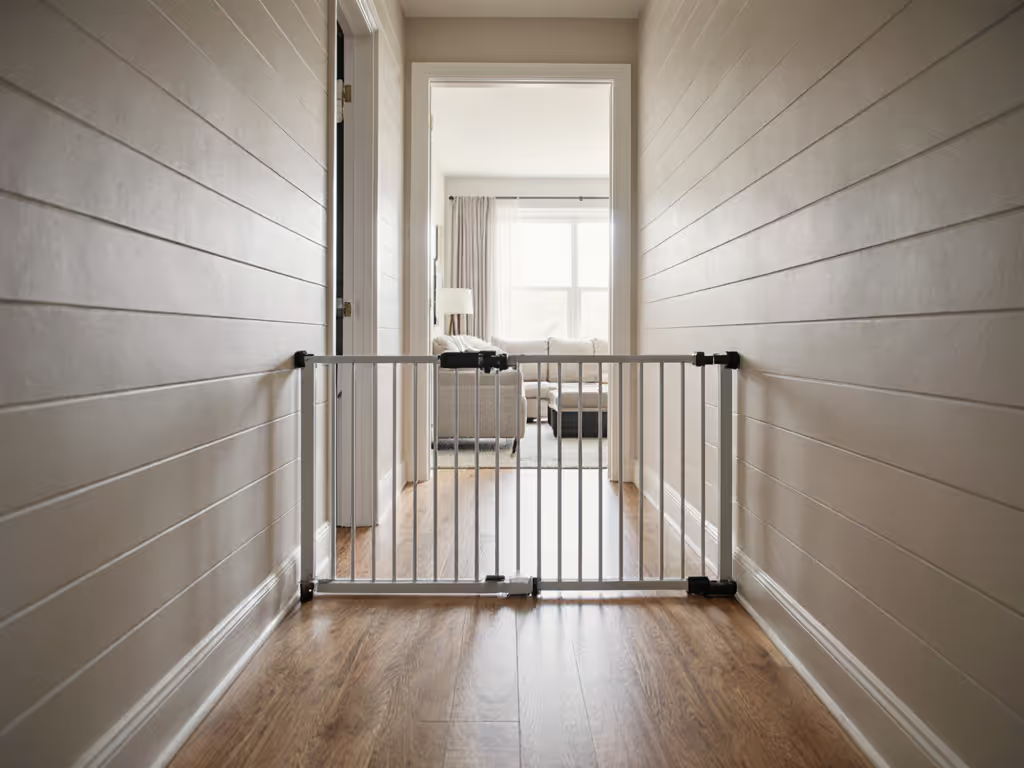
FAQ 9: What About Climbing in Wider Openings and Multi-Story Layouts?
Wide spaces demand reinforced spanning or multi-panel design; standard pressure rods fail.
Openings wider than 40 inches expose pressure systems to bowing. See our extra-wide baby gates stability tests for 40+ inch spans. A 50-inch span with a climber in the center creates a flex-and-sag scenario that worsens over weeks [3]. Hardware gates can span wider because the panel distributes load to fixed anchor points rather than relying on friction alone. Some hardware systems include extension panels to cover 60+ inches.
In multi-story homes with stairs at landings and hallways, installing the most robust gate at the top of stairs is the priority; secondary gates (room dividers, balcony accesses) can use pressure-mounted designs because the consequence of failure is lower.
FAQ 10: Should Gate Choice Change as My Child Grows?
Yes. Age and climbing ability drive mounting choice.
Age-Risk Progression
- Under 12 months (pre-crawlers/early crawlers): Pressure gates work for room separation; latch strength doesn't matter yet
- 12-18 months (crawlers/early walkers): Pressure gates still suitable for non-stair uses; climbing interest begins; latch-proofing becomes relevant
- 18-24 months (climbers): Hardware gates needed for stairs and high-risk areas; climbing skill accelerates; height-adjustable extra-tall gates prevent over-the-top escapes
- 24-36 months (advanced toddlers): Extra tall stair gates (up to 36 inches) prevent climbing over; latch manipulation becomes a daily game; hardware gates with deadbolt latches hold the boundary
- 36+ months: Most toddlers are past gate age; focus shifts to teaching gate opening/closing as a rule, not a barrier
Upgrading from pressure to hardware partway through is common. Parents often start with a rented apartment and a portable pressure gate, then move to a house with stairs and swap to a hardware-mounted model.
Key Takeaways: Choosing Your Gate Strategy
- Top of stairs, falls >4 feet, or climbing toddlers: Hardware mount. Measure, simulate, then decide on stud location and swing direction.
- Pressure gates at stairs: Not recommended; force-rating and flex-under-load data do not support this use.
- Room dividers and level-floor boundaries: Pressure gates are acceptable if you accept lower durability and periodic tension re-tightening.
- Rental restrictions: Explore banister clamps, door-frame brackets, and adhesive pads before writing off hardware entirely.
- Latch resistance: Hardware gates with deadbolt or lever locks beat pressure push-button latches for determined toddlers age 18+ months.
- Wide openings: Hardware gates with reinforced panels or extensions; pressure systems bow under load.
- Installation integration: A gate that opens smoothly and closes quietly fits household flow; a friction-generator becomes invisible because you'll stop using it correctly.
Continue Exploring
Your gate choice is one variable in a broader home-safety plan. Consider pairing your selected gate with:
- Stride-clearance audits: Walk the path with a toddler-height perspective; is there a threshold bar that trips, or a swing-radius that blocks kitchen access?
- Banister and latch testing: If you select hardware mounting, confirm hinge swings away from stair drop and latches resist your child's current manipulation strength.
- Periodic tension checks (pressure systems): Mark the tension-rod position weekly for the first month; any visible drift signals re-tightening or adhesive failure.
- Safety-gate recall tracking: Register your gate with the manufacturer and monitor CPSC updates for deflection or latch issues.
- Grandparent/caregiver training: If others will open and close the gate, validate their latch-closing habit and swing-direction understanding, complexity is the enemy of compliance.
Your home's exact geometry, your child's climbing age, your rental vs. ownership status, and your daily flow patterns are the data points that matter most. Measure them carefully, test fit when possible, and anchor your decision on force ratings and deflection specs rather than brand prestige or aesthetics alone.
Related Articles