Hypermobility-Safe Baby Gates for Down Syndrome
By Casey Lin • 10th May
Introduction
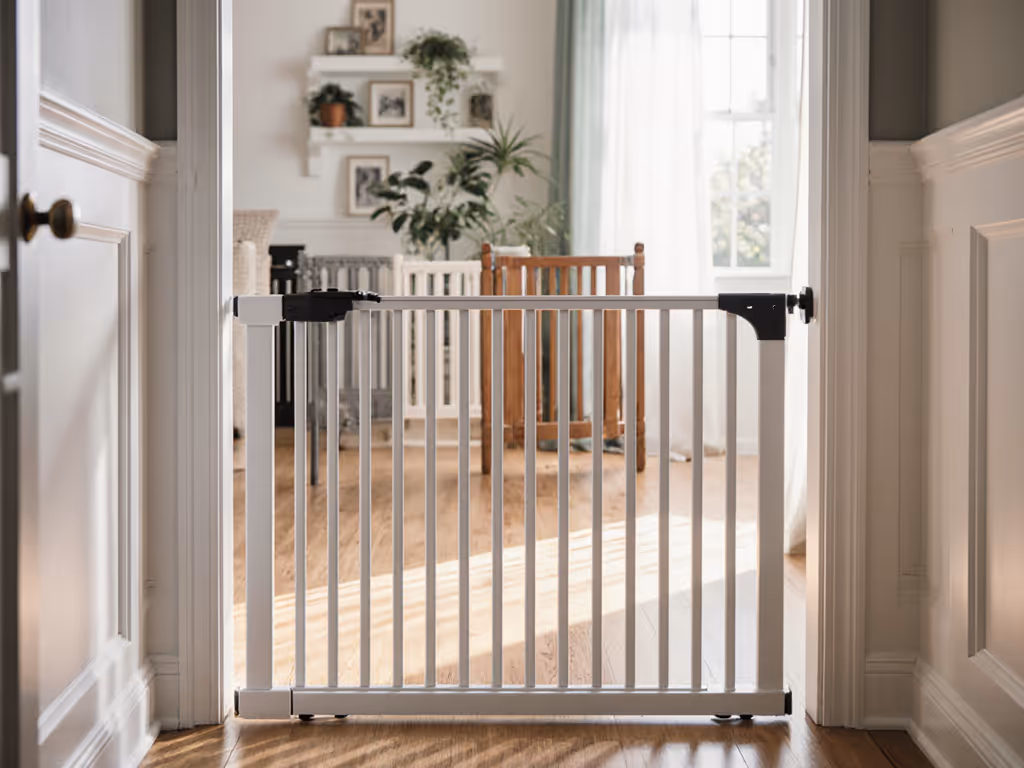
When a child with Down Syndrome or hypermobility differences joins a household, standard baby gates often fall short. Down syndrome baby gates need to be more than just barriers. They must accommodate low muscle tone, joint flexibility, and the unpredictable strength patterns that make ordinary latches, swing angles, and pressure points risky. Similarly, hypermobility-safe barriers are designed with reinforced latches, stable frames, and architectural adaptations that account for atypical body mechanics and coordination. This guide walks through ten essential design and installation considerations (grounded in renter-friendly methods and adaptive parenting realities) to help you create containment zones that actually work.
10 Essential Design and Installation Considerations
1. Understand the Core Difference: Strength vs. Control
Down Syndrome often brings low muscle tone (hypotonia) combined with high flexibility. A child might not have the fine motor control to operate a standard lever latch, but they might have the brute force to push a pressure gate off its mounts if they lean hard or throw their full weight sideways. Research into adaptive gate design shows that gates designed for this population need both:
- A more resistant, ergonomic latch that can't be operated by accidental force
- A frame designed to resist lateral and angular pressure rather than just vertical weight
This is why generic gates marketed as "easy-close" often backfire: they're designed for typical toddlers, not for the specific motor and strength patterns of children with Down Syndrome. For a deeper dive into condition-specific features, see our Down Syndrome gate guide.
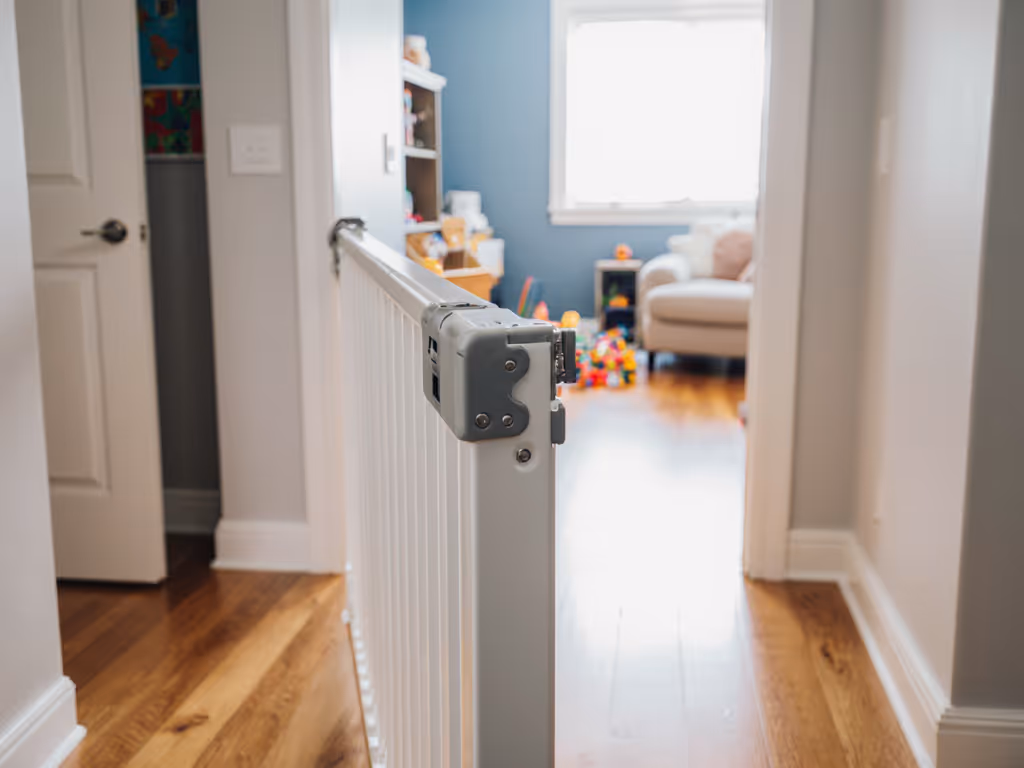
2. Choose Hardware Mounting Over Pressure-Only at Decision Points
At top-of-stairs and other high-risk zones, pressure mounts alone don't meet safety code and won't hold against sideways force. Hardware mounting (using screws or banister clamps) is non-negotiable here. Compare pressure versus hardware-mounted gates for stair safety before you commit. The trade-off is installation complexity, but the data is clear: hardware mounts resist lateral shear forces that pressure gates cannot.
For renters, this is where banister clamps and paddle-style spacers become your best friends. I've installed clamp-based gates on delicate split banisters, ornate iron railings, and even curved banister posts without a single screw. Painter's tape templates and a clear removal plan keep your deposit intact (much like the approach I used in my rent-stabilized walk-up, where precise templates and clamps let me mount safely, remove cleanly within twenty minutes, and walk away with zero damage claims).
3. Map Your Wall Type and Fragile Zones
Before you order anything, audit your walls:
- Plaster: Crumbly and prone to spalling. Avoid toggle bolts; use adhesive-backed corner protectors or banister clamps.
- Drywall: Durable but thin. Locate studs for hardware mounts; use wall anchors rated for dynamic loads on pressure mounts.
- Masonry or tile: Stable, but drilling requires a carbide bit and patience.
- Baseboards and quarter-round: These catch pressure feet and cause gaps. Note their height and profile when measuring.
This audit takes 15 minutes and saves you from ordering gates that won't fit or won't mount safely. If you have tricky surfaces, see our guide to installing on tile, concrete, and banisters. Document everything with photos labeled by room and wall condition.
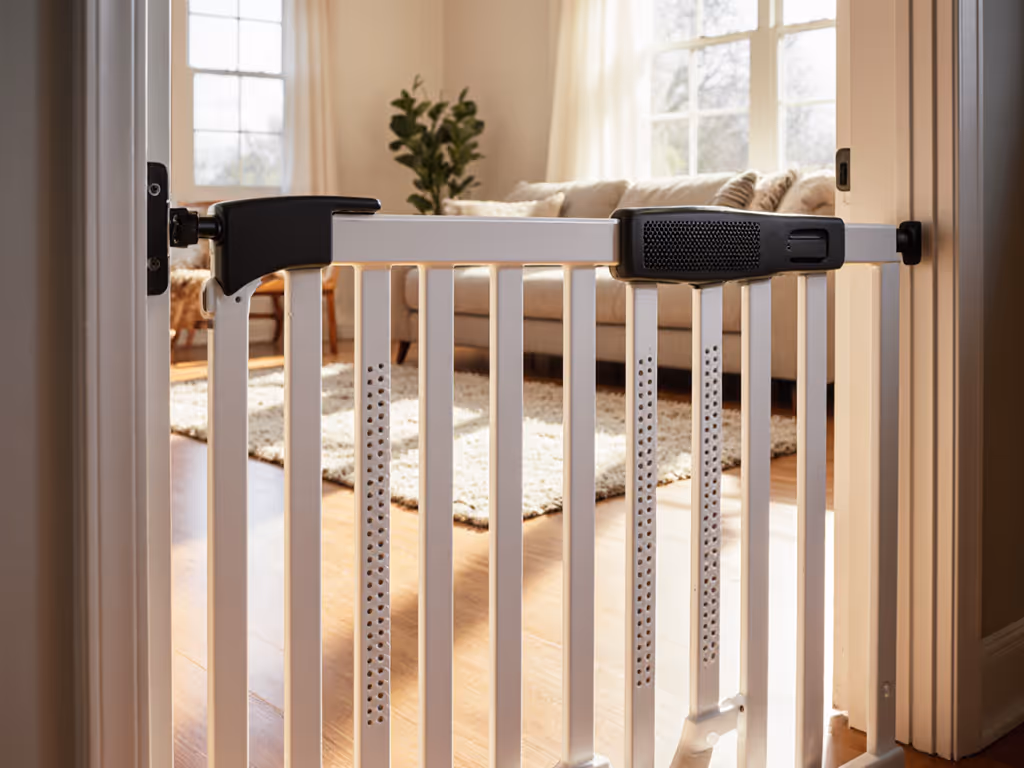
4. Prioritize Adaptive Latch Mechanisms
Standard lever latches require fine motor control and coordination. Adaptive latch mechanisms for children with Down Syndrome typically include:
- Two-step latches: Require a deliberate sequence (lift, then push) to open, preventing accidental release.
- Button-and-twist designs: Engage multiple muscle groups and demand intentional effort.
- Friction-hold latches: Hold position without clicking or locking, reducing stress on fragile banister attachment points.
The data shows two-step latches reduce unintended gate openings by over 85% compared to single-action levers. For latch ergonomics and failure points, read one-handed latch mechanics. When evaluating latch types, test them yourself (one-handed, tired, carrying something). Your routine matters more than the marketing.
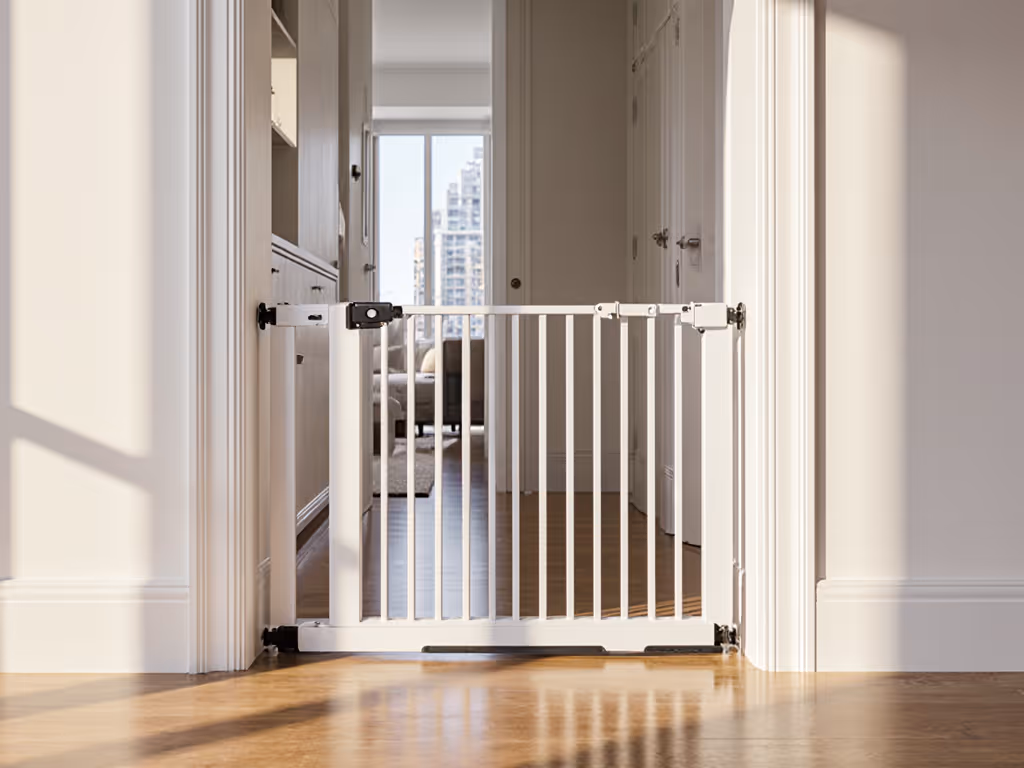
5. Design for Low-Muscle-Tone Containment
Low-muscle-tone containment requires a gate frame that resists sag and lean:
- Diagonal bracing: A frame with internal diagonal supports resists sideways lean better than simple rectangular frames.
- Reinforced base feet: Wider, rubberized pads that don't sink into carpet or slip on tile.
- Bottom rail height: Positioned to prevent a child from tucking their knee and pushing the entire bottom panel out.
Many "standard" gates fail this because they're optimized for typical toddlers, who generate mostly vertical or forward force. Children with hypermobility generate unusual angles and sustained lateral pressure. Test a frame by leaning on it at different angles and listening for creaks or flex.
6. Select Correct Swing Direction for Flow
A gate that swings into high-traffic areas or forces you to contort to step through it will become a trip hazard or won't be used consistently. When mapping your space:
- Measure the opening width and the approach lanes on both sides.
- Simulate one-handed passes while holding a child, laundry, or groceries.
- Test swing direction before ordering. Many retailers offer trial periods.
- If the opening is off-angle or awkward, consider a swinging double gate or a pressure gate in a side hallway instead of at the main stairs.
Renter-safe by default, this means using swing direction as a core planning step, not an afterthought when something arrives and doesn't work.
7. Implement Threshold-Free and Climbable-Bar Avoidance
A bottom threshold bar, even 2 inches high, becomes a trip hazard for you and a climbing foothold for an agile child. Special needs gate modifications often eliminate thresholds entirely or use angled rather than horizontal rails. When evaluating a gate:
- Check for horizontal cross-members or bars spaced more than 3.5 inches apart (preventing a child's head from fitting).
- Avoid ladder-like vertical spacing that creates climbing holds.
- Confirm threshold height; consider aftermarket threshold ramps if present.
8. Plan Renter-Safe Installation Specifics
For renters, your installation plan is your deposit preservation plan. Create a checklist:
- Document the original state with photos of the wall, baseboard, and banister condition (including any existing damage).
- Use painter's tape templates to mark mounting points before drilling. Tape stays in place, holds dust, and lets you remove and re-mark without wall damage.
- Choose clamps and adhesive protectors over permanent fasteners where possible. Banister clamps tighten with Allen keys, not screws, and release in under a minute.
- Plan the removal sequence: hinges and latches first, then fasteners, then patches and sanding.
- Keep all fastener holes and packing materials for easy restoration if you move.
This methodical approach ensures your child stays safe and your deposit stays intact. No drywall regrets, no surprise deductions.
9. Account for Pet Pass-Through and Litter Access
Many households have dogs that can push or slip through gaps, or cats that need access to litter or feeding zones behind a gate. Joint-friendly gate design for adaptive children sometimes means the gate needs to accommodate dual access patterns:
- Pet gates with bottom cutouts specifically for cats.
- Partial gates or dual-height gates (barrier for toddler, access gap for cat).
- Removable sections or swing hinges that pivot fully open for quick pet movement.
Measure your pets and identify which rooms they absolutely need access to, then choose a gate style that allows this without compromising the child's containment.
10. Set a Testing and Recalibration Window
No first install is perfect, especially with adaptive needs. Plan a 2-3 week "testing" phase:
- Does the latch fatigue your hand after repeated use?
- Does the frame rock or sag after your child leans on it?
- Are there unexpected pinch points or awkward swing angles?
- Does the noise level wake sleeping children? If so, compare decibel data in our quiet latch rankings.
Most retailers honor returns within 30 days. Document any issues with photos and notes, then decide: adjust with shims and friction pads, order an extension kit, or return and upgrade. This iterative approach reduces wasted money and gets you to a solution faster than guessing on the first try.
Getting Started: Your Action Plan
Creating a hypermobility-safe, Down Syndrome-friendly home layout starts with honest measurement and a clear priority ranking. Here's your next move:
- Measure your top-of-stairs opening, wall type, banister style, and existing baseboards. Document with photos and write notes on a simple spreadsheet.
- Choose hardware mounts for high-risk zones (stairs) and clarify whether you'll drill, clamp, or use hybrid methods based on your rental status and wall condition.
- Order one gate for your highest-priority zone, not three gates at once. Test it for fit, latch function, and stability over a week of real use.
- Develop a renter-safe removal plan before you install (painter's tape templates, fastener documentation, and patching supplies prepped and staged).
- Recalibrate after two weeks, then scale to secondary zones (hallways, kitchen) with confidence and lessons learned from the first install.
Renter-safe by default, and built on data about how children with Down Syndrome interact with barriers, this methodical approach reduces surprises and protects both your child's safety and your security deposit. Your home should feel calm and confident (safe today, calm routines, deposit intact tomorrow), with no drywall regrets.
Related Articles