Baby Gate Necessity: Stair Safety Essentials
By Mateo Silva • 3rd Oct
Every parent knows the heart-stopping moment when a curious toddler first crawls toward stairs. But data makes the urgency undeniable: stair-related falls account for 37% of emergency room visits for children under 2, according to CPSC injury reports. While online searches for cheap safety gates flood results, a $20 pressure-mounted unit at the top of stairs isn't a bargain (it is a liability). Your staircase demands a precise baby gate engineered for physics, not just price tags. I've seen too many near-misses involving flimsy frames, improper mounting, and gaps that trap tiny heads. This isn't about fearmongering; it's about leveraging measurable safety protocols to protect your child where stakes are highest. Let's transform anxiety into action with a step-by-step approach that respects your home's architecture and your peace of mind.

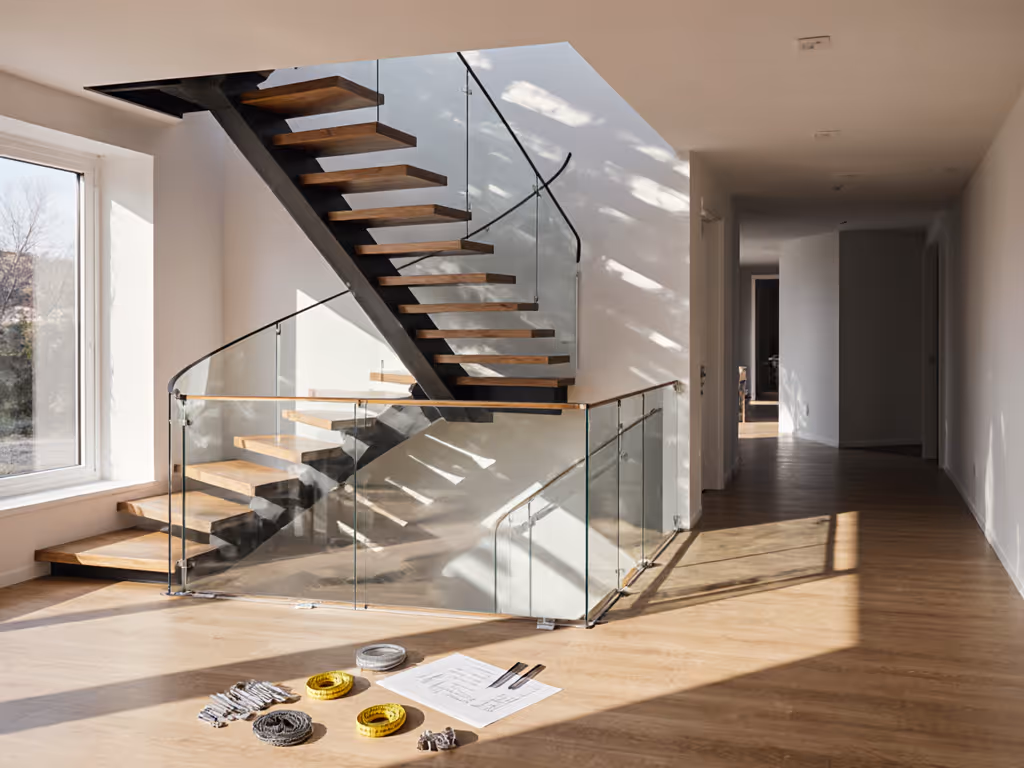
Step 1: Audit Your Staircase Geometry (Measure Before You Move)
Forget generic sizing charts. Staircases are architectural fingerprints, each with unique quirks that dictate safe installation. Grab your tape measure, level, and notepad. Start at the top landing, where failures are catastrophic:
- Wall-to-wall width: Measure at three points: floor level (accounting for baseboards), mid-height (past quarter-round molding), and at newel post height. Record all in inches/mm (e.g., 28.5" / 724mm, 29.25" / 743mm, 28" / 711mm). Why? Renters often miss how 3/4" baseboards swallow critical mounting depth.
- Baseboard reveal: Note the lip height (typically 0.75-1.5" / 19-38mm). If your trim exceeds 1", pressure gates will rock (a CPSC red flag for instability).
- Newel post diameter: Critical for hardware mounts. Measure at 36" height (where hinges anchor). Standard turned posts range from 3.5" to 6" (89-152mm) square; irregular shapes need custom spacers.
- Floor plumb test: Place a level against the wall. If it leans more than 1/8" (3mm) over 24", your "flat" surface is a tripping hazard waiting to amplify gate wobble.
Map, dry-fit, then drill. This mantra isn't philosophy (it is the physics of preventing tragic leverage points).
I recall a 1920s home where an ornate 5.5" newel and 2" baseboard created a daylight gap under a stock gate. No adapter kit worked. We measured the reveal and rise, then built a laser-cut plywood spacer stack to achieve 100% wood-to-wood contact. Hardware anchors bit into solid oak, not drywall. It looked intentional, and it passed the CPSC's 45-pound vertical strength test without deflecting below 22" height. Precision beats panic.
Step 2: Decode Safety Standards (Beyond Marketing Hype)
CPSC's ASTM F1004-19 standard isn't bureaucracy, it is your child's lifeline. When evaluating infant safety barriers, verify these non-negotiables:
- Bottom spacing: Must block a 1.25" sphere (32mm probe) from passing under the gate. Cheap safety gates often fail here with 2"+ gaps (enough to trap a toddler's torso while legs dangle).
- Vertical strength: Withstands 45 lbs (20.4kg) downward force without sagging below 22" height. Test this by hanging a filled backpack mid-rail. If it dips, walk away.
- Completely bounded openings: No gaps > 1.38" (35mm) where heads can lodge. Stretch a cord through slats, and if it moves freely, it fails CPSC's small torso probe test.
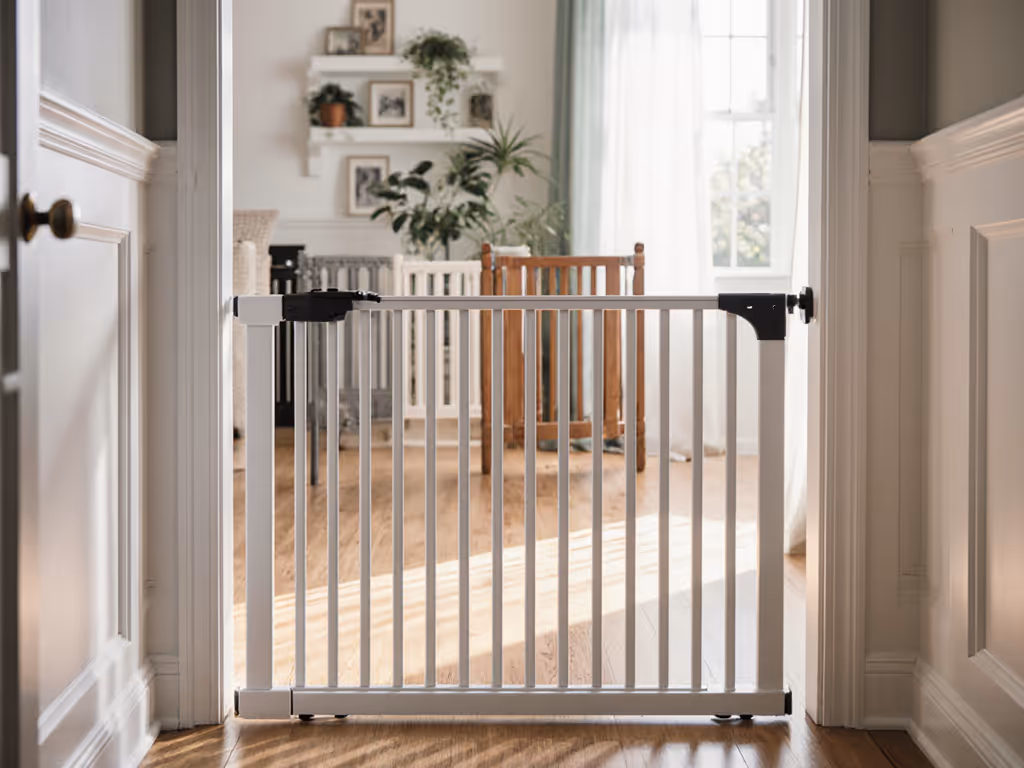
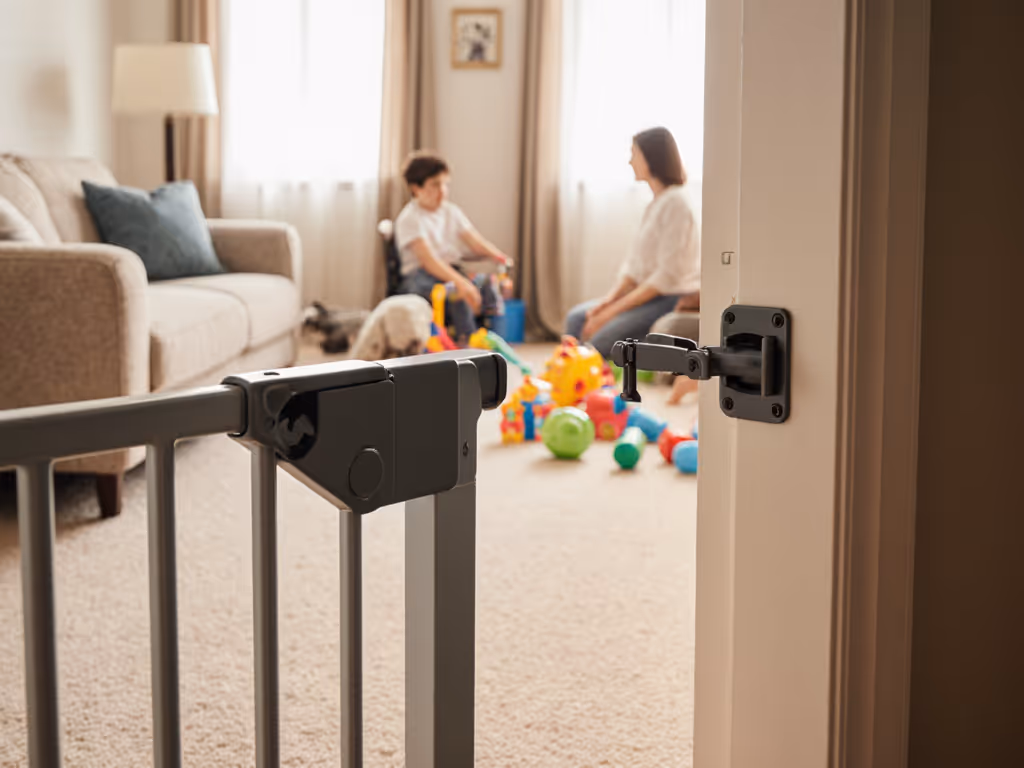
Hardware-mounted gates (not pressure-only) are legally required top-of-stairs in North America per CPSC 16 CFR §1239. Why? Physics: A rushing 25-lb toddler generates 100+ lbs of impact force. Pressure gates rely on friction, easily overcome by uneven floors or a kick from determined feet. As one industry report confirms, 68% of stair-gate failures involved renter-friendly pressure models misused in high-risk zones. Bottom line: If it doesn't have metal anchors into wall studs/newel posts, it doesn't belong at the top of stairs.
Step 3: Match Gate Type to Your Architecture (Not Vice Versa)
Your home's quirks dictate the solution, not online deals. Cross-reference your audit notes:
Pressure-Gate Zones (Only for Low-Risk Areas)
- Where: Room dividers, doorways to playrooms (no elevation changes)
- Renter hack: Use foam-lined clamps wrapping existing doorstops (not walls). Depth must exceed 1" (25mm) for reliable tension. Avoid if baseboards exceed 1.5" or walls are plaster (too brittle).
- Red flag: "One-size-fits-all" extensions. If your doorway is 32.5", a 30" gate + 6" kit creates instability at joints, a common CPSC recall reason.
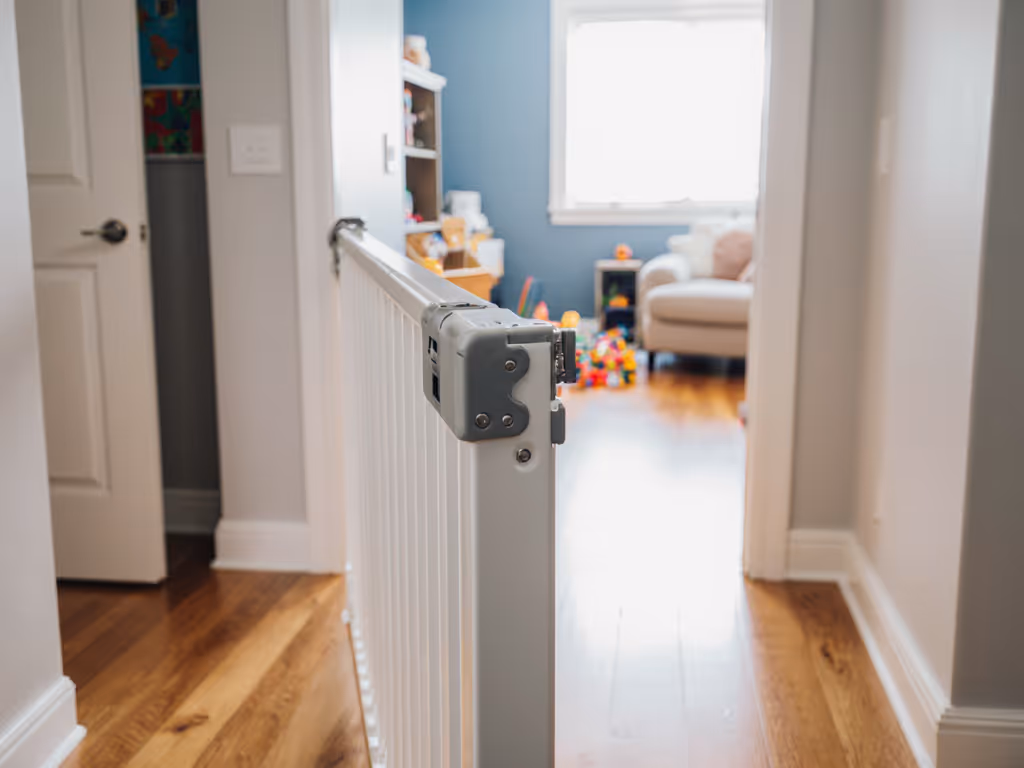
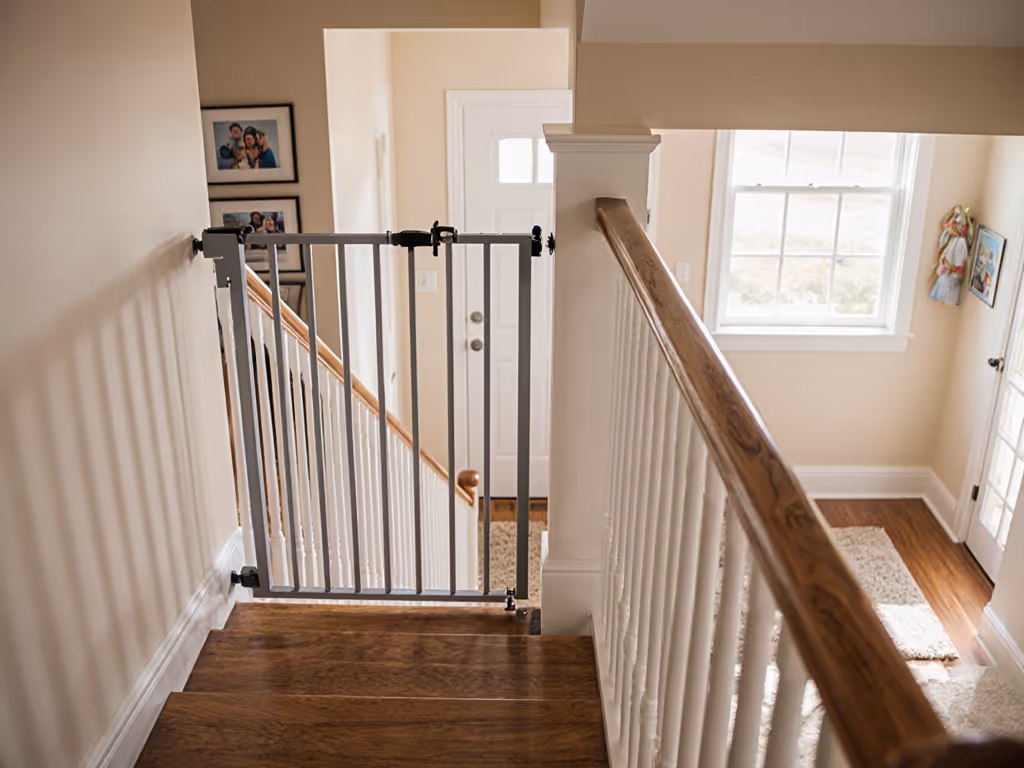
Hardware-Mount Zones (Mandatory for Stairs)
- Newel post solution: Drill through the post (3/4" hole) for lag bolts. Use washers to distribute stress. Critical: Anchor into the post's core, not just the veneer. Renters: Fill holes with dowels + wood putty; nearly invisible.
- Baseboard bypass: For tall trims (e.g., 2"), skip the wall entirely. Mount hinges 1" above the baseboard lip to the newel, then use a spacer block against the adjacent wall. This maintains clearance for the nosing.
- Awkward geometries: Wrought-iron rails? Order custom U-brackets that clamp without marring. Curved stairs? Look for gates with adjustable hinge plates (±15°). Never force alignment, this voids safety compliance.
Measure the flow, then commit to the mount. Your gate should swing away from stairs without hitting railings (a 3" clearance minimum).
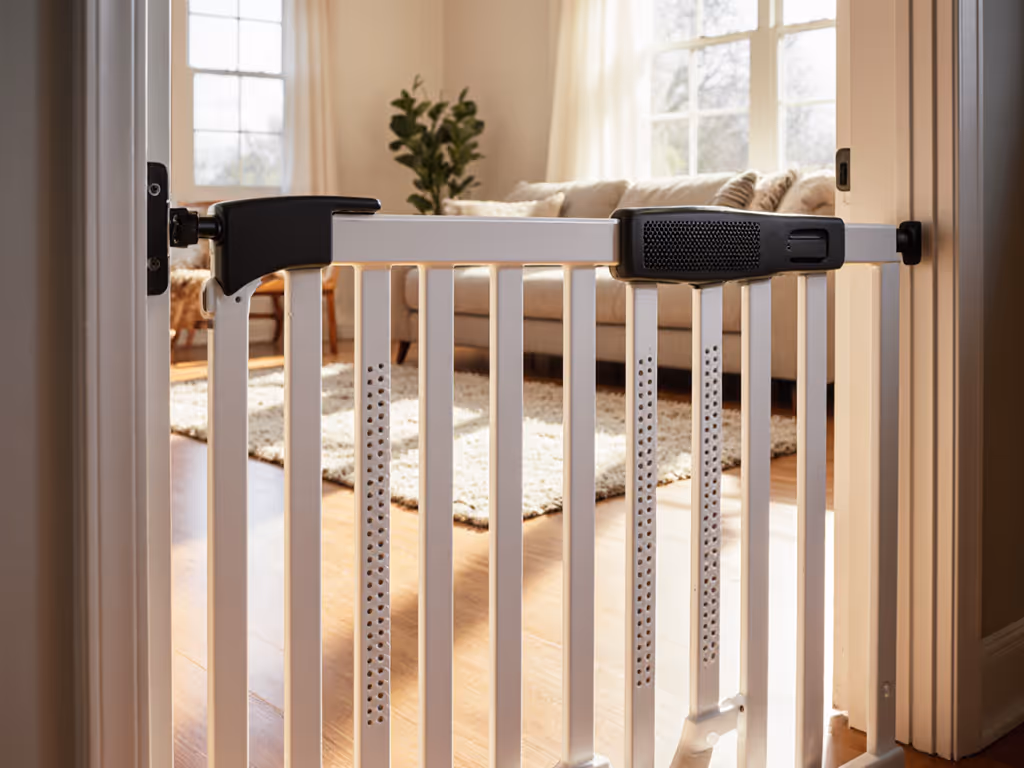
Step 4: Execute the Precision Mount (No Guesswork)
Hardware mounting demands surgical accuracy. Gather these tools:
- Stud finder (magnetic type for renter safety)
- 3/16" drill bit (pilot for 1/4" lag bolts)
- Laser level (or clear tube water level for long spans)
- Removable painter's tape (for layout)
- Wood filler (for renter-friendly patching)
Critical steps:
- Dry-fit frame: Position gate without fasteners. Swing it fully open/closed. Does it clear baseboards? Catch on nosings? Adjust spacer thickness until it moves silently.
- Mark anchor points: For stairs, mounts must sit above any trim lip. Pilot holes should hit solid wood at 36" height (top rail) and 10" height (bottom rail).
- Tighten incrementally: Snug one bolt 1/4 turn, then the opposite. Repeat in a star pattern. Ends should have zero play when shaken. Never use drywall anchors (they fail at 18 lbs force, CPSC field test data).
Step 5: Validate Safety (Test Like a Pro)
Don't assume it's secure. Simulate real-world stress:
- Swing test: With gate closed, hang a 25-lb sandbag off-center on the latch side. No deflection > 1" (25mm) allowed.
- Child simulation: Have a helper push upward from the bottom rail while you check for hinge binding. Gates must resist climbing without sagging.
- Aesthetic check: Stand at the bottom of stairs. If the gate visually "floats" above baseboards, it's a tripping hazard. Reconfigure for seamless blending.
Your Actionable Plan: Safety on Your Terms
Stair safety isn't about buying the first baby gate you see, it is about engineering a solution that respects your home's DNA and your child's safety. Remember the toddler gate importance isn't just physical protection; it is the mental bandwidth to cook dinner without hovering. Start today by measuring your top-of-stairs width at three heights. If you find discrepancies > 3/4", skip pressure models immediately. Invest in hardware mounts where failure risks are highest; your home safety for babies strategy deserves nothing less. Take the next step: Sketch your staircase profile with measurements, then consult a specialist who maps childproofing stairs to your architecture. That 20 minutes of precision planning? It is the difference between constant vigilance and genuine peace of mind.
Map, dry-fit, then drill. Your child's safety is too critical for anything less.
Related Articles