Autism Gate Safety: Escape-Proof Barriers & Climbing Prevention
By Nia Okoye • 23rd Feb
Understanding Autism Gate Safety and Escape-Proof Baby Barriers
When a child with autism is in your home, stair gates and door barriers serve a dual purpose that typical safety guidance often misses. For some children, the risk is climbing and falling; for others, it's elopement (leaving the house or accessing dangerous rooms without awareness or intention). Autism gate safety requires both escape-proofing and climbing prevention, with careful attention to how latches, mounting methods, and visual anchors fit into daily routines. This isn't about restricting movement; it's about creating structural peace of mind so that daily routines run smoothly and safely. If sensory triggers are a concern, see our guide to sensory-friendly baby gates for quiet latches, low-visual-load panels, and calming designs.
The goal is to make safe choices automatic, not something that relies on constant vigilance or complex rules.
Climbing Prevention: Why Standard Gates May Not Be Enough
Do I need climbing-resistant barriers, or will a standard gate work?
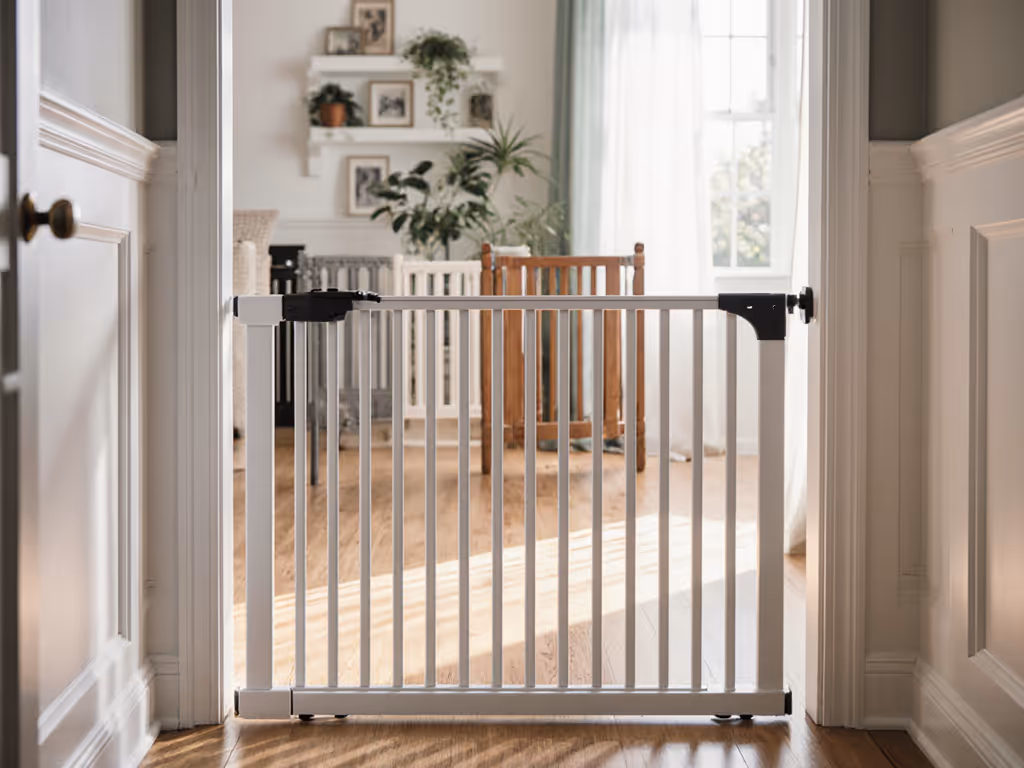
If your child climbs furniture or tests every available ledge, a standard pressure gate with horizontal crossbars can inadvertently become a climbing frame. Look for gates with close picket spacing (narrow enough that feet cannot use them as steps) and positioned cross-supports that do not provide handholds at reachable heights. If your child is an active climber, hardware-mounted gates that sit flush against the wall or banister, without protruding handles or ledges, reduce temptation significantly.
For stairs, a gate at both top and bottom prevents access entirely, eliminating the risk of a child using one section to climb toward another.
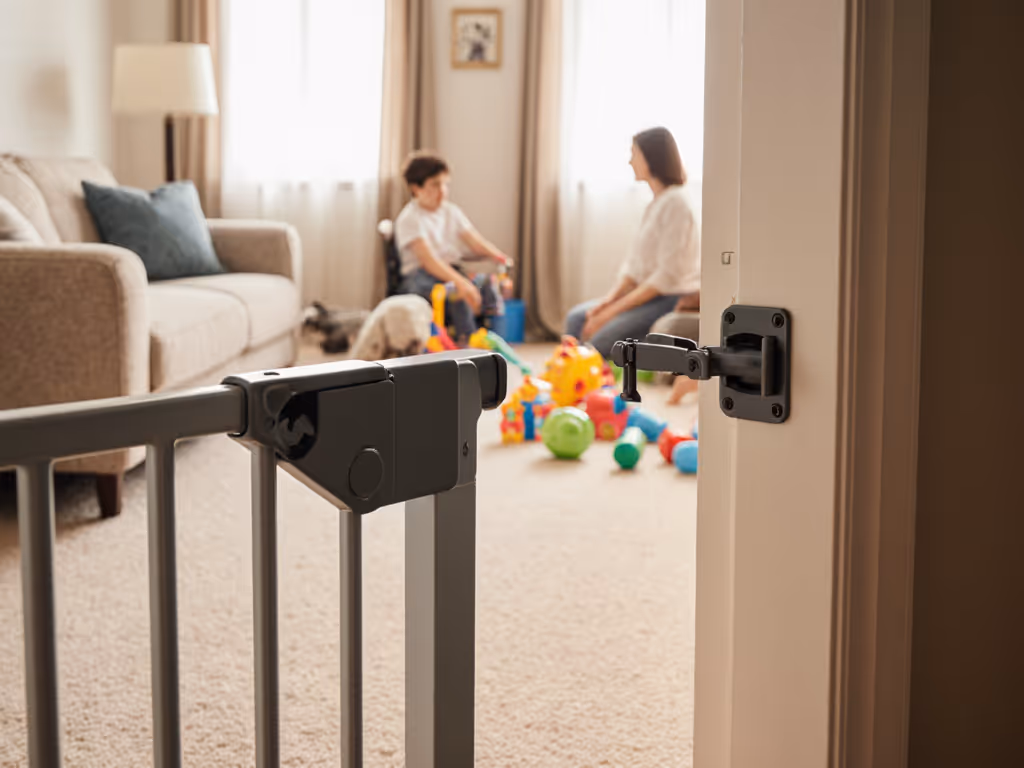
What's the difference between pressure-mounted and hardware-mounted gates at the stairs?
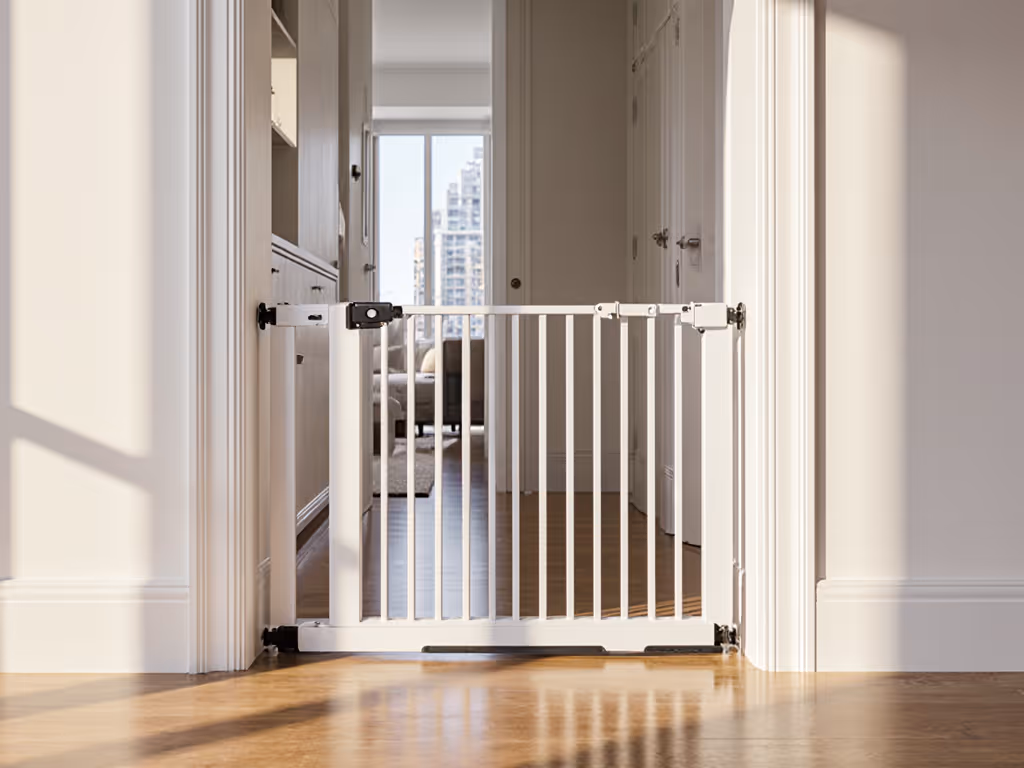
Pressure gates are quick to install and renter-friendly, but they rely on tension against the frame, they can shift or be pushed open, and the threshold bar (the part that spans the doorway) is a tripping hazard for adults and older siblings. Hardware-mounted gates are screwed into the wall or banister, offering fixed security and allowing threshold-free designs. For a top-of-stairs location where elopement or falls pose serious risk, hardware mounting is the safer choice. For less critical passages (like a kitchen doorway in a one-story home), a well-fitted pressure gate may suffice, as long as it has no climbable bars and the latch is understood by all caregivers.
Your local building code may also specify hardware mounting for stairs. For an in-depth comparison of strengths, risks, and use cases, read our pressure vs hardware mounting guide.
Escape-Proofing: Doors, Windows, and Multi-Point Access
How do I prevent my child from opening exterior doors?
Children who elope do so rapidly and often silently. External doors require locks positioned high (out of reach) and latches that cannot be figured out by trial-and-error. Heavy-duty deadbolts, pin-down latches (which must be actively pulled down to open), and combination systems that require multiple steps add time, crucial seconds for you to respond. Install alarms on all external doors and windows so you know immediately if they are opened.
Window locks and secure keys stored out of reach are equally important. Some families use a combination door system that requires a pin or button sequence, which allows caregivers to exit freely while buying you time if your child reaches the door.
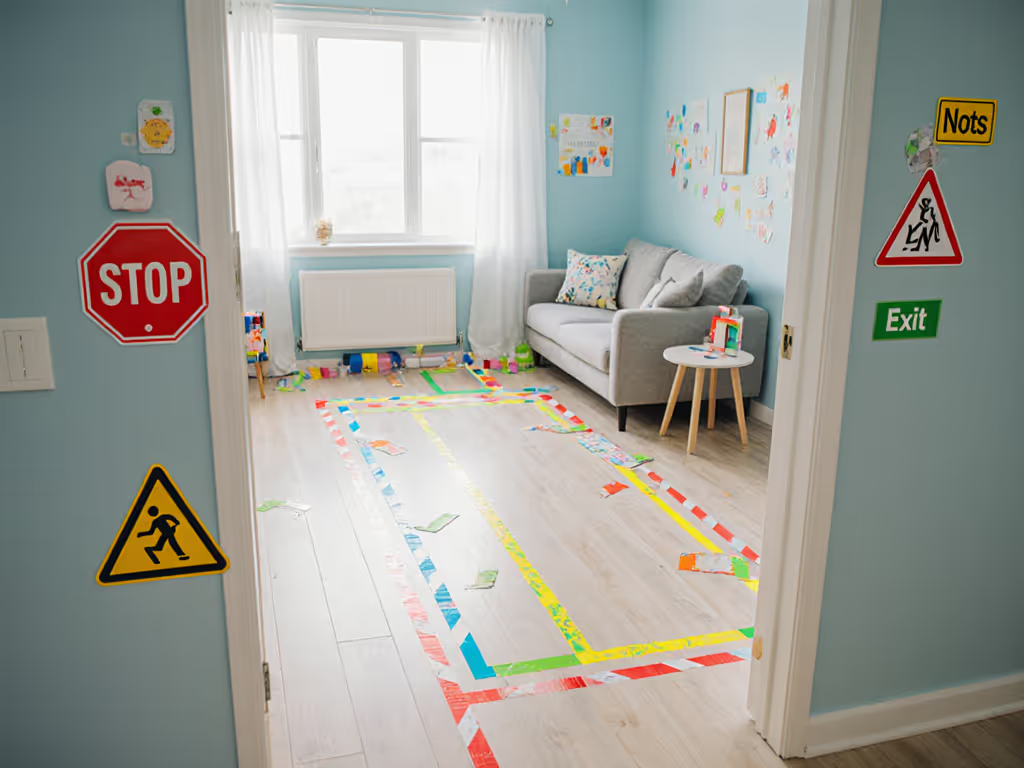
What about visual stop signs or boundary markers?
Children with autism often respond to visual cues more reliably than verbal reminders alone. Adhesive stop signs on doors leading outside, stickers on windows, or painter's tape on the floor marking no-go zones provide a clear boundary without requiring language processing. This visual anchor becomes part of habit formation: the sign becomes the cue, just as a specific gate position signals "this is the entry point we use." Over time, the visual boundary itself guides behavior, reducing reliance on constant supervision.
Combine visual markers with spatial design: move furniture away from doors and windows so the path to escape routes is not automatically obvious.
Multi-Caregiver Setup: Making Gates Intuitive for Grandparents and Babysitters
Why do different caregivers struggle with the same gate?
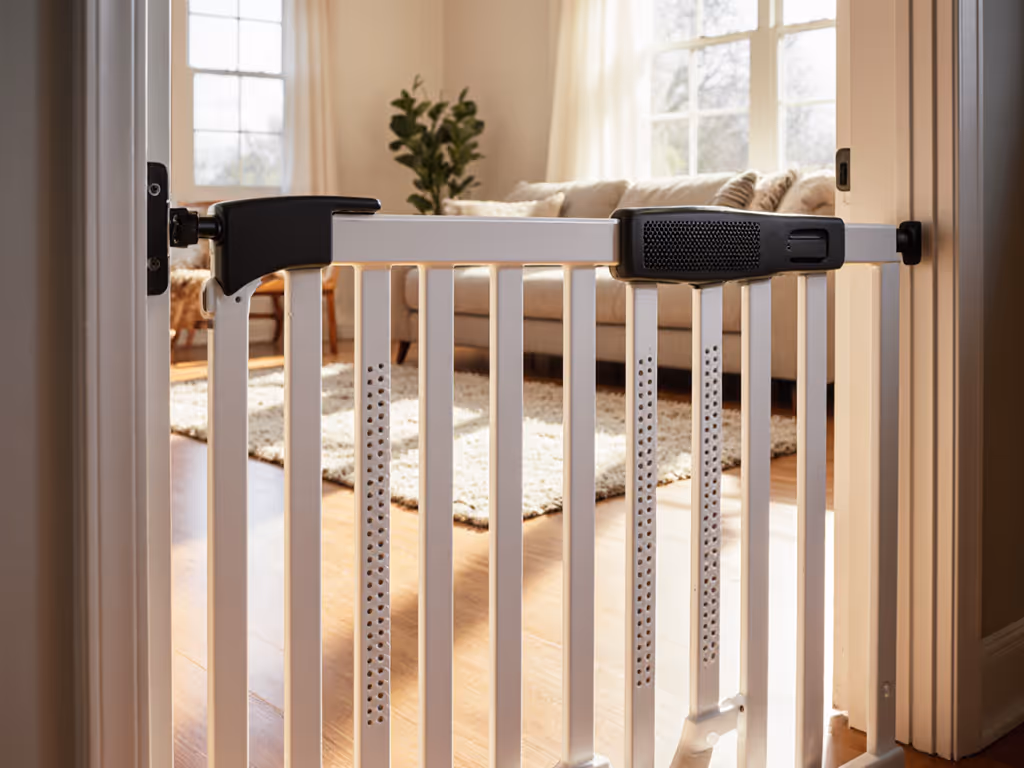
A latch that feels intuitive to you may confuse a grandparent or babysitter, especially if they approach from an unfamiliar angle or have different hand strength or dexterity. The design of the latch (where it sits, which direction it opens, whether it requires two hands) matters as much as the gate itself.
The most common setup failures happen when latches are stiff, positioned at an awkward height relative to a caregiver's reach, or require a specific sequence not marked anywhere. To align everyone on the same routine, use our multi-caregiver gate safety protocol with ready-to-print checklists and training tips. When everyone struggles, the gate gets left open "just for a moment," and that moment is when an incident happens.
How do I train multiple caregivers on gate safety?
Set up a simple routine:
- Position the latch for the person who will use it most. If your caregiver is left-handed or shorter, the latch placement should favor their dominant side and comfortable reach height. This alone reduces friction dramatically.
- Practice the latch during a low-stakes moment (snack time or while the child is occupied) so the close-and-open motion becomes muscle memory, not a rushed afterthought.
- Use a visual cue. A sticker, piece of tape, or painted mark at the latch point signals exactly what to move or pull. This is especially helpful for occasional caregivers who visit infrequently.
- Create a checklist. Post a laminated card near the gate: "1. Child is with adult. 2. Latch is closed. 3. Gate is secure. ✓" This takes 5 seconds and prevents the mental lapse that happens when someone is managing multiple tasks.
- Test with babysitters during your presence so you can observe where confusion arises and adjust before you leave.
Safety becomes automatic through repetition in a calm context (not through complex instructions or fear-based warnings).
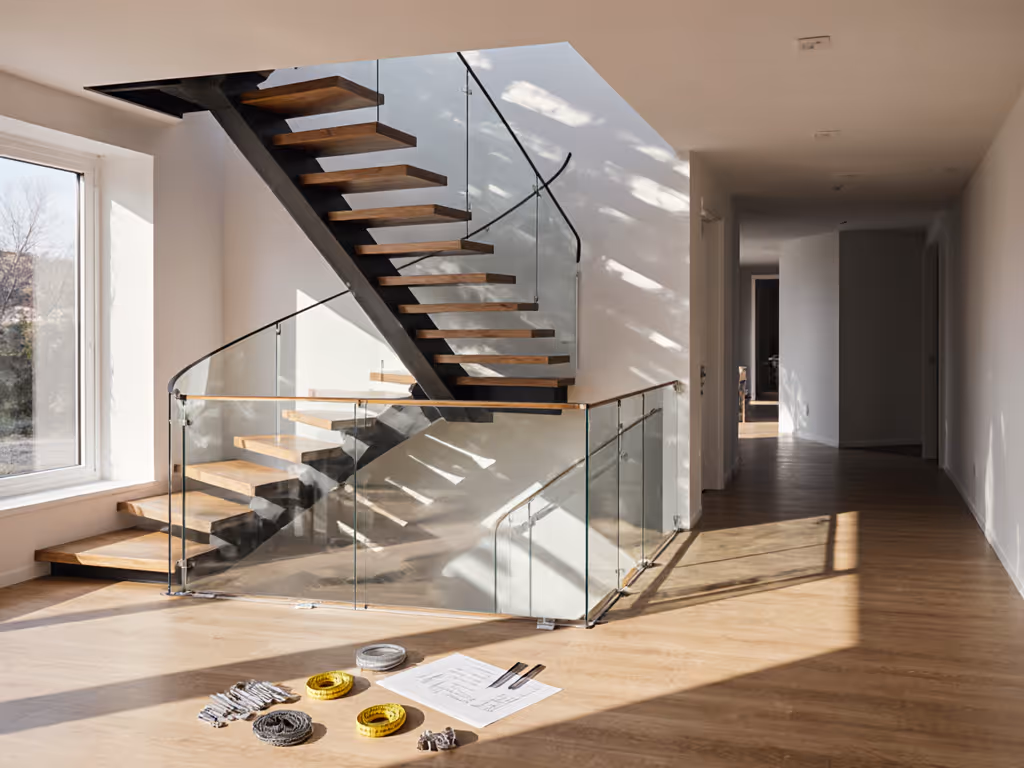
Navigating Awkward Spaces: Baseboards, Banisters, and Stairs
My stairs have decorative baseboards and curved banisters. How do I measure for a gate?
Measure the clear opening width from banister to wall (or banister to banister if there are two sides), at the point where the gate will sit, not at the top of the baseboard. If baseboards project out, subtract their depth from your width. For curved or ornate banisters, you may need a gate with banister-clamp brackets rather than a traditional frame, or spacers to accommodate the angle.
Hardware-mounted gates designed for banisters come with clamps that wrap around the post without requiring drilling into the wood. This is ideal for renters and for preserving the finish on heirloom banisters.
Always verify the gate's maximum and minimum width specifications before ordering. Many gates come with extension kits for wide openings, but combining kits from different manufacturers often fails. Get safe workarounds and compatible parts in our guide to gate extensions and adapters for non-standard spaces.
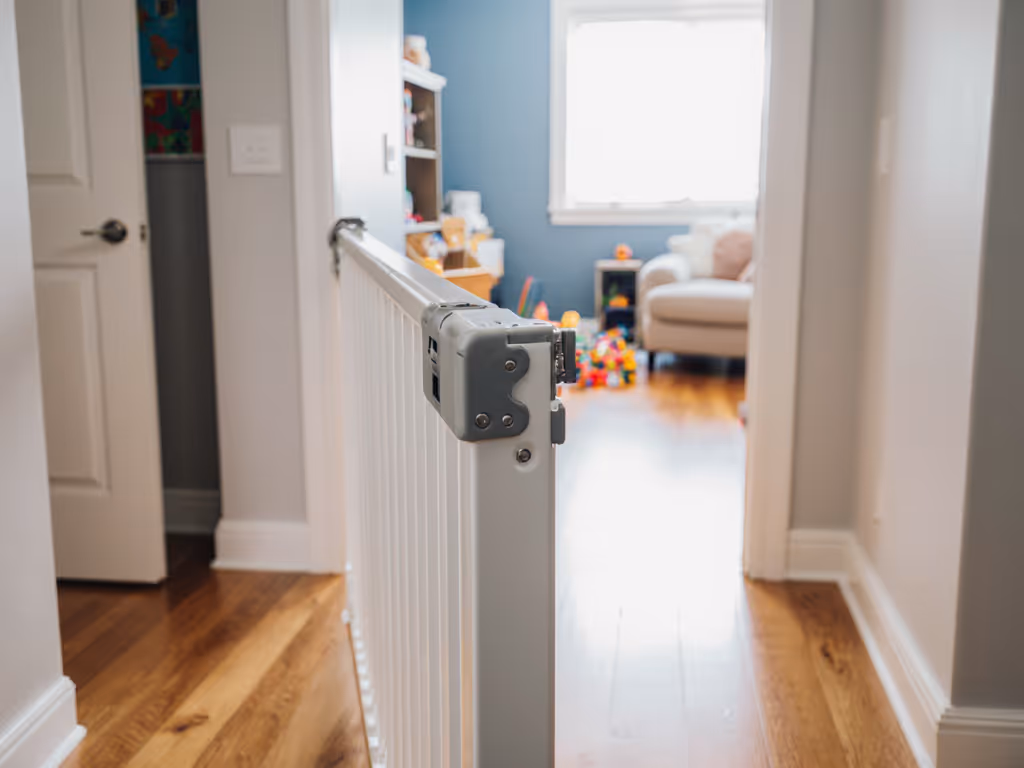
Can I use a pressure gate at the top of the stairs?
No. Pressure gates can shift under weight or be pushed open by a determined child, and the threshold bar is a trip hazard for you when carrying a baby or laundry. Top-of-stairs gates must be hardware-mounted and screw-mounted into studs in the wall, not just drywall. If you are unsure where studs are, use a stud finder (inexpensive, widely available) and mark them with painter's tape before installation. If screwing into studs is not possible due to layout, consult a professional installer rather than compromising on this safety point.
Pet and Gate Coexistence
How do I keep a baby safe while letting the cat or dog move freely?
Pets and barriers require creative problem-solving. If your dog pushes gates, a hardware-mounted model is less likely to budge than a pressure gate. For cats, some families use a gate climber deterrent strip (a smooth, slippery material along the top of a gate that prevents cats from scaling it), while the gaps between pickets remain passable for smaller pets.
Alternatively, separate zones: the dog sleeps in one area with its own gate; the baby occupies another. A pass-through pet door cut into a gate or wall can allow cat access to litter boxes in a laundry area while keeping the baby and toddler out.
Consider where food and water bowls sit. For layout ideas that keep pets happy and kids safe, see our pet home gate guide. If your child makes a beeline for the dog bowl, placing it on the far side of a gate or in a closed room eliminates the temptation and keeps feeding routines separate and sanitary.
Building the Habit: From Setup to Automatic Safety
What does it mean to make safety the default, not the exception?
When a gate is positioned correctly, latches are intuitive, and caregivers have practiced the routine, closing the gate stops being a mental task and becomes a habit cue (like turning a key in a lock or flipping a light switch). The gate position itself signals safe zone to everyone in the home, and the closing action becomes tied to the moment (e.g., "after snack, we close the gate and head to quiet time").
The opposite happens when a gate is inconvenient, confusing, or requires effort: people prop it open, forget it, or skip using it when in a hurry. Design, training, and consistency eliminate that friction.
How do I avoid propping the gate open "just for a moment"?
Propping is often a sign that the gate is in the wrong place or that caregivers are juggling too much. If you find yourself propping:
- Relocate the gate if it's blocking a high-traffic zone (e.g., the route to the laundry room). A gate in an awkward spot will get circumvented every time.
- Add a hold-open feature. Some hardware gates have a latch-hold option so you can temporarily secure it in an open position for a specific task (cooking, vacuuming), then close and latch it when done.
- Use a chair or basket to create a visual barrier in addition to the gate, so there's a secondary signal that a zone is off-limits, even if the gate is briefly open.
Practice builds safety. Repetition in calm moments (during low-risk times when there's no rush) creates muscle memory and confidence. That confidence is what prevents hesitation and forgotten latches during the busy hours.
Actionable Next Steps: Your Safety Setup Checklist
Start here:
- Assess your child's primary risk. Is it climbing furniture, elopement from the home, or access to a specific dangerous room (kitchen, bathroom)? This determines gate style and location priority.
- Measure your spaces accurately. Write down the clear opening width, baseboard depths, banister style, and whether the wall has studs visible at hardware-mount height (usually 36-48 inches up). Take photos of the banister and any unusual angles.
- Choose mounting based on risk level. Pressure gates for moderate-risk room separations; hardware mounts for stairs and external doors.
- Identify the primary caregiver's dominant hand and comfortable reach height, and position the latch accordingly.
- Create a 5-step setup day (not installation only): assemble and mount the gate, practice the latch 10 times with each caregiver, place a visual cue sticker at the latch, post a checklist, and then "use it live" for 3 days while you're present to observe and adjust.
- Visit a locksmith or hardware professional if your doors lack adequate locks or alarms, especially external access points. A 20-minute consultation often clarifies which hardware upgrade pays for itself in peace of mind.
Your home doesn't need to be cluttered with gates and alarms to be safe. It needs to be thoughtfully designed so that safe choices feel easy and automatic, for you, for grandparents, and for anyone who spends time there.
Related Articles