Portable Pet Gate Installation: Secure Any Space Easily
By Nia Okoye • 21st Oct
Did you know that over half of pet owners face challenges keeping their pets in safe spaces at home? Installing a portable pet gate is a simple solution that makes a big difference in daily life. With the right preparation and careful installation, these gates let you control where your pets or children roam, no matter your floor plan. Mastering each step helps you avoid common pitfalls and keeps your loved ones safe while giving you peace of mind.
Quick Summary
| Key Point | Explanation |
|---|---|
| 1. Gather essential tools for installation. | Make sure to have all necessary tools and materials ready before starting your gate setup to avoid delays. |
| 2. Choose the right location for the gate. | Select stable and suitable surfaces, ensuring proper width for installation, to guarantee effective performance. |
| 3. Assemble and adjust components carefully. | Follow instructions to set your gate securely, adjusting tension screws for a snug fit without damaging walls. |
| 4. Secure the gate meticulously. | Tighten mounting screws evenly and check stability regularly to prevent movement or wobbling during use. |
| 5. Test the gate’s functionality and safety. | Conduct thorough tests by applying pressure and checking the locking mechanism to ensure reliability and safety. |
Step 1: Gather Required Tools and Materials
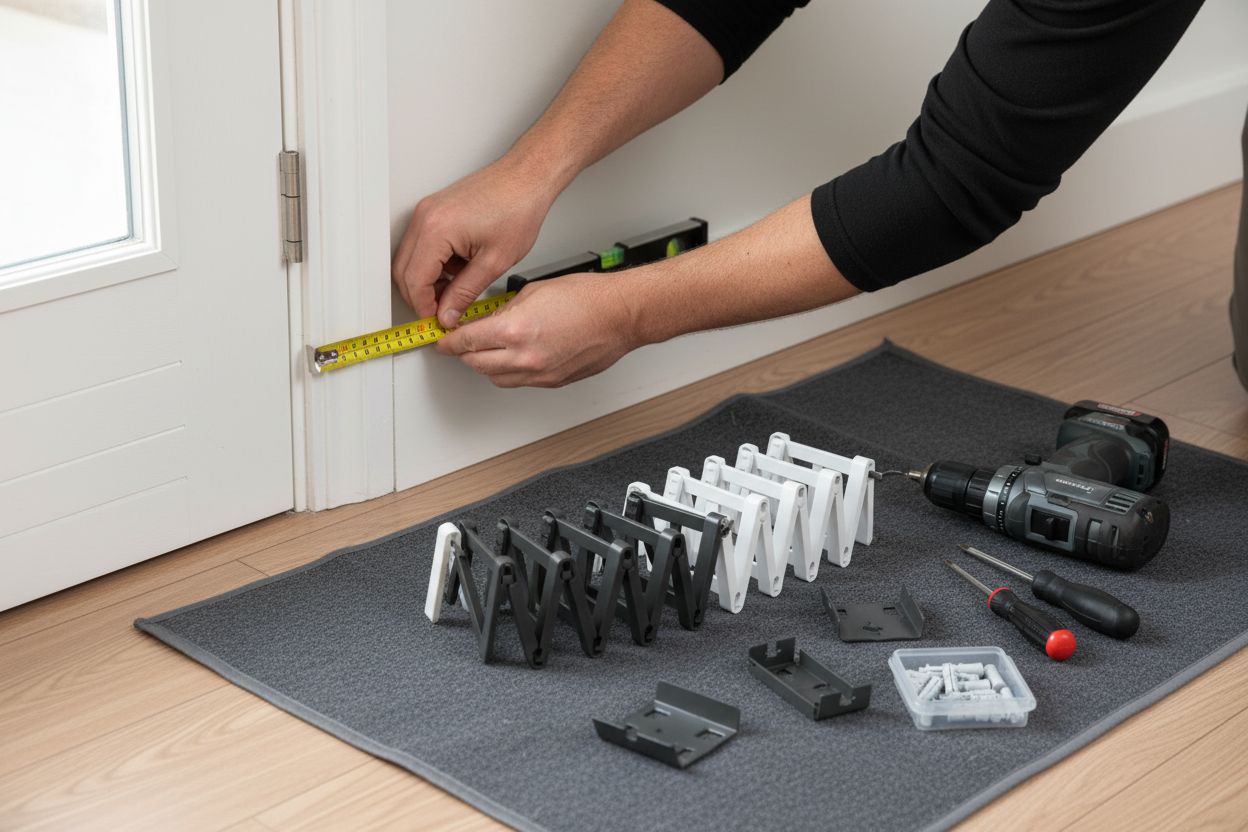
Before diving into your portable pet gate installation, you will need to collect a specific set of tools and materials to ensure a smooth setup process. Having everything ready beforehand saves time and prevents frustrating mid-project interruptions.
For pressure-mounted gates, your basic toolkit should include a tape measure, pencil, and a level to guarantee precise placement. These gates typically use adjustable tension screws that allow for a secure fit without permanent wall damage. If you are planning to install a hardware-mounted gate—which provides maximum stability—you will want to add a few additional tools to your arsenal: a reliable stud finder, electric drill with appropriate drill bits, screwdriver (preferably a power screwdriver), and wall anchors.
Specifically for your gate installation, gather the components that came with your specific gate package. Most adjustable safety gates like the PawHut model include a gate frame, pressure mounting screws, wall cups, and potential extension panels. Check your specific gate manual to confirm the exact components.
Here's a summary of the key tools and components for each gate type:
| Item Type | Pressure-Mounted Gate | Hardware-Mounted Gate |
|---|---|---|
| Essential Tools | Tape measure<br>Pencil<br>Level | Tape measure<br>Pencil<br>Level<br>Stud finder<br>Drill & bits<br>Screwdriver<br>Wall anchors |
| Common Components | Gate frame<br>Pressure screws<br>Wall cups<br>Extension panels (optional) | Gate frame<br>Mounting brackets<br>Screws<br>Wall anchors<br>Extension panels (optional) |
| Surface Requirements | Smooth walls<br>Even doorways | Stable structure<br>May handle uneven surfaces |
| Installation Complexity | Simple<br>Minimal tools needed | Advanced<br>More tools & steps |
![]()
Pro Tip: Before purchasing any tools, measure the width of your doorway or opening to ensure you select a gate with the correct adjustability range.
As you prepare your workspace, lay out all tools and gate components on a clean, flat surface. This organization will help you move through the installation process smoothly and reduce the likelihood of misplacing small but crucial parts.
With your tools assembled and gate components ready, you are now prepared to move on to the precise measurements and placement of your portable pet gate.
Step 2: Select an Ideal Location for Setup
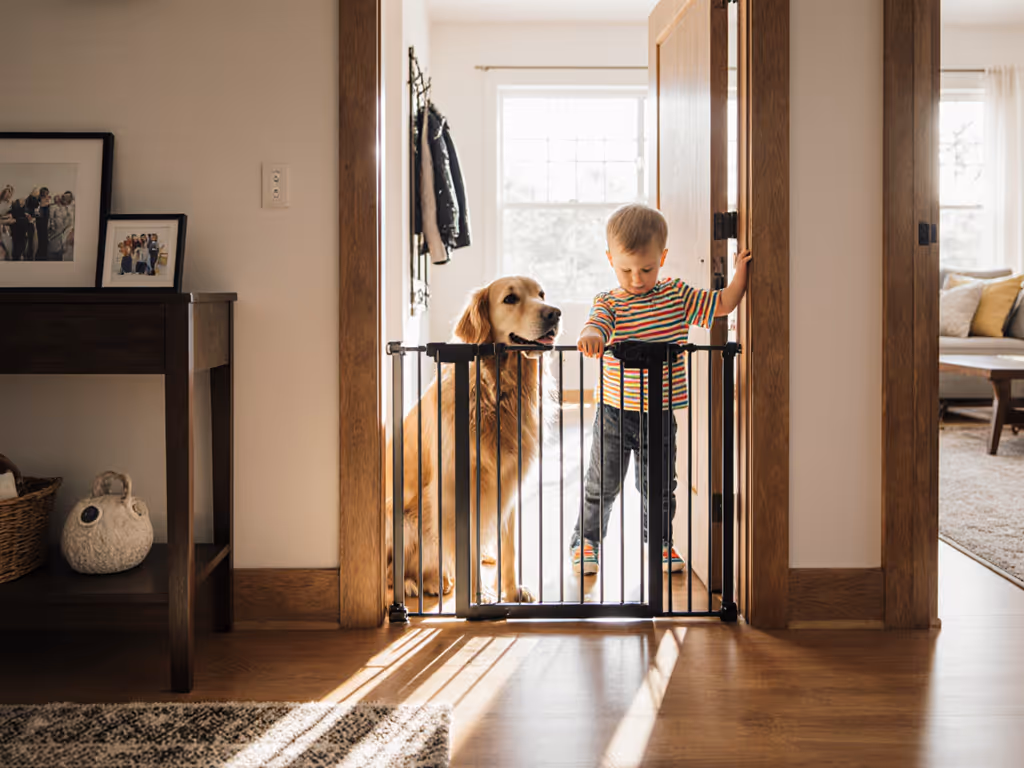
Choosing the right location for your portable pet gate is crucial for both safety and functionality. This step will help you identify the most appropriate spot to install your gate while ensuring maximum security for your pets or children.
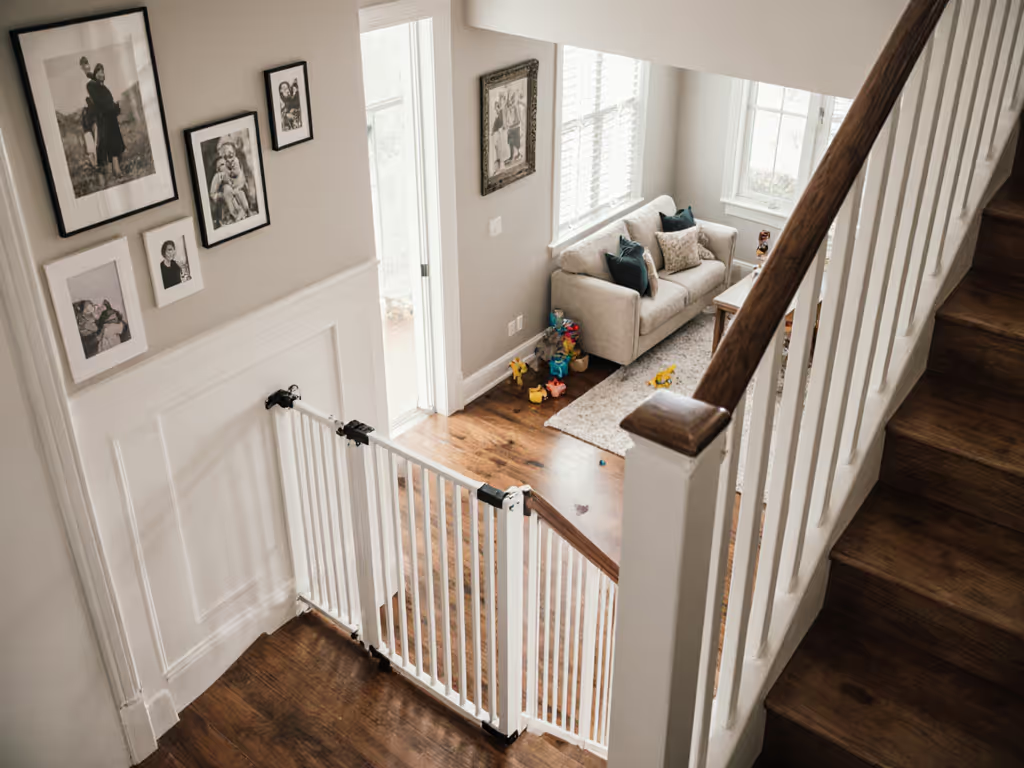
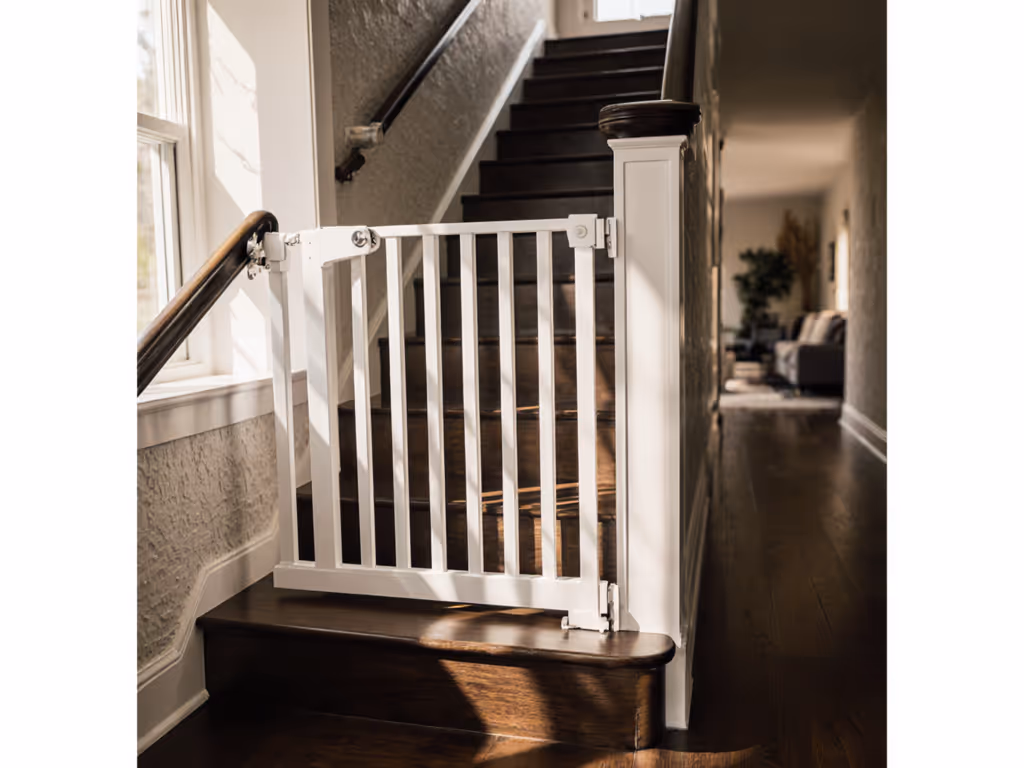
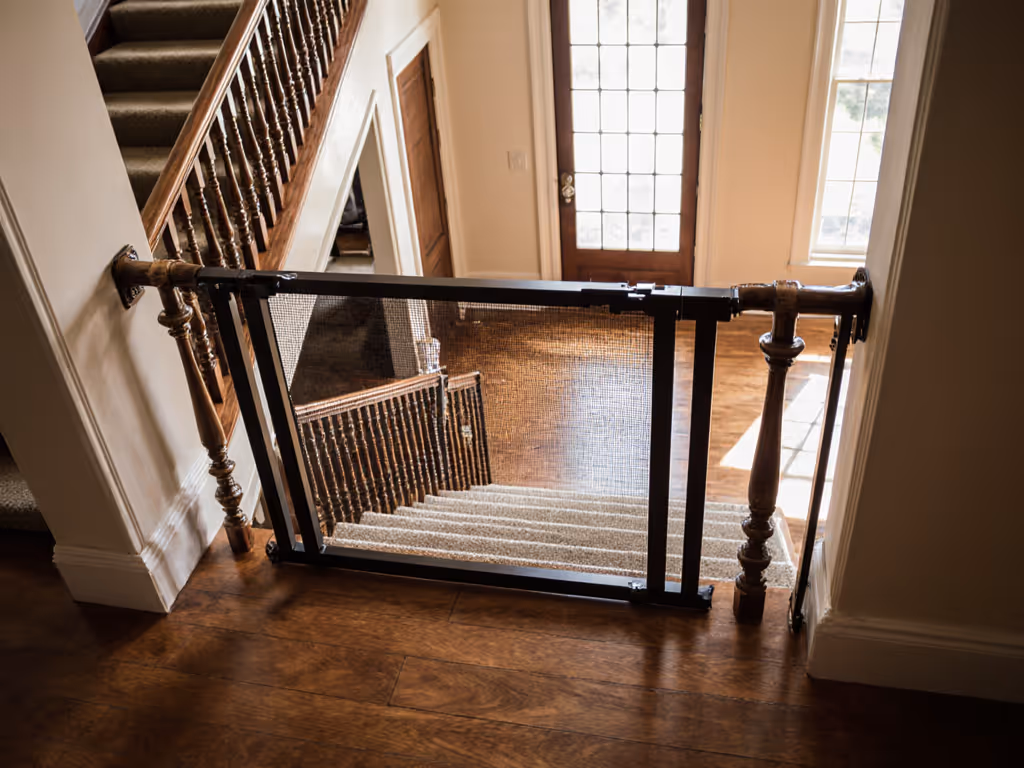
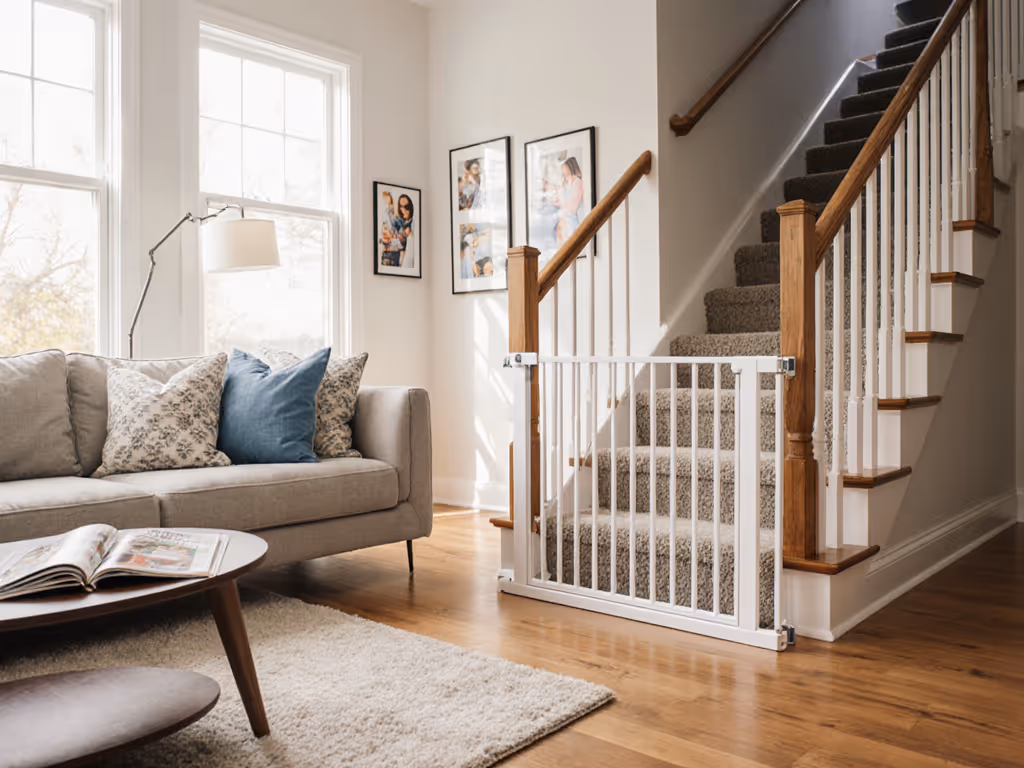
Start by carefully examining potential areas in your home. According to manufacturer guidelines, portable pet gates work best in structurally sound openings like doorways, hallways, and staircases. The key is finding a location with stable surfaces that can support the gate's mounting mechanism. Not all spaces are created equal some areas might look perfect but could compromise the gate's effectiveness.
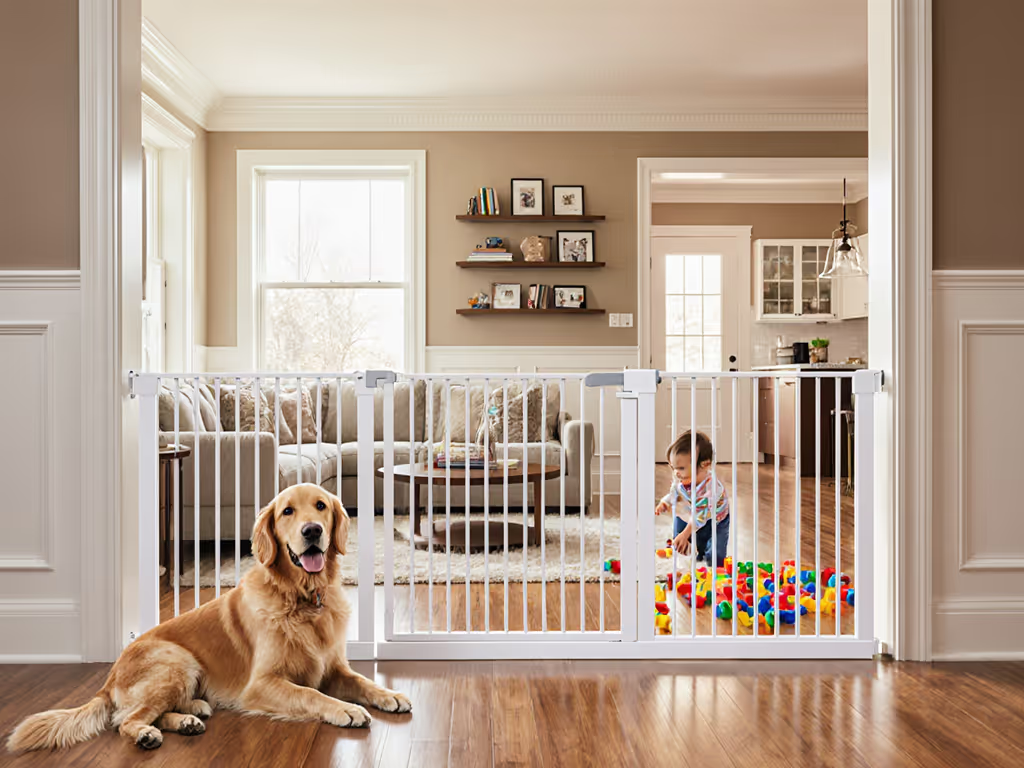
Width matters significantly when selecting your installation spot. For instance, the Carlson Pet Easy Fit Portable Pet Gate is specifically designed for openings between 28 and 42 inches wide. Measure your intended location precisely using your tape measure to ensure compatibility with your chosen gate model. Take multiple measurements to confirm accuracy the last thing you want is discovering your gate does not fit after bringing it home.
Warning: Never install a pressure mounted gate at the top of stairs. These gates are not designed to prevent falls and could pose serious safety risks.
Consider the surface texture and material where you plan to mount the gate. Smooth walls with consistent surfaces work best for pressure mounted gates. Textured surfaces like brick or uneven paneling might require hardware mounting for a secure fit. Also think about traffic flow how will the gate impact movement through that space?
With your location carefully selected and measurements confirmed, you are now ready to prepare the area for precise gate installation.
Step 3: Assemble and Adjust the Gate Components
Now that you have selected the perfect location, it is time to transform your portable pet gate from its packaged state into a functional barrier. Assembling and adjusting the gate components requires careful attention and a methodical approach to ensure a secure and stable installation.
Begin by spreading out all the gate components on a clean surface. For pressure mounted gates like the PawHut Adjustable Safety Gate, your primary focus will be on the adjustable pressure screws and wall cups. Start by measuring your opening width precisely. Most portable gates are designed to accommodate spaces between 28 and 42 inches wide like the Carlson Pet Easy Fit Portable Pet Gate.
Extend the gate panels to match your measured opening width. Some models require inserting a locking pin to secure the expanded width. Gently adjust the tension screws or expansion mechanism until the gate feels snug but not overly tight. The goal is a firm fit that does not damage your walls or create unnecessary stress on the gate components.
Pro Tip: When tightening pressure screws, apply consistent pressure and stop as soon as the gate feels stable. Overtightening can damage wall surfaces or compromise the gate's mechanism.
Pay close attention to the rubber bumpers or protective surfaces that will contact your walls. These are designed to prevent scratching and provide additional stability. Check that these protective elements are clean and positioned correctly before final installation. Make sure the gate is level by using your tape measure or level tool to verify alignment.
With your gate components carefully assembled and adjusted, you are now prepared to move on to the final installation and securing process.
Step 4: Secure the Portable Gate in Position
With your gate components prepared, you are now entering the critical phase of installation where precision and careful adjustment will ensure a safe and stable barrier. Securing your portable gate requires attention to detail and a methodical approach to guarantee maximum protection.
Begin by positioning the gate in the predetermined location you measured earlier. For pressure mounted gates like the PawHut model, you will use wall cups to protect surfaces and enhance stability. Start by hand tightening the pressure screws gradually and evenly. The goal is to create a firm grip that holds the gate securely without causing damage to your walls or door frame.
As you tighten the screws, periodically check the gate's stability. Give it a gentle push and pull to verify it remains firmly in place. The Carlson Pet Gate recommends using rubber pads that not only protect surfaces but also provide additional grip and stability. These small details can make a significant difference in the gate performance.
Pro Tip: Listen for subtle clicking sounds as you tighten the pressure screws. These indicate the gate is finding its optimal tension point.
Carefully examine the gate from multiple angles. Ensure it remains level and sits flush against the wall or door frame. Any slight wobbling or uneven positioning could compromise the gate effectiveness. Take your time with this step precision now prevents potential safety issues later.
With your portable gate now securely positioned, you have successfully created a protective barrier that will help keep your pets or children safe in designated areas.
Step 5: Test Gate Stability and Safety Features
Now that your portable pet gate is installed, the final and most critical step is thoroughly testing its stability and safety features. This verification process ensures that your gate will effectively protect your loved ones and provide peace of mind.
Begin by applying firm but controlled pressure to different sections of the gate. Manufacturers like PawHut recommend systematically checking the gate by gently pushing and pulling from various angles. The goal is to simulate potential stress scenarios a child or pet might create. Pay special attention to the mounting points and tension mechanisms to confirm there is no unexpected movement or wobbling.
Test the gate's locking mechanism multiple times. Open and close the gate deliberately to verify smooth operation and secure latching. Check that the gate swings smoothly without catching or requiring excessive force. Any stiffness or resistance could indicate improper installation that needs immediate adjustment.
Warning: If the gate moves more than a quarter inch in any direction during testing, re-tighten the mounting screws or reinstall the gate completely.
Conduct additional safety checks by observing how the gate responds to different types of pressure. Have an adult apply weight gradually to different sections to ensure consistent stability. Verify that rubber bumpers and protective elements remain firmly in place during these tests. Routine inspection like this helps maintain the gate effectiveness over time.
With your portable gate now thoroughly tested and confirmed secure, you have successfully created a reliable safety barrier that will help protect your pets and children.
Unlock Worry-Free Home Safety With Trusted Portable Gate Solutions
Are you feeling overwhelmed by the challenge of installing a portable pet gate that truly keeps your loved ones safe? The step-by-step guide above walks you through selecting, assembling, and securing the right pet gate, but the process does not end there. Many families worry about making the wrong product choice, missing a crucial safety detail, or struggling to fit unconventional spaces. Safety and peace of mind are top priorities—especially when it comes to protecting children and pets in busy homes.
Make your next move with confidence. Visit Baby Safety Gates World to explore expert guidance and in-depth safety tips that go beyond installation basics. Discover practical how-to guides and compare top-rated safety gates that fit various needs, from pressure-mounted options to custom solutions for wide or irregular doorways. Do not wait until an accident happens—check out our latest reviews and buyer's tips now and ensure your portable pet gate setup delivers dependable protection.
Frequently Asked Questions
What tools do I need for portable pet gate installation?
To install a portable pet gate, you’ll need essential tools like a tape measure, pencil, and level for pressure-mounted gates, and an electric drill, stud finder, and screwdriver for hardware-mounted options. Gather all these tools before starting to ensure a smooth and uninterrupted installation process.
How do I choose the right location for my portable pet gate?
Select a location with stable surfaces like doorways or hallways, ensuring it can support the gate’s mounting mechanism. Measure the width of the opening accurately, as most gates fit openings between 28 and 42 inches wide, to confirm compatibility before installation.
What are the steps to assemble a pressure-mounted pet gate?
Start by laying out all components on a clean surface, then expand the gate panels to match your measured width. Next, adjust the tension screws until the gate fits snugly without being overly tight, ensuring it remains level during the setup.
How do I secure a hardware-mounted portable pet gate?
Position the gate carefully in your chosen spot, then use wall cups and screws to secure the gate in place. Tighten the screws gradually and evenly, checking the gate’s stability periodically to ensure it remains secure without wobbling or damage to the walls.
What should I check during the safety testing of my installed gate?
Apply controlled pressure on different sections of the gate to simulate stress and check its locking mechanism by opening and closing it multiple times. Ensure that the gate does not shift more than a quarter inch during tests, and verify that all protective elements are properly positioned and secure.
Can I install a portable pet gate at the top of stairs?
No, it is not safe to install a pressure-mounted pet gate at the top of stairs as they are not designed to prevent falls. Always choose appropriate locations like doorways or hallways for installation to ensure the safety of pets and children.
Related Articles