Multi-Generational Baby Gates: Safe for Kids and Seniors
By Nia Okoye • 31st Mar
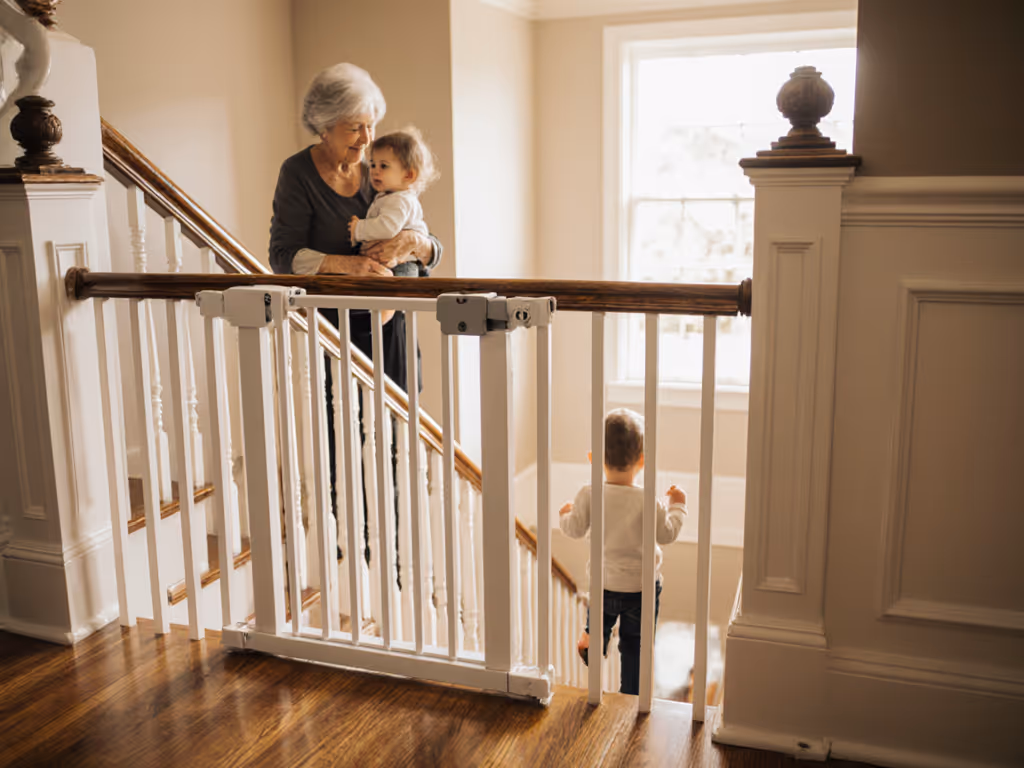
Your toddler and your visiting mother-in-law need to move safely through the same doorways. Your grandmother struggles with stiff latches, but your 18-month-old is strong enough to push a pressure-mounted gate clean off its hinges. Your home (whether it's an apartment with a curved entryway or a split-level house with wrought-iron banisters) sits at the intersection of two very different safety needs. This is the quiet problem of multi-generational home gates: how to install barriers that actually work for everyone who walks through your home, without sacrificing your sanity or your security deposit.
Building safe passages for children and seniors is less about choosing one "perfect" gate and more about matching the right tool to each specific threshold, mounting point, and person who will use it. This guide walks you through the friction points (the real questions keeping you up at night) and gives you a framework to make choices that stick, literally and figuratively.
What's the Real Risk, and Why Does It Matter to Multigenerational Homes?
Why hardware-mounted gates are non-negotiable at stairs, and why that matters when Grandma visits.
About 5 children under the age of 7 are treated in U.S. hospital emergency departments every day because of baby gate-related injuries[3]. The majority of these preventable injuries (falls down stairs, entrapment, and gate collapses) happen because a pressure-mounted gate (the kind that presses against walls without anchors) simply cannot hold a determined toddler or the force of a tumbling child[3].
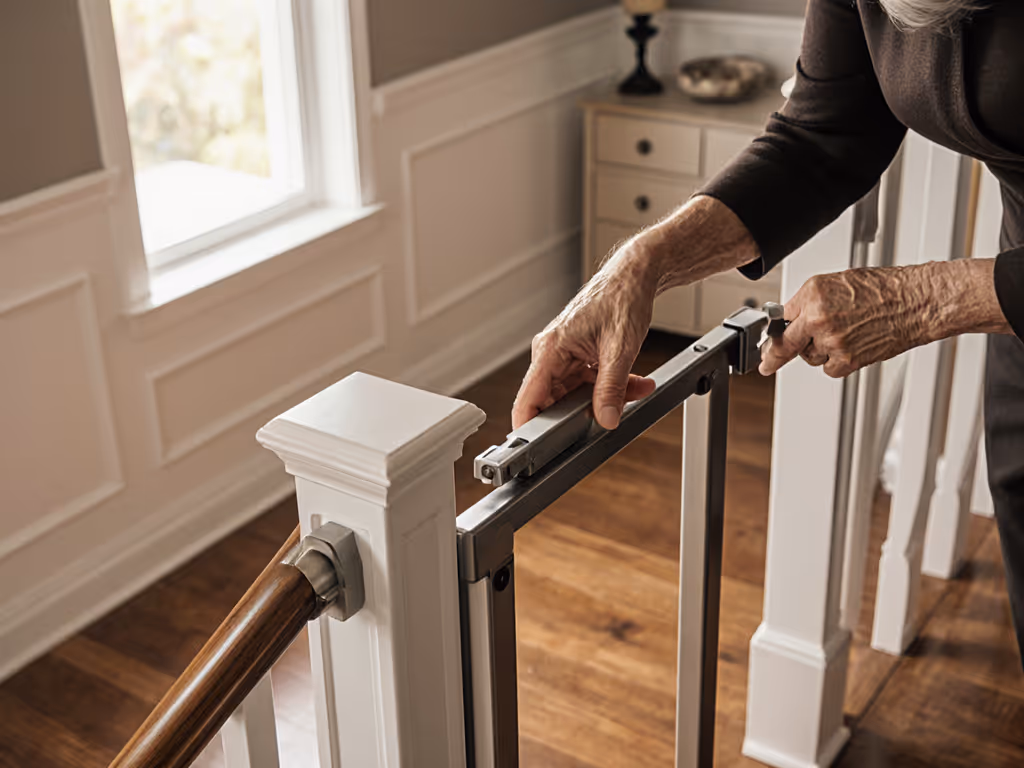
But here's the part that complicates multi-generational households: hardware-mounted gates require drilling into doorframes, wall studs, or (in the case of banister mounts) clamps that may intimidate older caregivers or feel like permanent commitments in rental homes. Parents often delay hardware installation because it feels invasive. Grandparents worry they'll break something. Everyone feels the tension between safety and intrusion.
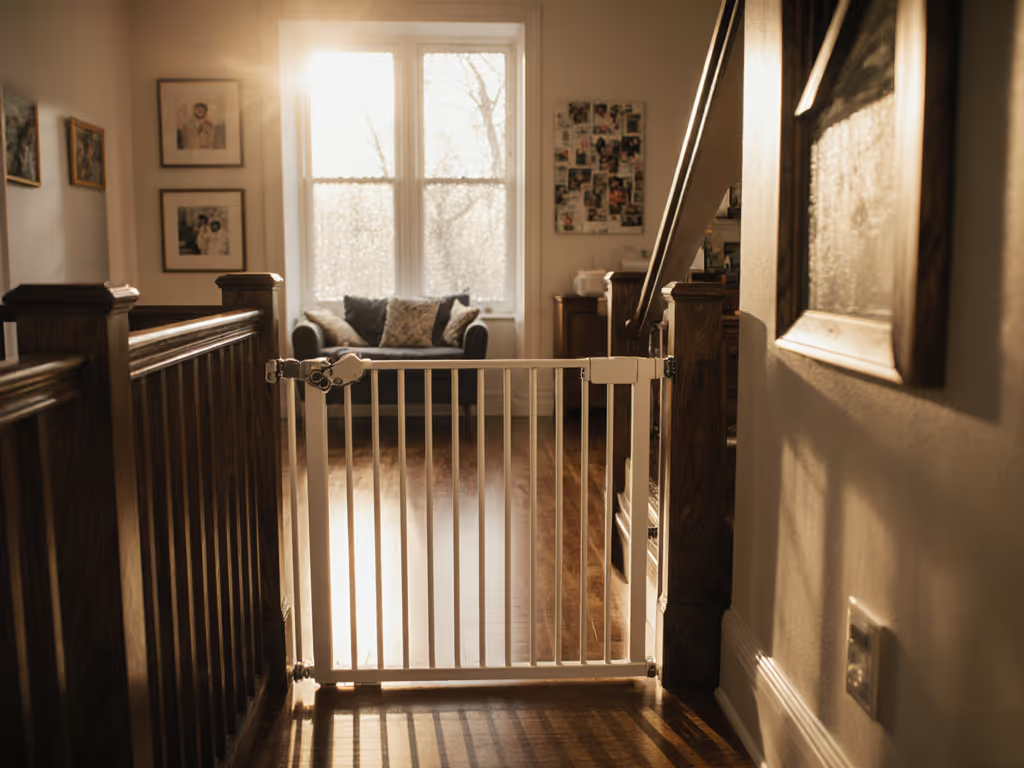
At the top of stairways, only hardware-mounted gates are safe[3]. This is not a preference; it's the standard that prevents catastrophic injuries. Yet the installation (and the ongoing use) has to work for every adult in your home, including those with weaker grip strength, mobility aids, or unfamiliarity with latching mechanisms. If wheelchair access is needed, see our wheelchair-clearance gate guide for 36+ inch openings and low-threshold options.
FAQ: Designing Gates That Work for Every Caregiver
What's the difference between pressure-mounted and hardware-mounted gates, and when does each actually belong in a home?
Pressure-mounted gates rely on tension springs and feet to press against walls or doorframes. They are quick to install (no tools), easily portable, and removable without damage[3]. However, they can only be safely used in open doorways between rooms or on level floors, never at the top or bottom of stairs[3].
Hardware-mounted gates are bolted or screwed directly to doorframe studs, wall framing, or banisters[1]. They are the most secure type of safety gate[1]. They do require tools and create small holes, but they cannot be pushed, pulled, or climbed down by a child, regardless of age or strength.
For multi-generational homes, the practical rule is:
- Top of stairs: Hardware-mounted only. Non-negotiable.
- Bottom of stairs: Hardware-mounted is safest; pressure-mounted is acceptable only if the gate is maintained in perfect tension and checked weekly.
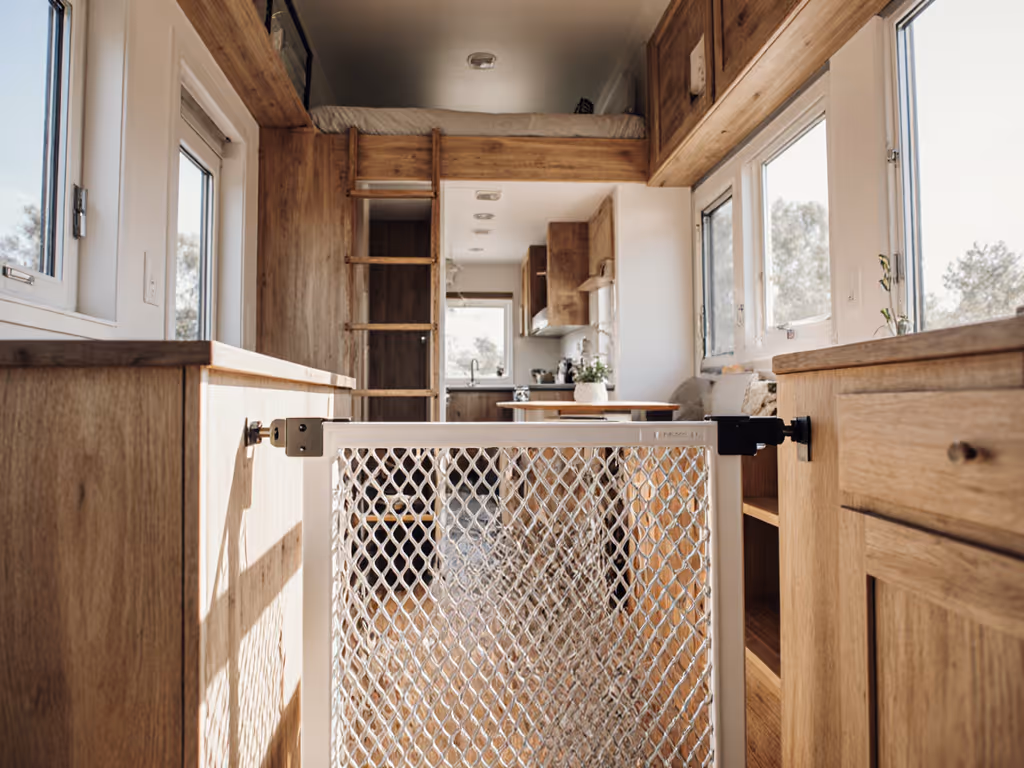
- Doorways between rooms: Pressure-mounted or hardware-mounted, depending on your setup and how stable the tension remains over months of use.
- Hallways with heavy traffic: A hardware-mounted gate that swings on a hinge will reduce threshold tripping and preserve flow for aging knees and walkers.
The hidden problem many families face is tension creep: a pressure-mounted gate that felt solid in week one sags by month six as springs relax. Grandparents who visit only occasionally won't notice the deterioration, which is exactly when accidents happen.
Why do so many caregivers struggle with latches, and what actually works across ages and abilities?
A latch that is intuitive for a 32-year-old with full hand strength may be impossible for a 78-year-old with arthritis or tremor. Conversely, a latch that is easy to open can be figured out by a determined toddler in minutes.
The gold standard is a dual-action latch (one that requires a specific sequence or simultaneous motion to open, making it toddler-resistant but still operable one-handed by an adult). Some gates feature a slide-and-lift mechanism; others use a lever that must be pressed and rotated. The key is that it shouldn't require thumb strength, two hands, or a sharp learning curve.
One family I worked with had a grandmother who consistently forgot to close the gate until we moved the handle to her dominant side (right), repositioned the swing direction, and practiced one-handed closes during snack time with a visual cue sticker on the frame. Within a week, safe became automatic. The lesson: reset the routine, not the will. The barrier only works if opening and closing are muscle memory, not conscious effort.
What caregivers (young and old) actually need:
- Quiet auto-close latches that don't jolt or wake sleeping children and reassure anxious caregivers that the gate closed behind them.
- One-handed operation, tested when your hands are full (holding a baby, groceries, a cane).
- Large, tactile handles positioned at a height suited to the shortest frequent user; avoid tiny thumb-presses or mechanisms hidden in a frame.
- Visual confirmation: A bright indicator or notch that shows "closed" at a glance, so senior caregivers don't have to second-guess themselves.
- No tools required for daily use; any adjustments (tension, swing direction) should be set once at install, not fiddled with mid-week.
How do you install a gate without damaging walls, offending landlords, or making permanent marks?
Rental-safe installation is a legitimate priority, especially in multigenerational homes where grandparents may be visiting a rented apartment. For senior-friendly, no-drill setups, read our renter-safe fall prevention guide.
Hardware-mounted gates don't have to mean drywall anchors (which pull out) or permanent stud drilling. Modern alternatives include:
- Banister clamps: Metal C-clamps that attach the gate to existing stair rails using tension, no drilling. Ideal for homes with railings and for short-term installations.
- Top-of-frame pressure mounts: Some hardware gates can be mounted using tension at the top of a doorframe, reducing holes to one or two small pilot holes in the frame itself (easily filled on move-out).
- Spacer blocks and wall protectors: Mounting plates with built-in padding that distribute force over a wider wall area, preventing punch-through into drywall.
- Removable adhesive strips: For lightweight gates in low-risk openings, heavy-duty adhesive can replace screws entirely; residue comes off with rubbing alcohol.
Before installing anything, photograph the walls and doorframe. On move-out, fill any pilot holes with paintable caulk or toothpaste-and-paint filler, sand smooth, and touch up. Most landlords approve this level of patching as "normal wear."
How do you handle the pet and gate conflict in a multi-generational home?
Many homes have dogs who push gates, cats who need access to litter boxes in forbidden rooms, or a mix that requires clever zoning.
For dogs: Install the gate with adequate clearance from the frame so the frame (not the hinges) bears the weight of a pushing dog. Pressure-mounted gates fail here; hardware-mounted gates on both hinges should be your choice if pet pressure is a factor.
For cat access: Install a cat door (or flap) in the gate itself at ankle height, or use a gate with a "swing" option that only swings one direction, creating a one-way passage. This prevents the dog from following and keeps the child zone intact.
For mixed multi-generational + pet scenarios: A freestanding playpen-style barrier (sometimes called an expandable enclosure[5]) may be smarter than a single gate. It lets you create a safe zone for the baby without blocking the entire doorway, and it's portable if you're managing multiple homes.
What are the most common installation mistakes, and how do you avoid them?
-
Installing a pressure-mounted gate at the top of stairs. This is the leading cause of baby gate injuries[3]. If you are uncertain whether a location is safe for a pressure gate, assume it is not.
-
Failing to check swing direction. A gate that swings toward the stairs is a catastrophe; a gate that swings away from the bathroom creates a bottleneck when you're carrying a baby and need to pee. Test the swing with a caregiver of each generation before tightening down final screws.
-
Mounting the gate too high or too low. An adult's shoulder height is not the same as a toddler's head height. The gate should be tall enough that a child cannot climb over it; too low and it fails. Too high and it blocks your view.
-
Ignoring the threshold bar. Some gates have a bar at floor level for structural rigidity; this is a trip hazard for anyone with mobility aids or tired feet. Measure the height, test with your own step, and account for worn carpet or future flooring changes.
-
Skipping the weekly tension check. Pressure-mounted gates lose tension gradually. Grandparents visiting monthly won't notice, which is precisely when a child tests an apparently solid gate that is actually sagging.
-
Using accordion-style gates. These are recalled and should never be in your home; the V-shaped gaps can trap and strangle children[3].
Product Comparisons: Matching Gates to Real Multi-Generational Scenarios
There is no single "best" gate for all homes. Instead, the right choice emerges when you match specific gate features to your layout, mobility profile, and traffic patterns.
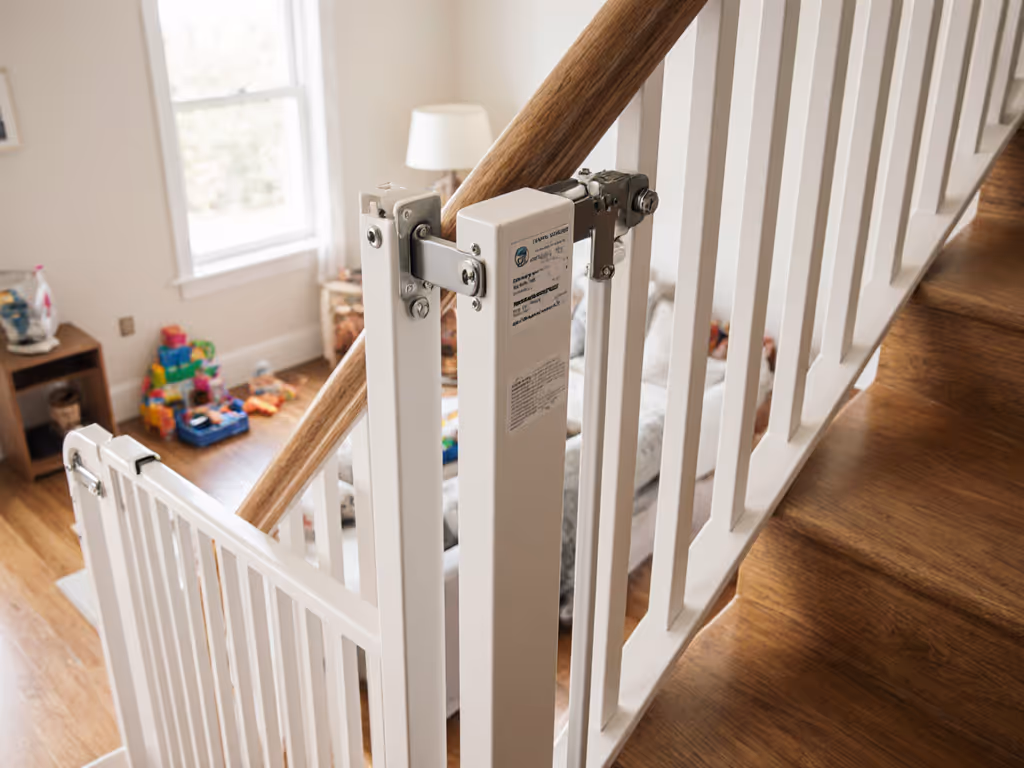
Hardware-mounted gates for stairs (non-negotiable security, more installation effort, best for permanent homes or high-priority safety zones):
These gates feature sophisticated latch systems that confound toddlers while allowing easy one-handed operation for adults[2]. A certified option, the Stairway Special Safety Gate (Model SS-30), is certified by the Juvenile Product Manufacturers Association (JPMA) and can be installed at angles of up to 30 degrees, offering versatile placement options for homes with angled ceilings or non-standard doorframes[2]. When considering hardware-mounted gates, prioritize JPMA certification and test the latch with every caregiver in your home, including a grandparent who may have limited hand strength.
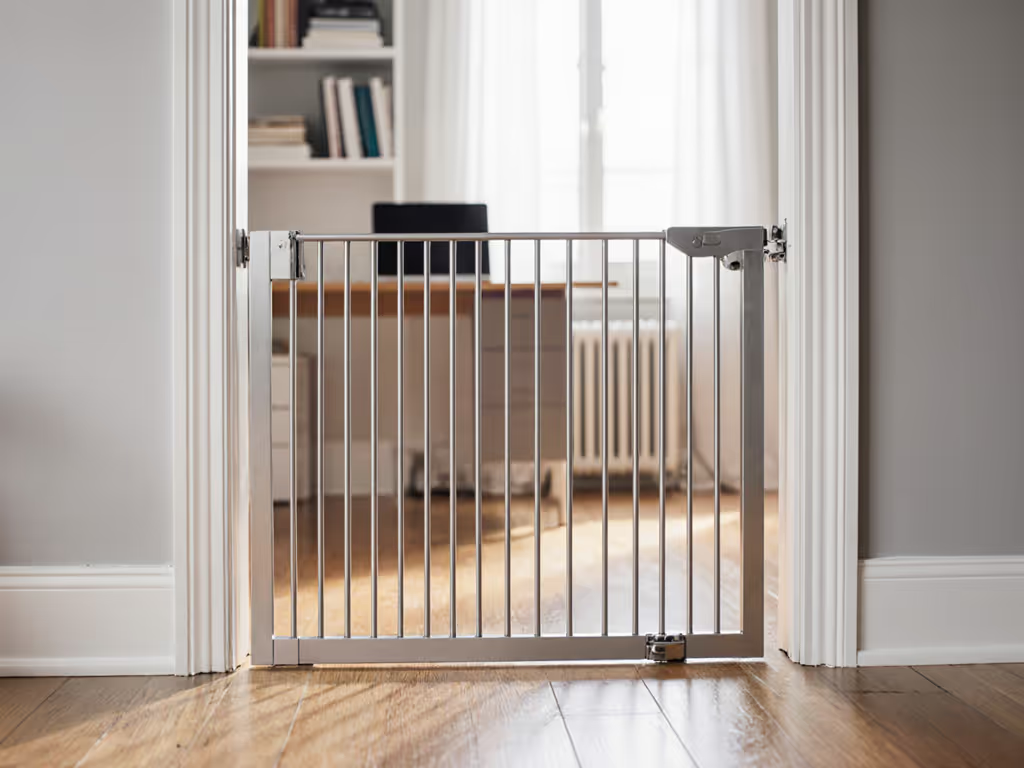
Pressure-mounted gates for doorways (quick, removable, portable, suitable for separating rooms but never stairs):
Pressure-mounted gates like the Safety 1st Easy Walk-Thru are simple, easy-to-use metal gates designed for stability, featuring a push/slide dual-action open mechanism and a trip bar for structural support[4]. These gates work well for blocking hallways or separating play areas, but they require weekly tension checks and should never be used at the top of stairs. The dual-action latch reduces accidental closings while keeping the operation intuitive for casual visitors.
Auto-close gates (preserve flow, reduce cognitive load, ideal for busy multi-generational households):
Gates featuring a quiet auto-close mechanism ensure the gate closes securely behind you, so you can continue on your way without a second thought, critical when grandparents are managing the house or when your hands are full[6]. This feature is especially valuable in homes with older adults who may forget to manually close, or in high-traffic zones where flow matters as much as safety.
Building Your Multi-Generational Gate Plan
Step 1: Measure and map your home.
Create a floor plan sketch with:
- Doorway and opening widths (inside mount and outside mount measurements).
- Stair locations and whether you need gates at the top, bottom, or both.
- Banister type (metal, wood, vertical spindles, or cable railing).
- Baseboard height and type (full baseboards, quarter-round, or none).
- Flooring type and height transitions (carpet, tile, hardwood, threshold gaps).
- Traffic patterns: which doors are high-traffic? Which are rarely used?
- Pet access zones: where does the dog or cat need to go?
- Caregiver profiles: mobility aids, grip strength, frequency of use (live-in vs. monthly visits).
Step 2: Prioritize by risk level.
Tier 1 (Highest Risk): Top of stairs, open floor plans overlooking stairs, or balconies. Must be hardware-mounted, installed before the child turns 6 months old[3].
Tier 2 (Moderate Risk): Bottom of stairs, kitchen entry, hallway to unsupervised rooms. Hardware-mounted or very-well-maintained pressure-mounted.
Tier 3 (Low Risk): Room separators, play areas, pet zones. Pressure-mounted or freestanding enclosures acceptable.
Step 3: Test installation logistics.
Before purchasing, test whether you can drill into studs, clamp to banisters, or use banister-specific mounting plates. If you are renting, contact your landlord and confirm what mounting method is permitted. Photograph and document the conversation.
Step 4: Set up training checkpoints.
Invite every caregiver (grandparents included) to open and close the gate while you watch. Ask them to do it one-handed. Ask them to do it in the dark. Adjust height, swing direction, or latch style until the action is effortless. For checklists and scripts that keep everyone consistent, use our multi-caregiver gate protocol. This single step prevents more mishaps than any other.
Step 5: Build visual and habit cues.
Place a sticker or colored tape on the frame at the height of the top hinge so caregivers can spot a closed gate at a glance. Anchor the gate-closing action to a routine: "Close the gate, then turn on the coffee machine." Make safety the default, not the exception, every day.
Actionable Next Step: Start With Your Stairs
If you have not yet installed a hardware-mounted gate at the top of your stairs, this is your first move, regardless of your child's age or your home's rental status. The injury risk is too high to delay, and the installation is worth the small wall damage that you will easily repair on move-out.
- Measure your top stairway opening (width and wall material: drywall, plaster, or brick).
- Choose a hardware-mounted gate certified by JPMA and rated for your opening size.
- Test the latch with every adult who will use it, especially grandparents.
- Install using banister clamps or stud-mounted brackets that you can reverse on move-out.
- Add a visual cue sticker at the hinge so caregivers confirm closure at a glance.
- Practice opening and closing during calm moments (not at midnight, not in crisis) until it feels automatic.
For secondary openings and room dividers, make your choice based on traffic, pets, and the caregiver profile. Pressure-mounted gates work well when maintained, but always default to hardware-mounted if you are unsure. Low-friction safety beats complexity every time.
Your home doesn't have to choose between a toddler's safety and a grandparent's ease. It requires intentional setup, and the willingness to practice a new routine until it becomes invisible. That's the work that pays dividends for every generation walking through your doors.
Related Articles